前回の続きです。
Robotlegs2がStage3DのライブラリであるStalringで使えるのか検証しました。
Robotlegs2 Stalringライブラリ
公式サイトから入手できるRobotlegs2はStalingに対応していません。
そのため、Stalingに対応するようにライブラリを入手する必要があります。
インターネットで調べればいくつか出てきます。
今回はこちらのライブラリを使用します。
実装サンプル
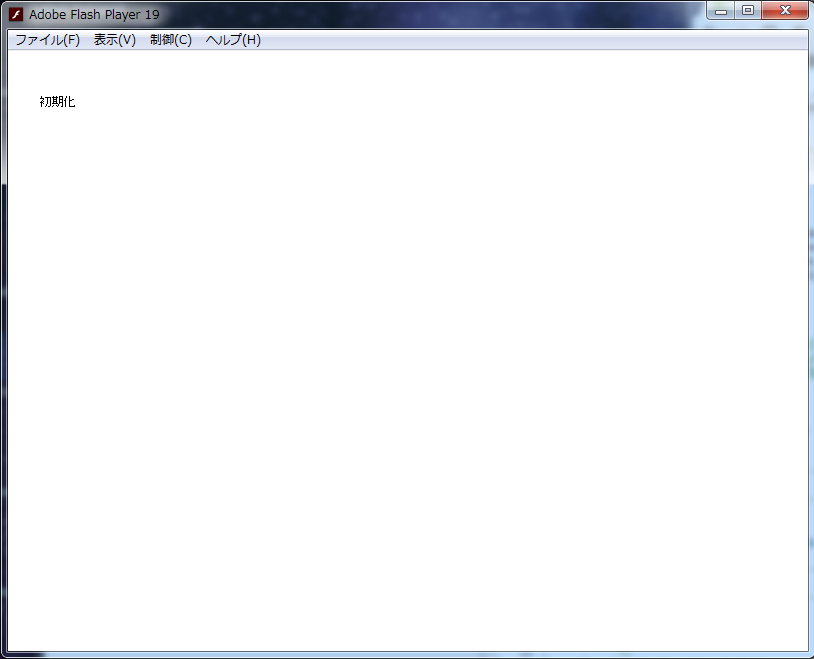
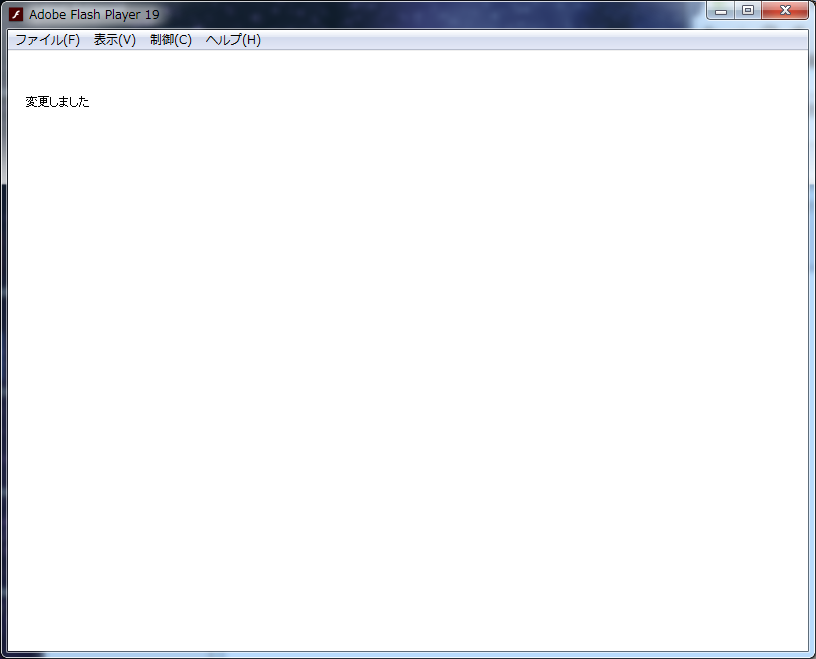
「初期化」のテキストにマウスカーソルを近づけると「変更しました」と表示する単純なアプリです。
今回のサンプルはここからダウンロードできます。
※サンプルはMVCモデルで実装しています。
※FlashDevelopを使用しています。
※Starlingのバージョンは1.7です
サンプルコードの説明
このサンプルコードに少し手を加えました。
削除、もしくは変更を入れていないソースは説明を省略します。
Main
	/**
	 * フレームワーク Robotlegs2 サンプルプロジェクト
	 * as3であればGraphics,Stage3D、Flexで使用可能
	 * このプロジェクトはStage3D(Starling)で記載
	 *
	 * @author ogino
	 */
	public class Main extends Sprite
	{

		//-----------------------------------------------------
		//コンポーネント
		//-----------------------------------------------------

		/** スターリング */
		private var starling:Starling;

		//-----------------------------------------------------
		//コンストラクタ
		//-----------------------------------------------------

		/**
		 * コンストラクタ
		 */
		public function Main():void
		{
			if (stage) init();
			else addEventListener(Event.ADDED_TO_STAGE, init);
		}

		//-----------------------------------------------------
		//イベントハンドラー
		//-----------------------------------------------------

		/**
		 * 初期化
		 *
		 * @param	e Event
		 */
		private function init(e:Event = null):void
		{
			removeEventListener(Event.ADDED_TO_STAGE, init);

			starling = new Starling(UserStarlingView, stage);

			if (starling.isStarted)
				starling.stage.addChild(starling.root);// starlingが起動しているなら、stageにaddchildすればRobotlegsで感知できる
			else
				starling.start(); // Starling起動

			// Robotlegs2を起動するための設定
			// MVCSBundle,StarlingViewMapExtensionをセット
			// コンフィグクラス, Starlingをセット
			// 最後にコンテキストビューをセットし、初期化処理を実行

			var context:Context = new Context();
			// おまじない StarlingViewMapExtensionも追加でインストールする
			context.install(MVCSBundle, StarlingViewMapExtension);
			// コンフィグクラスをセット この時、Starlingもセットする
			context.configure(MainConfig, starling);
			// コンテキストビューとしてこの画面をセット
			context.configure(new ContextView(this));
			// Robotlegs2初期化
			context.initialize();

			addEventListener(Event.REMOVED_FROM_STAGE, removeEventHandler);
		}

		/**
		 * ステージから削除された場合のイベントハンドラー
		 * @param	e
		 */
		private function removeEventHandler(e:Event):void
		{
			removeEventListener(Event.REMOVED_FROM_STAGE, removeEventHandler);

			// このどちらかでMediatorのdestroyが呼ばれる
			starling.root.removeFromParent();
			starling.root.dispose();
		}

	}
StarlingでRobotlegs2を利用するにあたり、おまじないを少し修正します。
context.install(MVCSBundle, StarlingViewMapExtension);
installにStarlingViewMapExtensionを追加します。
これはStarlingでMVCSを使うようにするため、インストールは必須です。
context.configure(MainConfig, starling);
new済みのStarlingクラスをconfigureに追加します。
configureにセットしたStarlingクラスのみ、Robotlegsに呼び出されます。
Config
	/**
	 * メイン画面のコンフィギュレーションを行うクラス
	 *
	 * このクラスで以下の設定を実行しています。
	 * 	・UserModel はシングルトンである
	 * 	UserStarlingView の対になるメディエータは UserStarlingMediator である
	 *  ・メディエーターでUserChangeEvent.USER_CHANGEが呼ばれた場合、UserCommondを実行する
	 *
	 * @author ogino
	 */
	public class MainConfig implements IConfig
	{

		//-----------------------------------------------------
		//プロパティ
		//-----------------------------------------------------

		[Inject]
		/** インジェクター */
		public var injector:IInjector;

		[Inject]
		/** メディエーターマップ */
		public var mediatorMap:IMediatorMap;

		[Inject]
		/** イベントコマンドマップ */
		public var commandMap:IEventCommandMap;

		[Inject]
		/** コンテキストビュー */
		public var contextView:ContextView;

		//-----------------------------------------------------
		//メソッド
		//-----------------------------------------------------

		/**
		 * コンフィギュレーション実行
		 */
		public function configure():void
		{
			// おまじない

			// UserModel はシングルトンである
			injector.map(UserModel, "modelName").asSingleton();
			injector.map(UserModel).asSingleton();

			// UserStarlingView の対になるメディエータは UserStarlingMediator である
			mediatorMap.map(UserStarlingView).toMediator(UserStarlingMediator);

			// メディエーターでUserChangeEvent.USER_CHANGEが呼ばれた場合、UserCommondを実行する
			commandMap.map(UserChangeEvent.USER_CHANGE).toCommand(UserCommand);

			// このような形で値を注入することも可能
			//var user:UserModel = new UserModel();
			//injector.map(UserModel, "modelName").toValue(user);
		}

	}
Starlingの画面クラスをMediatorに紐付けるには、以下の書き方になります。
mediatorMap.map(UserStarlingView).toMediator(UserStarlingMediator);
MediatorクラスはStarlingMediatorを継承したクラスを登録してください。
robotlegs.bender.bundles.mvcs.Mediatorを継承したMedatorクラスではありません。
Mediator
	/**
	 * ユーザー画面のメディエータクラス
	 * UserModelとUserStarlingViewの仲介を行う
	 * 「ユーザの名前が変更された」というきっかけで「ビューにその名前を反映する」タスクを実行するだけのクラス
	 *
	 * @author ogino
	 */
	public class UserStarlingMediator extends StarlingMediator
	{

		//-----------------------------------------------------
		//コンポーネント
		//-----------------------------------------------------

		[Inject]
		/** ユーザ画面 */
		public var view:UserStarlingView;

		//-----------------------------------------------------
		//プロパティ
		//-----------------------------------------------------

		[Inject(name="modelName")]
		/** ユーザモデル */
		public var user:UserModel;

		//-----------------------------------------------------
		//オーバーライドしたメソッド
		//-----------------------------------------------------

		/**
		 * @inheritDoc
		 */
		public override function initialize():void
		{
			// 名前が変更されたときに呼び出すメソッドをセット
			user.addEventListener(Event.CHANGE, changeView);
			view.addEventListener(UserChangeStalringEvent.USER_CHANGE, view_userChange);
		}

		/**
		 * @inheritDoc
		 */
		public override function destroy():void
		{
			// 登録したメソッドを削除
			user.removeEventListener(Event.CHANGE, changeView);
			view.removeEventListener(UserChangeStalringEvent.USER_CHANGE, view_userChange);
		}

		//-----------------------------------------------------
		//イベントハンドラー
		//-----------------------------------------------------

		/**
		 * 画面更新
		 *
		 * @param e Event
		 */
		public function changeView(e:Event):void
		{
			view.nameChange(user.name);
		}

		/**
		 * 画面変更通知イベントハンドラー
		 *
		 * @param	e
		 */
		private function view_userChange(e:UserChangeStalringEvent):void
		{
			// コマンドを呼び出すイベントを作成
			var newEvent:UserChangeEvent = new UserChangeEvent(UserChangeEvent.USER_CHANGE);
			// フレームワークに通知 このイベントに紐付けられたCommandクラスが呼ばれる
			eventDispatcher.dispatchEvent(newEvent);
		}
Mediatorは必ずrobotlegs.extensions.starlingViewMap.impl.StarlingMediatorクラスを継承する必要があります。
public class UserStarlingMediator extends StarlingMediator
使い方はrobotlegs.bender.bundles.mvcs.Medatorクラスと同じです。
View、Event
View、Eventは通常のStarlingの実装です。
	/**
	 * ユーザー情報表示画面
	 *
	 * @author ogino
	 */
	public class UserStarlingView extends Sprite
	{

		//-----------------------------------------------------
		//コンポーネント
		//-----------------------------------------------------

		/** ユーザー名表示領域 */
		private var nameTextField:TextField;

		//-----------------------------------------------------
		//コンストラクタ
		//-----------------------------------------------------

		/**
		 * コンストラクタ
		 */
		public function UserStarlingView()
		{
			super();
			init();
		}

		//-----------------------------------------------------
		//メソッド
		//-----------------------------------------------------

		/**
		 * 初期化
		 */
		private function init():void
		{
			nameTextField= new TextField(100, 100, "初期化");
			nameTextField.addEventListener(TouchEvent.TOUCH, nameTextFieldClickHandler);
			addChild(nameTextField);
		}

		/**
		 * 名前変更
		 *
		 * @param	name
		 */
		public function nameChange(name:String):void
		{
			nameTextField.text = name;
		}

		//-----------------------------------------------------
		//イベントハンドラー
		//-----------------------------------------------------

		/**
		 * 名前テキストをクリックしたときのイベントハンドラー
		 *
		 * @param	e
		 */
		private function nameTextFieldClickHandler(e:TouchEvent):void
		{
			// メディエーターに更新イベントを通知
			dispatchEvent(new UserChangeStalringEvent(UserChangeStalringEvent.USER_CHANGE));
		}
	/**
	 * ユーザーがデーターを変更した時のイベント
	 * Staling用
	 *
	 * @author ogino
	 */
	public class UserChangeStalringEvent extends Event
	{

		//-----------------------------------------------------
		//イベント定数
		//-----------------------------------------------------

		/** ユーザー変更 */
		public static const USER_CHANGE:String = "userChange";

		//-----------------------------------------------------
		//コンストラクタ
		//-----------------------------------------------------

		/**
		 * コンストラクタ
		 *
		 * @param	type
		 * @param	bubbles
		 * @param	data
		 */
		public function UserChangeStalringEvent(type:String, bubbles:Boolean=false,  data:Object=null)
		{
			super(type, bubbles, data);
		}
	}
以上、サンプルコードの説明でした。
Robotlegs2の実装方法を理解できれば、Stage3D(Starling)も苦労することも無く実装できます。

