imguiとは
imguiは、OpenGLやDirectXなどの描画環境の中で動くGUIフレームワークです(vulkanも?)。
"Immediate Mode GUI"と呼ばれるパラダイムにより、大変短く直感的なコードでGUIを構築できます。
どういうGUIコンポーネントが使えるかは、リポジトリのスクショを見ていただいたほうが良いかと思います。
デバッグや調整、テスト用のGUIを構築することが目的のフレームワークです。
環境
今回この記事ではwindows10, vs2015, Cinder(0.9.0)上でサンプルを作成しました。
Cinder用には専用のimgui拡張があるため、そちらを使用します。
https://libcinder.org/
https://github.com/simongeilfus/Cinder-ImGui
根本的な考え方や、imguiのAPIは同じですが、便利なクラスや関数が増えていたりします。
Cinder-ImGuiには結構便利クラスがいっぱいあるのですが、汎用的な説明になるように、なるべく基本APIに絞って説明します。
各環境ごとのセットアップの解説は省略します。
Cinderテンプレート
imguiを使う前に、まずはCinder環境で素のwindowを出すところのコードは先に用意します。
専用のプロジェクトジェネレータがtools\TinderBox-Win\TinderBox.exeにありますので、そちらでジェネレートしただけですが。
ただ一応CinderImGui.hだけはインクルードしておきます。
環境によっては直接imgui.hを使う場合もあります。
# include "cinder/app/App.h"
# include "cinder/app/RendererGl.h"
# include "cinder/gl/gl.h"
# include "CinderImGui.h"

using namespace ci;
using namespace ci::app;
using namespace std;

class imgui_sampleApp : public App {
  public:
	void setup() override;
	void mouseDown( MouseEvent event ) override;
	void update() override;
	void draw() override;
};

void imgui_sampleApp::setup()
{
}

void imgui_sampleApp::mouseDown( MouseEvent event )
{
}

void imgui_sampleApp::update()
{
}

void imgui_sampleApp::draw()
{
	gl::clear( Color( 0, 0, 0 ) );
}

CINDER_APP( imgui_sampleApp, RendererGl )
imguiウィンドウを出す
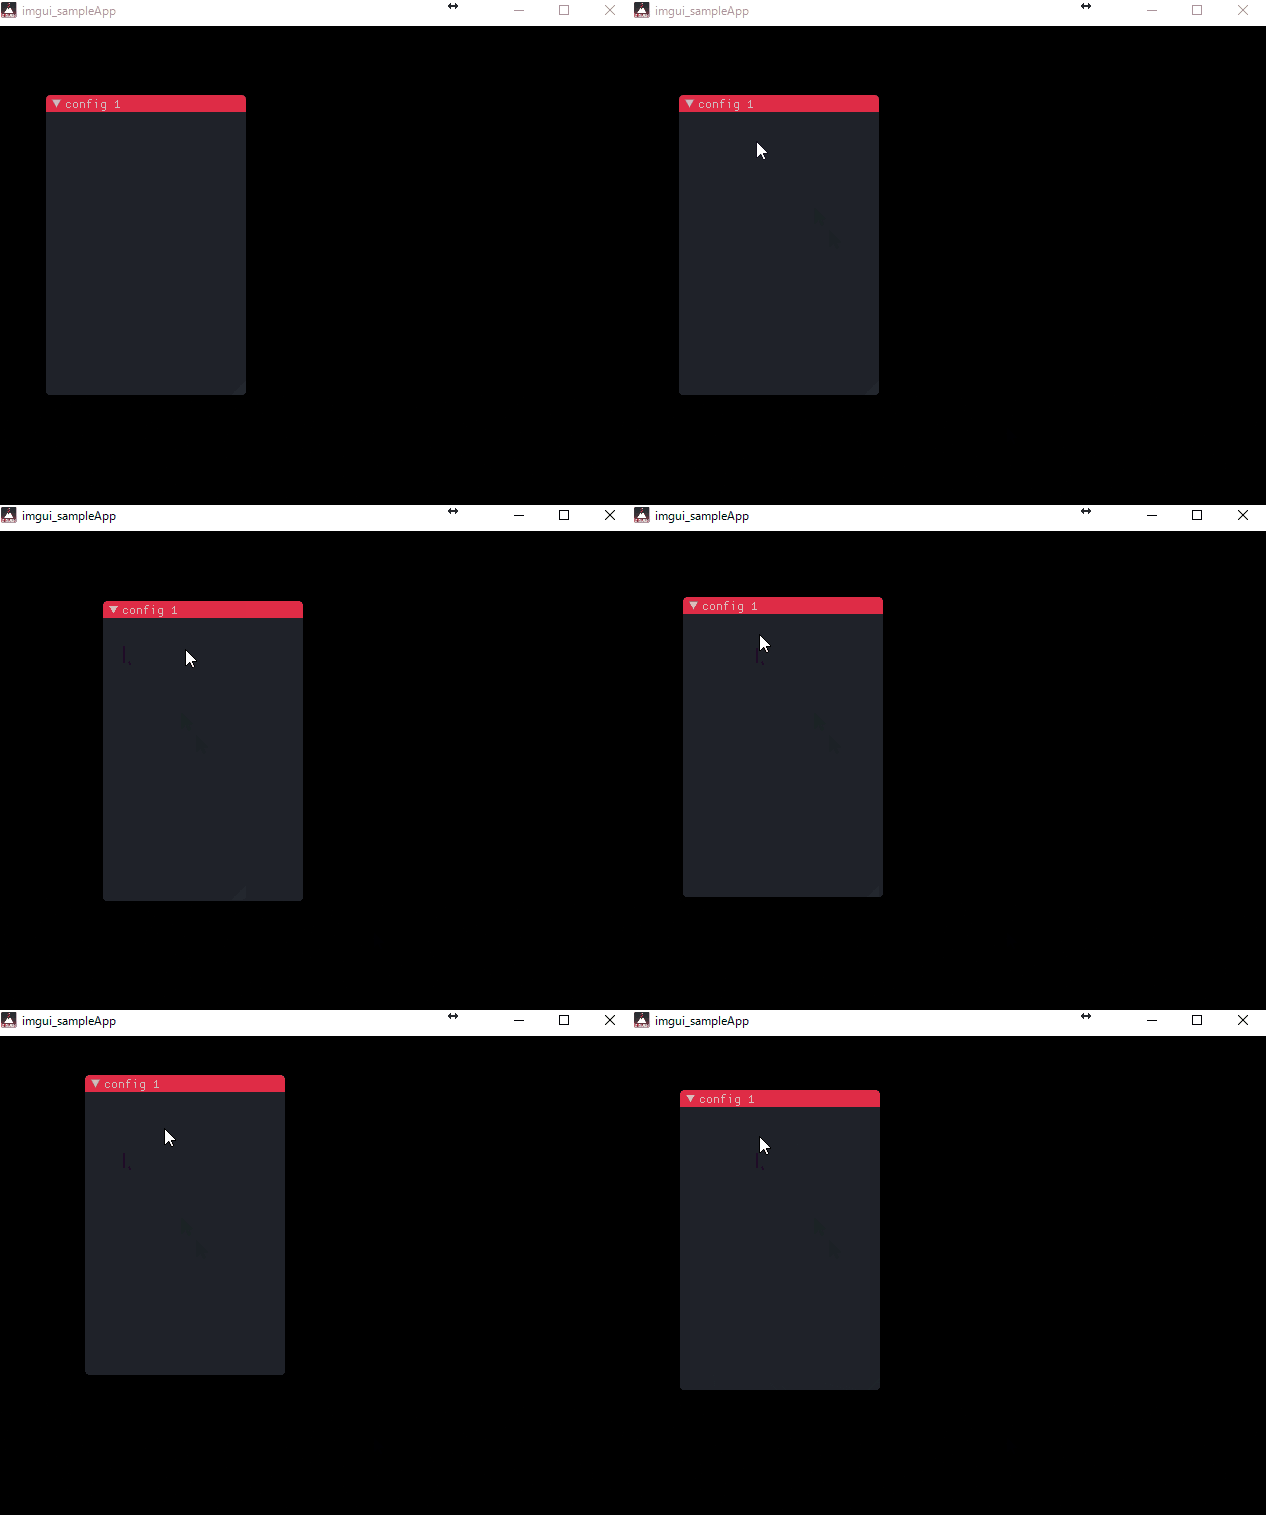
まずは作業用のウィンドウを出しましょう。以下のコードです。
CinderImGuiでは初期化についてはui::initialize()ですが、ここは環境ごとに違うため、
各プラットフォーム確認してください。
void imgui_sampleApp::setup()
{
	ui::initialize();
}

void imgui_sampleApp::draw()
{
	gl::clear(Color(0, 0, 0));

	ImGui::Begin("config 1");

	ImGui::End();
}
はい、これでウィンドウが出ます。
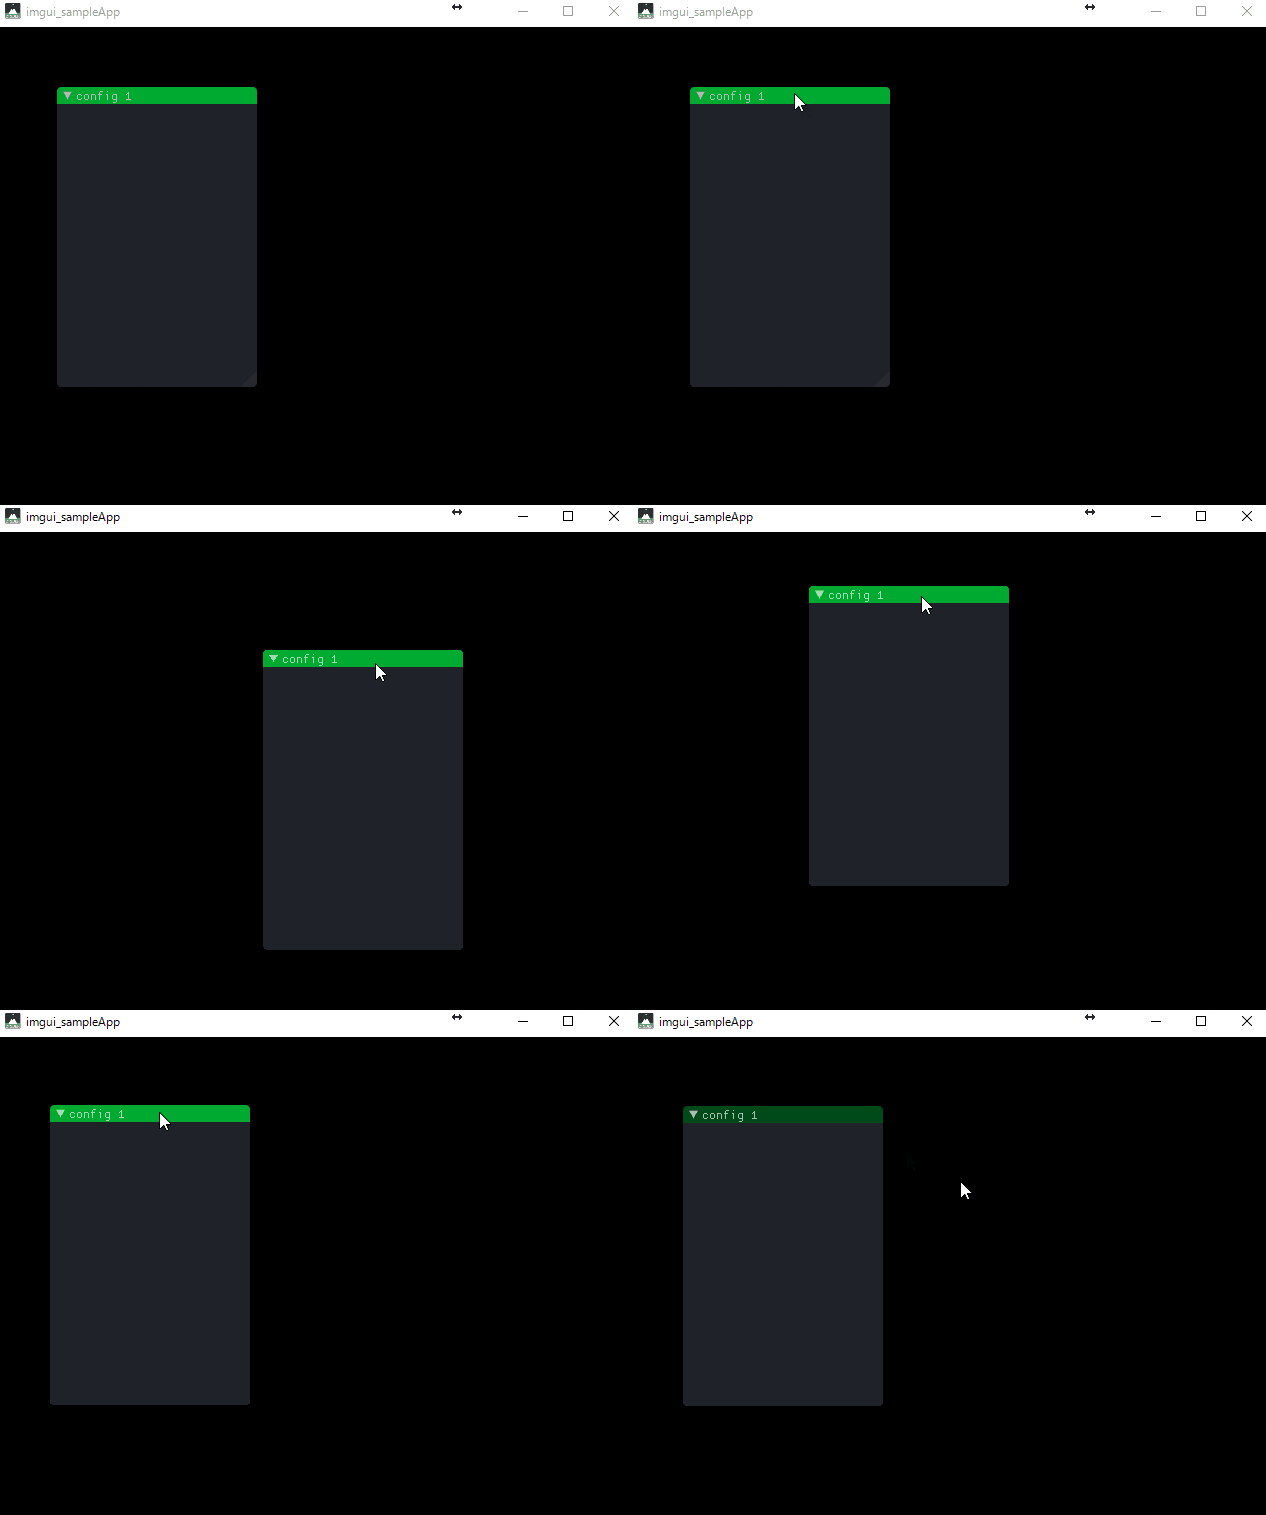
ついでに位置やタイトルの色など変更してみます。
void imgui_sampleApp::draw()
{
	gl::clear( Color( 0, 0, 0 ) );

	ImGui::PushStyleColor(ImGuiCol_TitleBgActive, ImVec4(0.0f, 0.7f, 0.2f, 1.0f));
	ImGui::PushStyleColor(ImGuiCol_TitleBg, ImVec4(0.0f, 0.3f, 0.1f, 1.0f));
	ImGui::SetNextWindowPos(ImVec2(20, 20), ImGuiSetCond_Once);
	ImGui::SetNextWindowSize(ImVec2(200, 300), ImGuiSetCond_Once);

	ImGui::Begin("config 1");

	ImGui::End();

	ImGui::PopStyleColor();
	ImGui::PopStyleColor();
}
これで変わりました。
ちなみにウィンドウを消したくなったときどうするか?
それは単にGUIコードを呼び出さないだけです。簡単ですね。
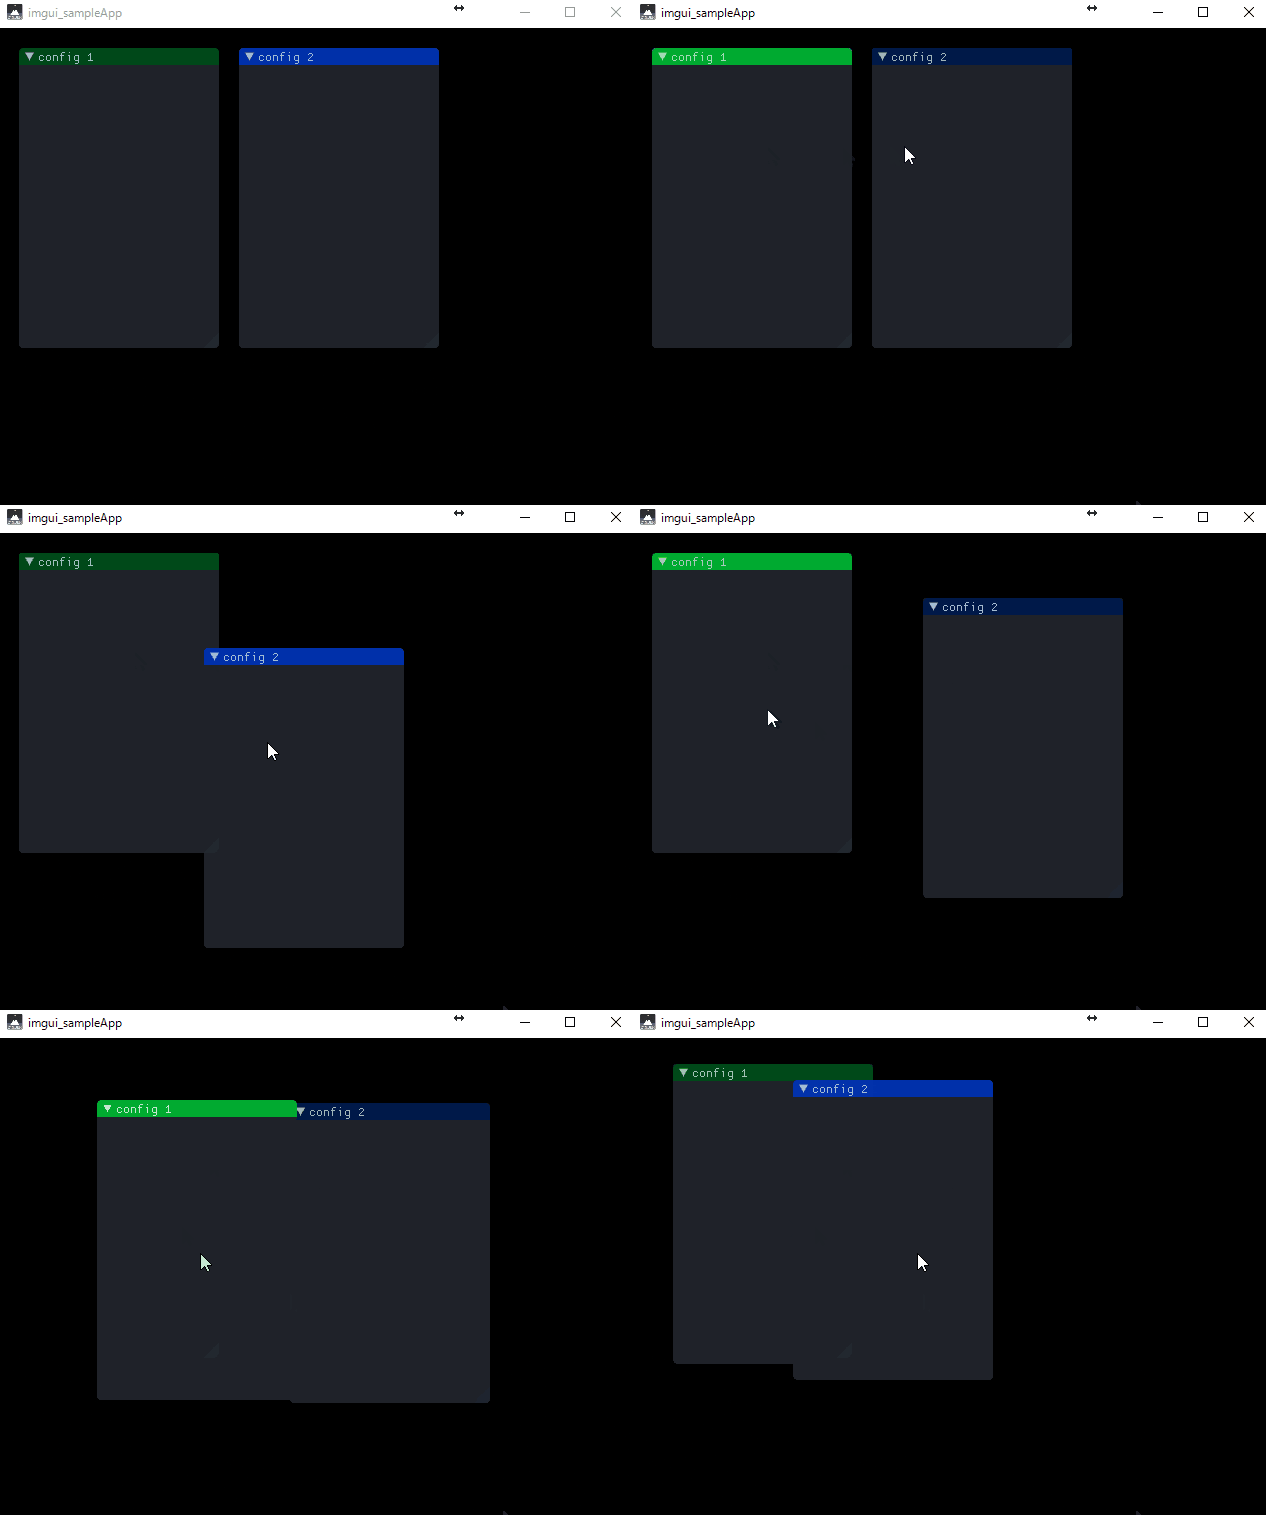
ウィンドウを複数出す場合は、以下のように単純に複製すればいいだけです。
void imgui_sampleApp::draw()
{
	gl::clear( Color( 0, 0, 0 ) );

	ImGui::PushStyleColor(ImGuiCol_TitleBgActive, ImVec4(0.0f, 0.7f, 0.2f, 1.0f));
	ImGui::PushStyleColor(ImGuiCol_TitleBg, ImVec4(0.0f, 0.3f, 0.1f, 1.0f));
	ImGui::SetNextWindowPos(ImVec2(20, 20), ImGuiSetCond_Once);
	ImGui::SetNextWindowSize(ImVec2(200, 300), ImGuiSetCond_Once);

	ImGui::Begin("config 1");

	ImGui::End();

	ImGui::PopStyleColor();
	ImGui::PopStyleColor();

	ImGui::PushStyleColor(ImGuiCol_TitleBgActive, ImVec4(0.0f, 0.2f, 0.7f, 1.0f));
	ImGui::PushStyleColor(ImGuiCol_TitleBg, ImVec4(0.0f, 0.1f, 0.3f, 1.0f));
	ImGui::SetNextWindowPos(ImVec2(240, 20), ImGuiSetCond_Once);
	ImGui::SetNextWindowSize(ImVec2(200, 300), ImGuiSetCond_Once);

	ImGui::Begin("config 2");

	ImGui::End();

	ImGui::PopStyleColor();
	ImGui::PopStyleColor();
}
テキスト、スライダー、テキストボックス、ボタン
さて、ウィンドウが出せたところでそろそろいくつかコンポーネントを追加してみましょう。
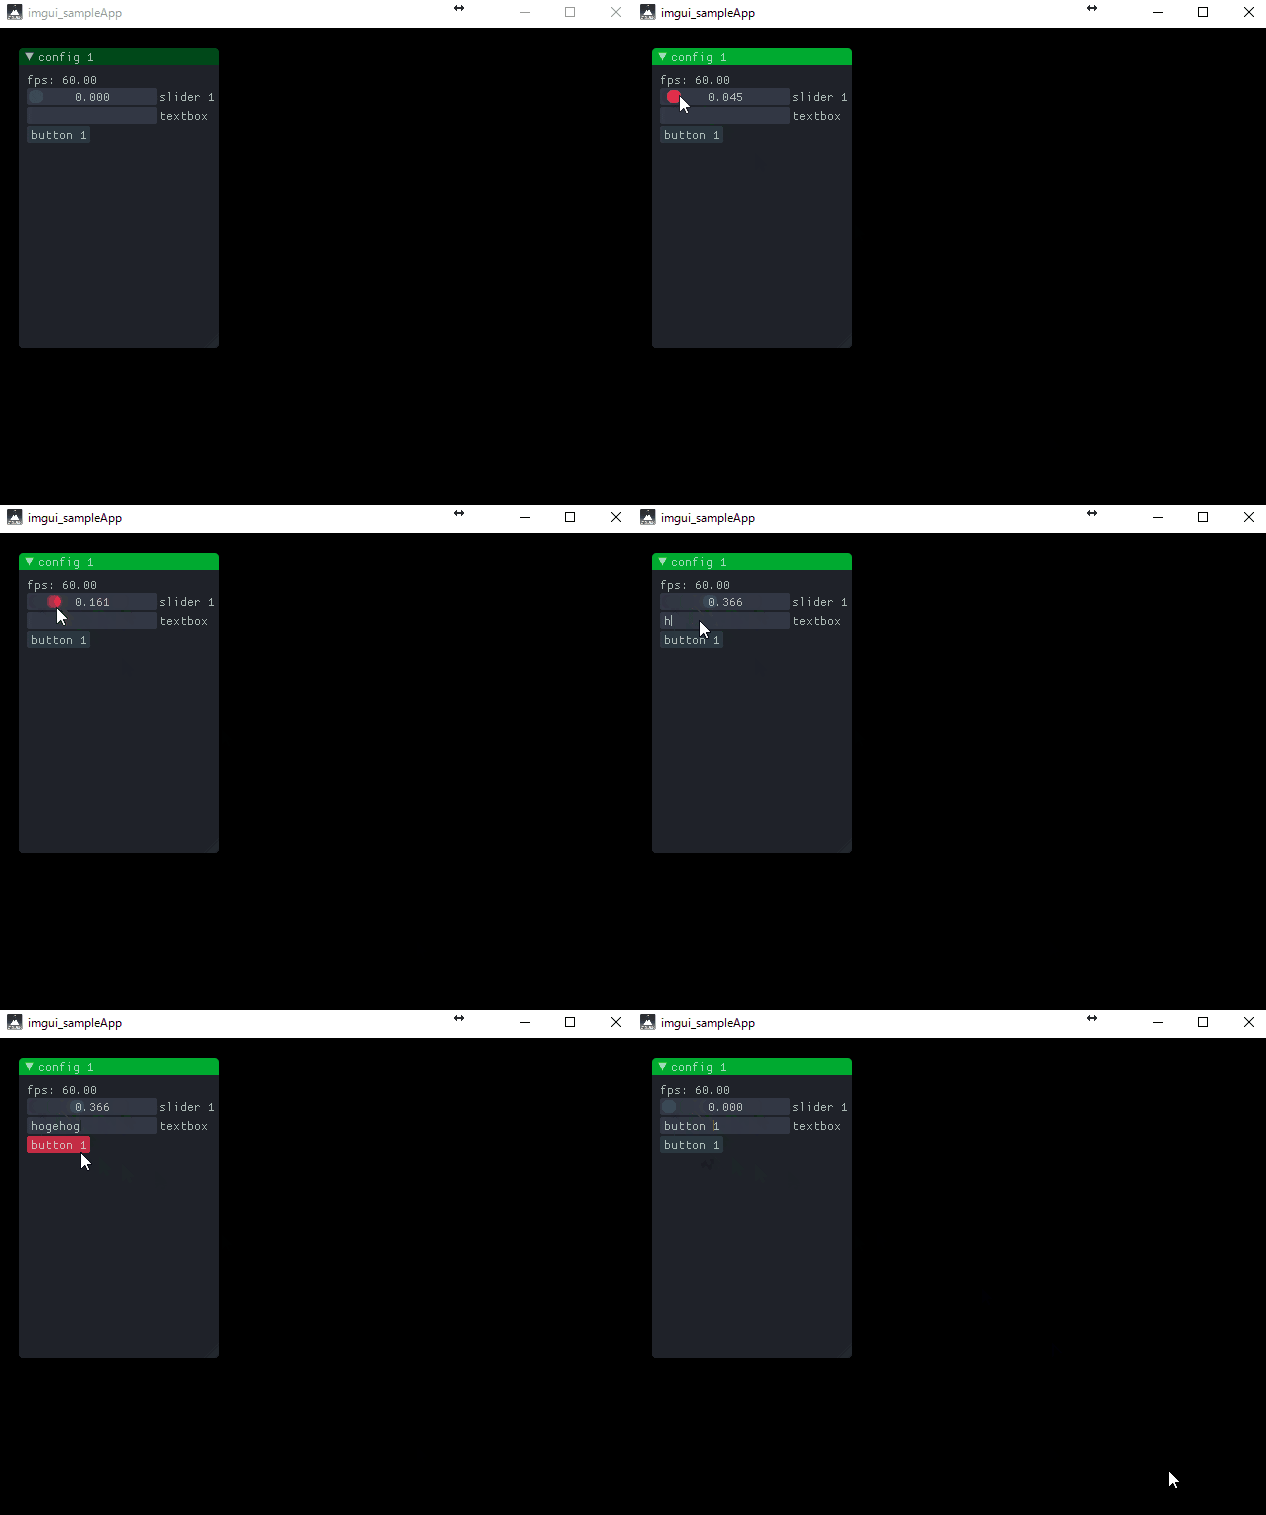
ここでは、テキスト、スライダー、テキストボックス、ボタンを追加してみます。そしてボタンが押されたら、スライダーの値と、テキストボックスの値を変更します。
void imgui_sampleApp::draw()
{
	gl::clear( Color( 0, 0, 0 ) );

	ImGui::PushStyleColor(ImGuiCol_TitleBgActive, ImVec4(0.0f, 0.7f, 0.2f, 1.0f));
	ImGui::PushStyleColor(ImGuiCol_TitleBg, ImVec4(0.0f, 0.3f, 0.1f, 1.0f));
	ImGui::SetNextWindowPos(ImVec2(20, 20), ImGuiSetCond_Once);
	ImGui::SetNextWindowSize(ImVec2(200, 300), ImGuiSetCond_Once);

	ImGui::Begin("config 1");

	static float slider1 = 0.0;
	static char text1[8] = "";

	ImGui::Text("fps: %.2f", getFrameRate());
	ImGui::SliderFloat("slider 1", &slider1, 0.0f, 1.0f);
	ImGui::InputText("textbox 1", text1, sizeof(text1));
	if (ImGui::Button("button 1")) {
		slider1 = 0.0f;
		strcpy(text1, "button 1");
	}

	ImGui::End();

	ImGui::PopStyleColor();
	ImGui::PopStyleColor();
}
なんとこれだけです。
もうお気づきかもしれませんが、基本的にimguiではGUIに関する変数を保持したりする必要がありません。(もちろんスライダーの値やテキスト自身の変数は必要です)
さらにimguiではGUI部品の描画コードと、GUI変数とのバインドが一体化しています。
このことにより大変コードが簡潔で済む構造になっているのです。
また、これにより処理の関数化が大変やりやすく、モジュール化もとても簡単です。
そんなんで大丈夫か?と思いますが、例えばボタンはどうなっているかというと、ImGui::Button()の戻り値にボタンが押されたフレームだけtrueを返す構造をしていますので、if文で挟むだけでボタンのイベント処理までできてしまいます。
また、SliderFloatは何が戻り値なのか?というと、実はスライダーをドラッグしたフレーム、つまり数値が変化したフレームだけtrueを返します。これにより、値が変わった時だけの処理を挟むことが可能です。
MVCとはなんだったのかと思いたくもなるレベルです
これはよくあるGUIの構造の、ボタンクラスをインスタンス化して・・・イベントリスナーが・・・コールバックが・・・とかのコードに疲弊している開発者にとってはかなり衝撃的ではないでしょうか?
階層構造を作る
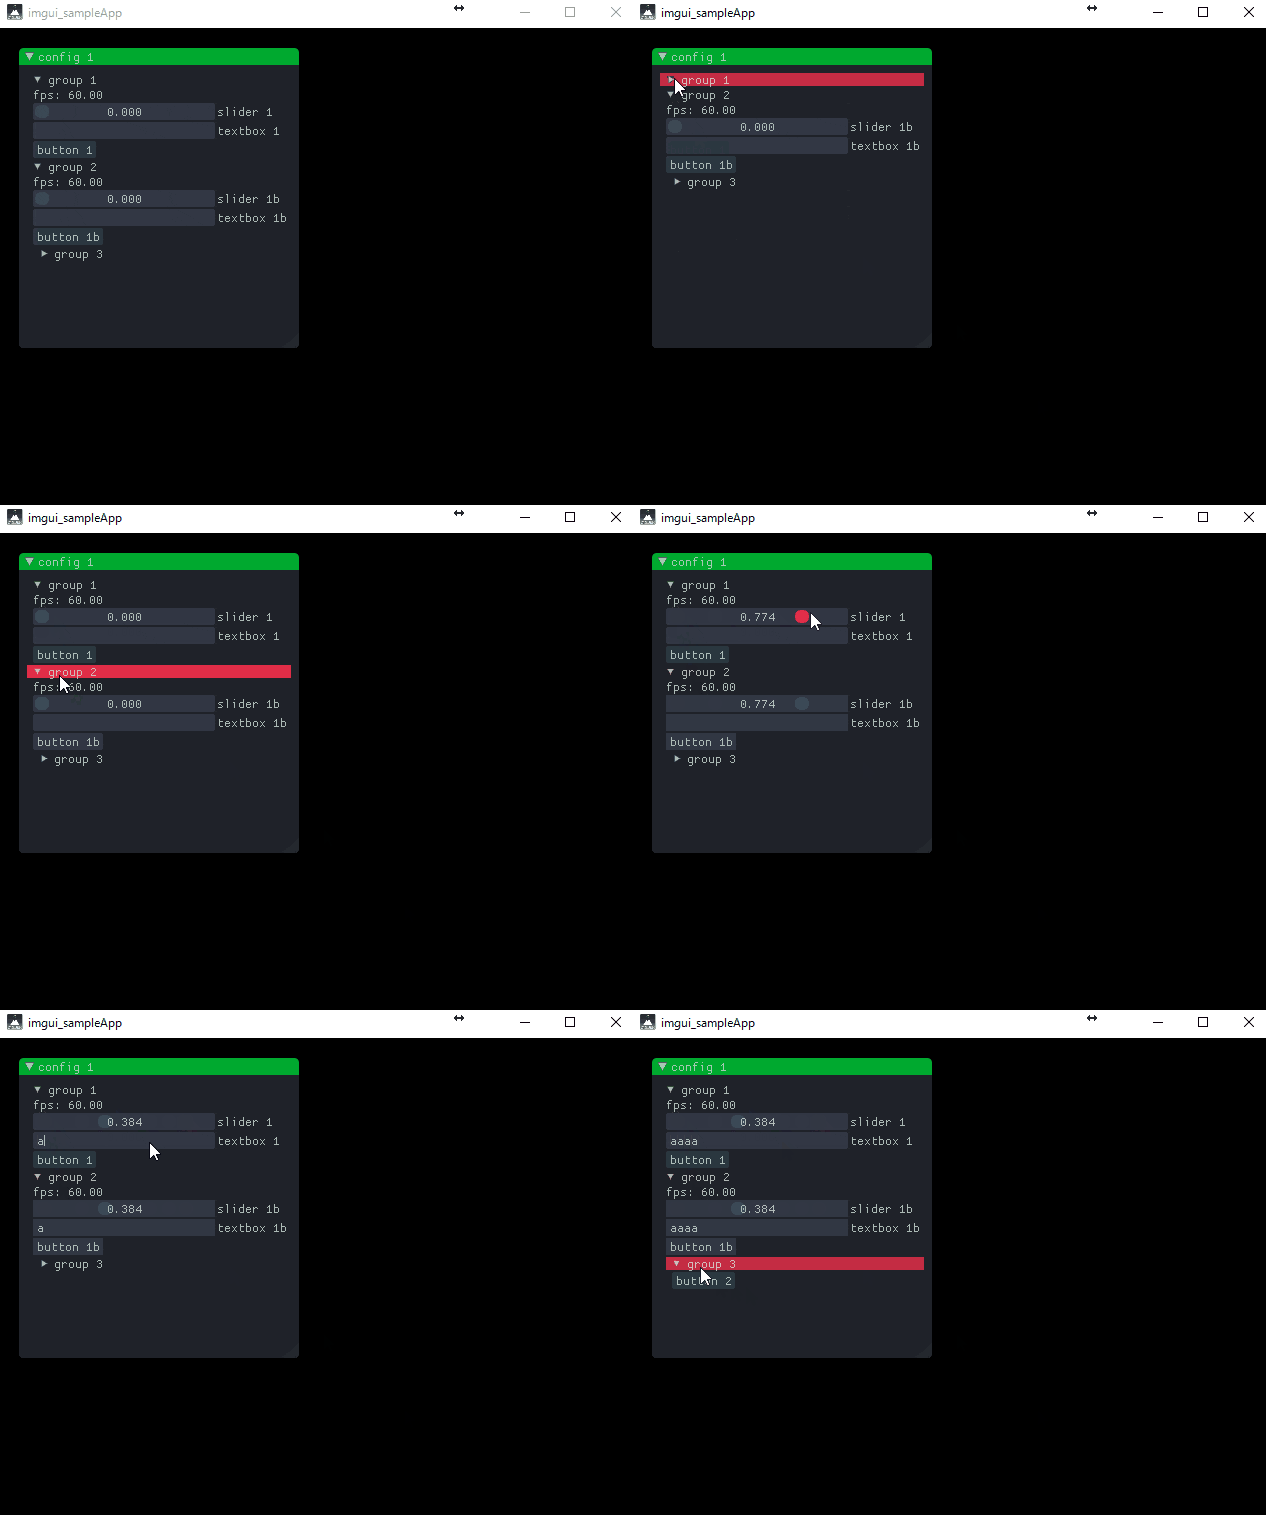
GUIを作っていると、階層構造でまとめたくなります。
void imgui_sampleApp::draw()
{
	gl::clear(Color(0, 0, 0));

	ImGui::PushStyleColor(ImGuiCol_TitleBgActive, ImVec4(0.0f, 0.7f, 0.2f, 1.0f));
	ImGui::PushStyleColor(ImGuiCol_TitleBg, ImVec4(0.0f, 0.3f, 0.1f, 1.0f));
	ImGui::SetNextWindowPos(ImVec2(20, 20), ImGuiSetCond_Once);
	ImGui::SetNextWindowSize(ImVec2(280, 300), ImGuiSetCond_Once);

	ImGui::Begin("config 1");


	static float slider1 = 0.0;
	static char text1[8] = "";

	ImGui::SetNextTreeNodeOpen(true, ImGuiSetCond_Once);
	if (ImGui::TreeNode("group 1")) {

		ImGui::Text("fps: %.2f", getFrameRate());
		ImGui::SliderFloat("slider 1", &slider1, 0.0f, 1.0f);
		ImGui::InputText("textbox 1", text1, sizeof(text1));
		if (ImGui::Button("button 1")) {
			slider1 = 0.0f;
			strcpy(text1, "button 1");
		}

		ImGui::TreePop();
	}

	ImGui::SetNextTreeNodeOpen(true, ImGuiSetCond_Once);
	if (ImGui::TreeNode("group 2")) {

		ImGui::Text("fps: %.2f", getFrameRate());
		ImGui::SliderFloat("slider 1b", &slider1, 0.0f, 1.0f);
		ImGui::InputText("textbox 1b", text1, sizeof(text1));
		if (ImGui::Button("button 1b")) {
			slider1 = 0.0f;
			strcpy(text1, "button 1b");
		}

		if (ImGui::TreeNode("group 3")) {
			if (ImGui::Button("button 2")) {

			}
			ImGui::TreePop();

		}

		ImGui::TreePop();
	}


	ImGui::End();

	ImGui::PopStyleColor();
	ImGui::PopStyleColor();
}
このサンプルでは、変数を共有しているため、スライダーなども同期しています。
スクロール
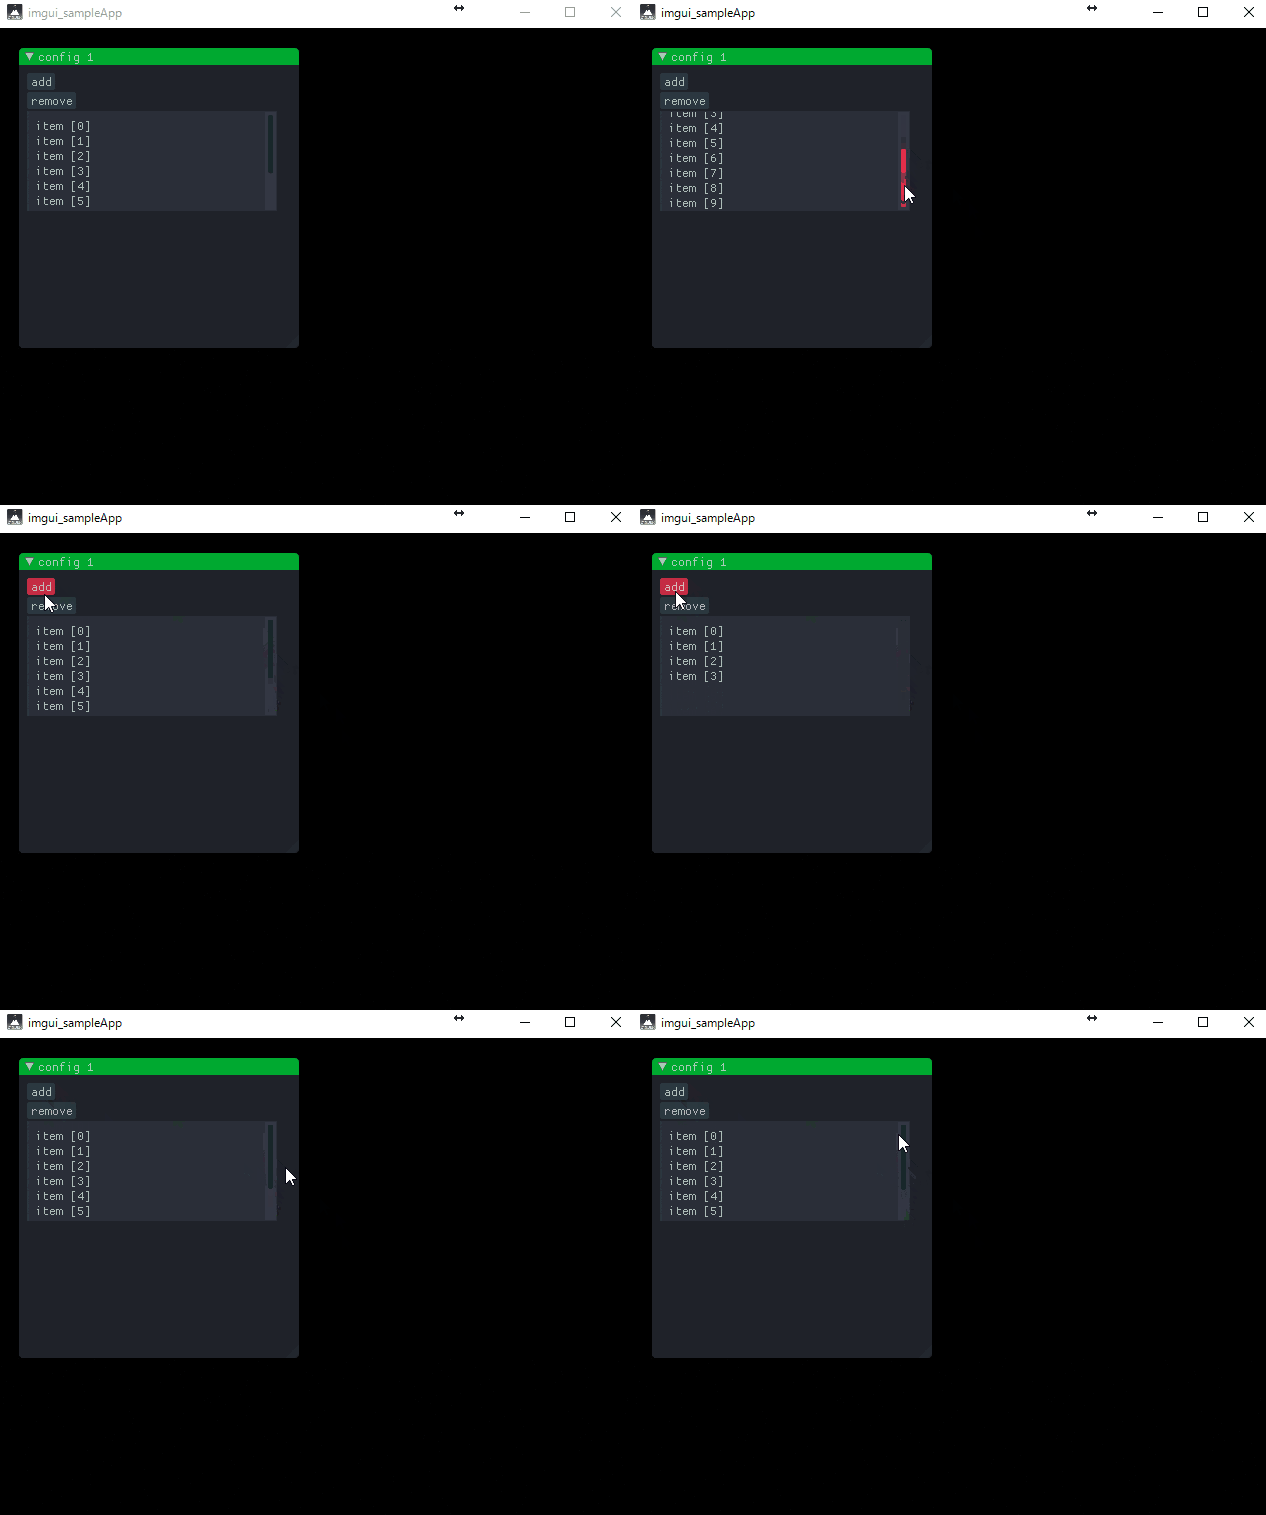
スクロールするリストだって作れます。
ボタンのコードも一か所にまとまっているおかげで大変簡単に記述できます。
void imgui_sampleApp::draw()
{
	gl::clear(Color(0, 0, 0));

	ImGui::PushStyleColor(ImGuiCol_TitleBgActive, ImVec4(0.0f, 0.7f, 0.2f, 1.0f));
	ImGui::PushStyleColor(ImGuiCol_TitleBg, ImVec4(0.0f, 0.3f, 0.1f, 1.0f));
	ImGui::SetNextWindowPos(ImVec2(20, 20), ImGuiSetCond_Once);
	ImGui::SetNextWindowSize(ImVec2(280, 300), ImGuiSetCond_Once);

	ImGui::Begin("config 1");

	static int count = 10;

	if (ImGui::Button("add")) {
		count++;
	}
	if (ImGui::Button("remove")) {
		count--;
		count = std::max(count, 0);
	}

	ImGui::BeginChild(ImGui::GetID((void*)0), ImVec2(250, 100), ImGuiWindowFlags_NoTitleBar);
	for (int i = 0; i < count; ++i) {
		ImGui::Text("item [%d]", i);
	}
	ImGui::EndChild();

	ImGui::End();

	ImGui::PopStyleColor();
	ImGui::PopStyleColor();
}
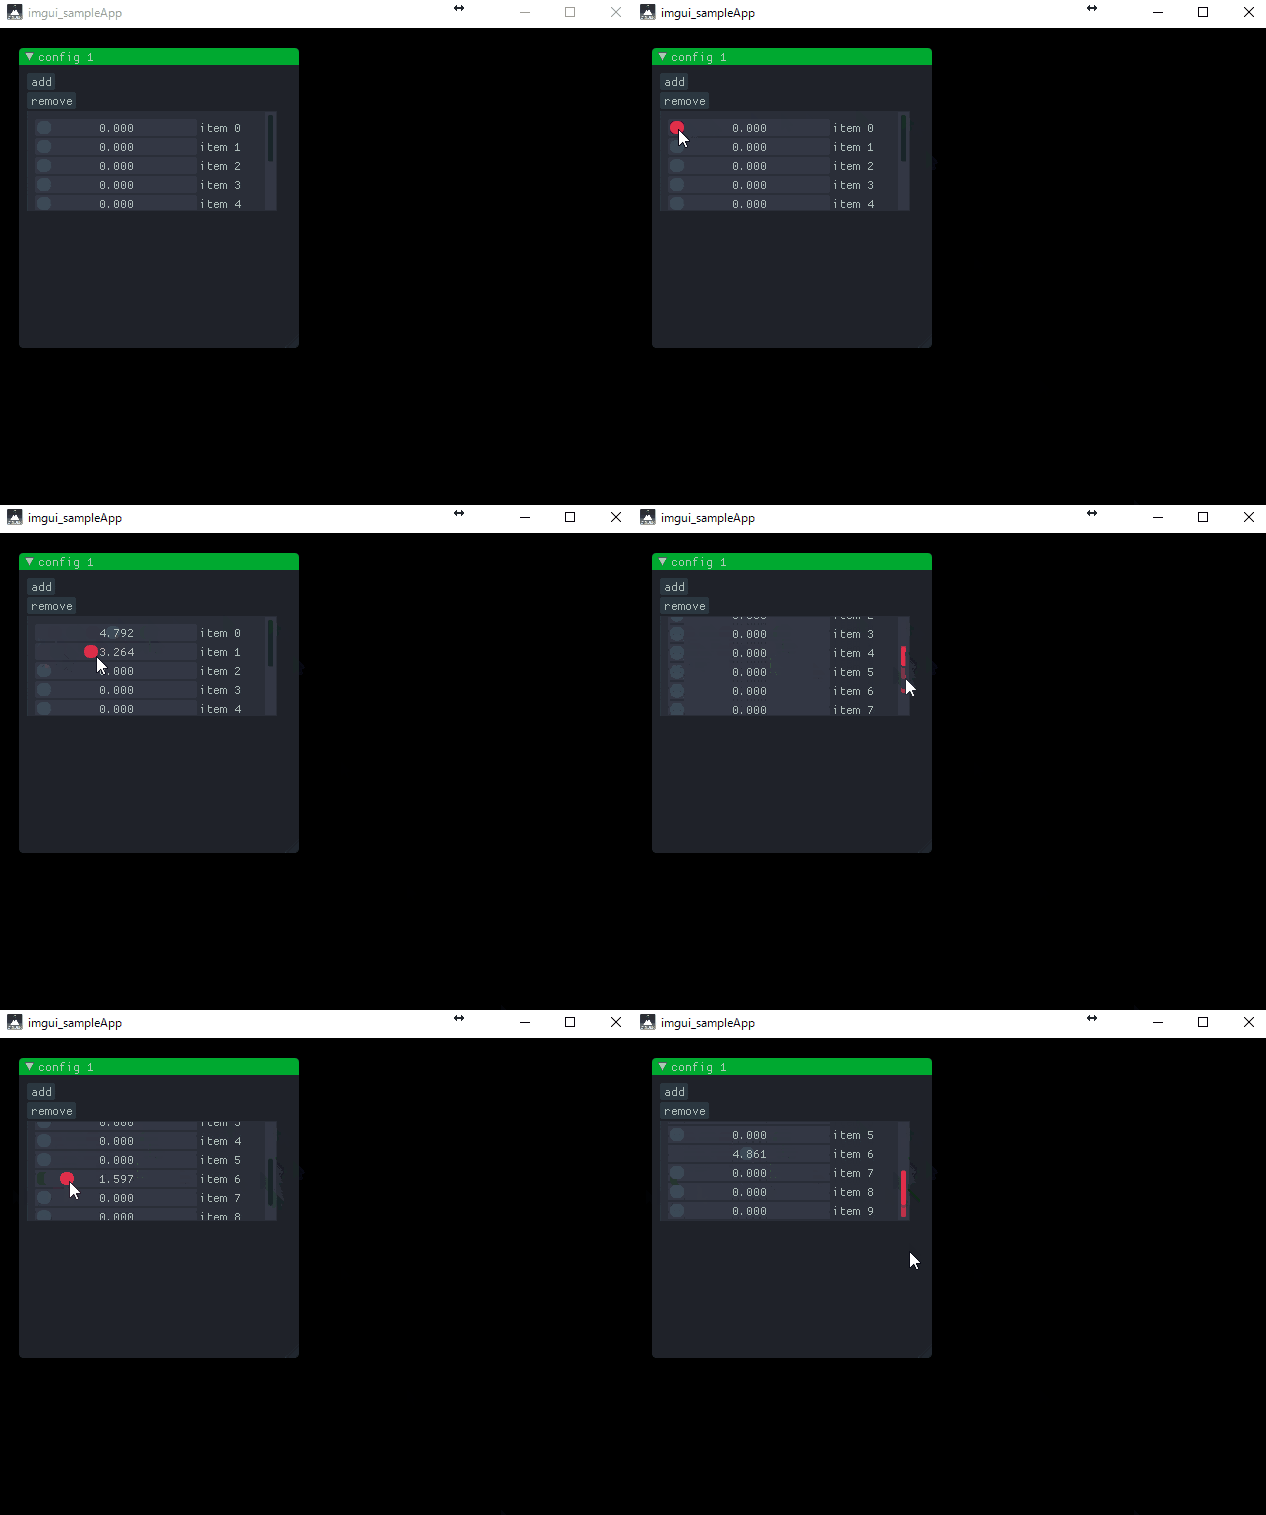
また、子供になっている部品(ここではText)をスライダーやらボタンなどに変更することもできます。
void imgui_sampleApp::draw()
{
	gl::clear(Color(0, 0, 0));

	ImGui::PushStyleColor(ImGuiCol_TitleBgActive, ImVec4(0.0f, 0.7f, 0.2f, 1.0f));
	ImGui::PushStyleColor(ImGuiCol_TitleBg, ImVec4(0.0f, 0.3f, 0.1f, 1.0f));
	ImGui::SetNextWindowPos(ImVec2(20, 20), ImGuiSetCond_Once);
	ImGui::SetNextWindowSize(ImVec2(280, 300), ImGuiSetCond_Once);

	ImGui::Begin("config 1");

	static std::vector<float> items(10);

	if (ImGui::Button("add")) {
		items.push_back(0.0f);
	}
	if (ImGui::Button("remove")) {
		if (items.empty() == false) {
			items.pop_back();
		}
	}

	ImGui::BeginChild(ImGui::GetID((void*)0), ImVec2(250, 100), ImGuiWindowFlags_NoTitleBar);
	for (int i = 0; i < items.size() ; ++i) {
		char name[16];
		sprintf(name, "item %d", i);
		ImGui::SliderFloat(name, &items[i], 0.0f, 10.0f);
	}
	ImGui::EndChild();

	ImGui::End();

	ImGui::PopStyleColor();
	ImGui::PopStyleColor();
}
メニュー
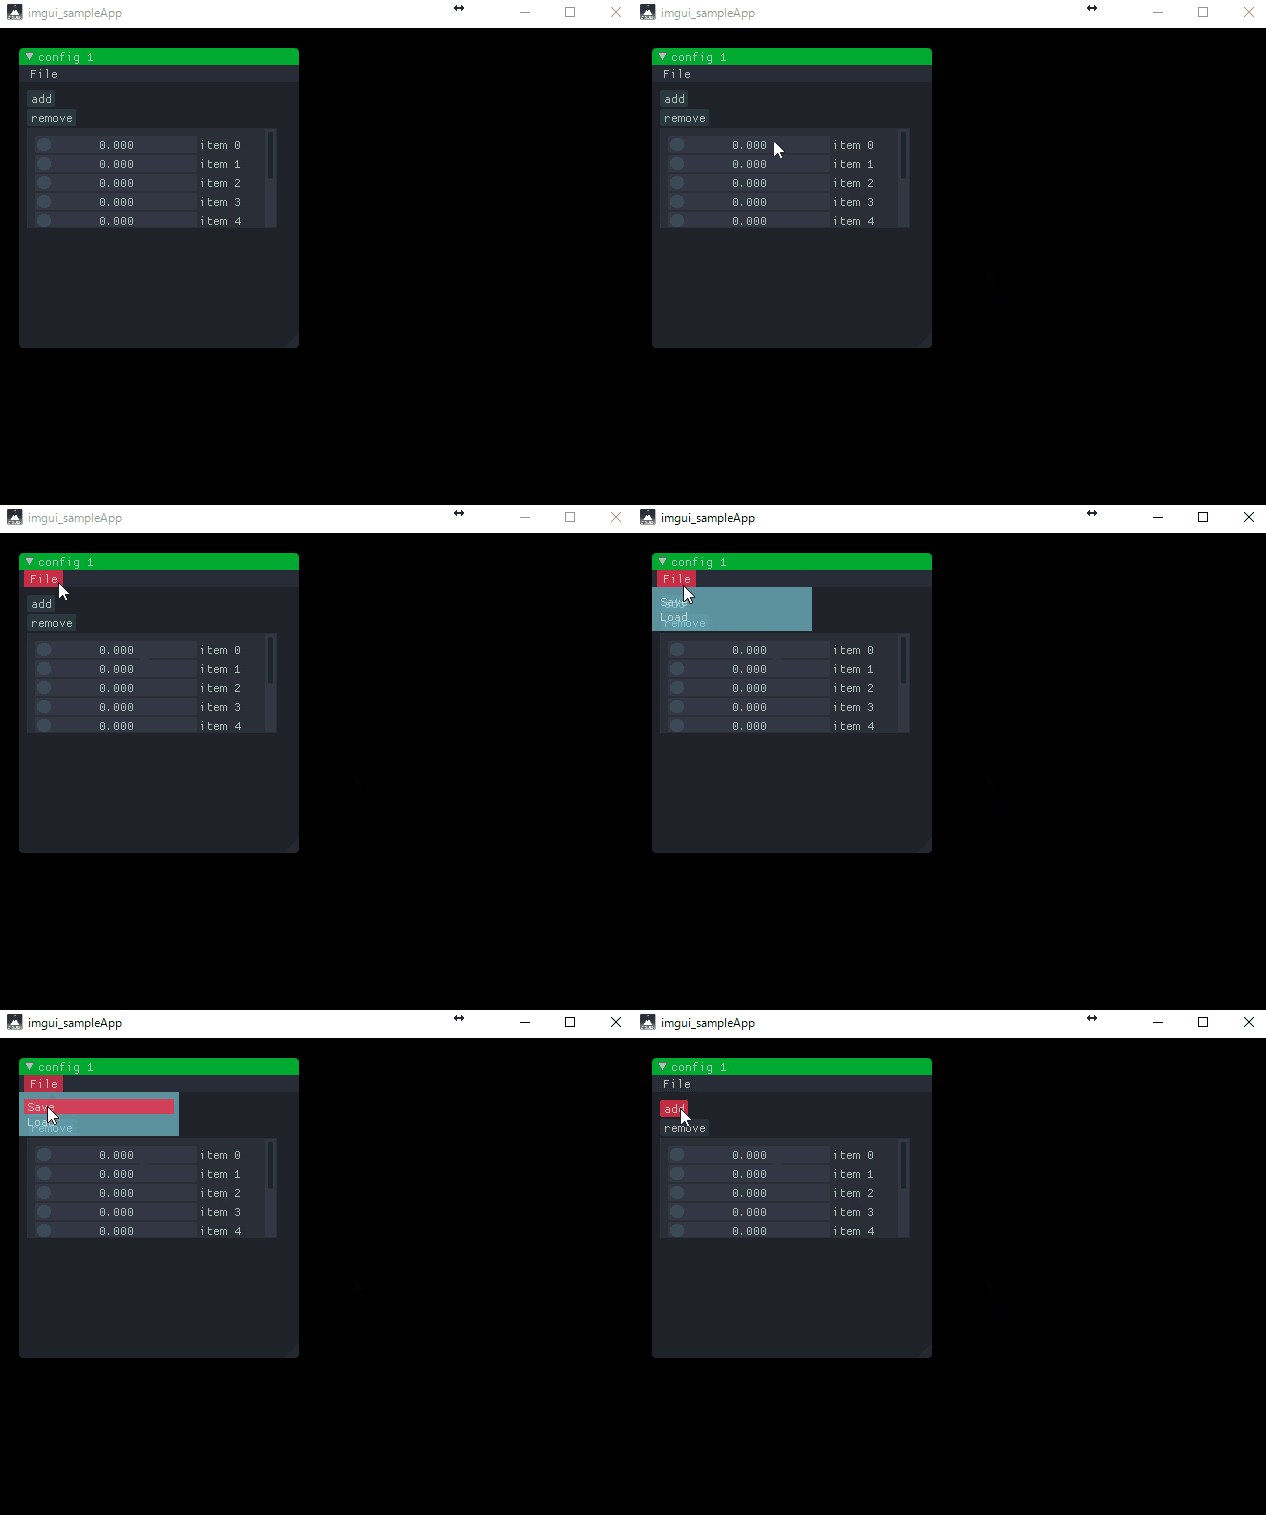
メニューも結構便利です。
void imgui_sampleApp::draw()
{
	gl::clear(Color(0, 0, 0));

	ImGui::PushStyleColor(ImGuiCol_TitleBgActive, ImVec4(0.0f, 0.7f, 0.2f, 1.0f));
	ImGui::PushStyleColor(ImGuiCol_TitleBg, ImVec4(0.0f, 0.3f, 0.1f, 1.0f));
	ImGui::SetNextWindowPos(ImVec2(20, 20), ImGuiSetCond_Once);
	ImGui::SetNextWindowSize(ImVec2(280, 300), ImGuiSetCond_Once);

	ImGui::Begin("config 1", nullptr, ImGuiWindowFlags_MenuBar);

	if (ImGui::BeginMenuBar()) {
		if (ImGui::BeginMenu("File"))
		{
			if (ImGui::MenuItem("Save")) {

			}
			if (ImGui::MenuItem("Load")) {

			}

			ImGui::EndMenu();
		}
		ImGui::EndMenuBar();
	}


	static std::vector<float> items(10);

	if (ImGui::Button("add")) {
		items.push_back(0.0f);
	}
	if (ImGui::Button("remove")) {
		if (items.empty() == false) {
			items.pop_back();
		}
	}

	ImGui::BeginChild(ImGui::GetID((void*)0), ImVec2(250, 100), ImGuiWindowFlags_NoTitleBar);
	for (int i = 0; i < items.size() ; ++i) {
		char name[16];
		sprintf(name, "item %d", i);
		ImGui::SliderFloat(name, &items[i], 0.0f, 10.0f);
	}
	ImGui::EndChild();

	ImGui::End();

	ImGui::PopStyleColor();
	ImGui::PopStyleColor();
}
チェックボックス、ラジオボタン、依存関係
チェックボックスやラジオボタンも使えます。
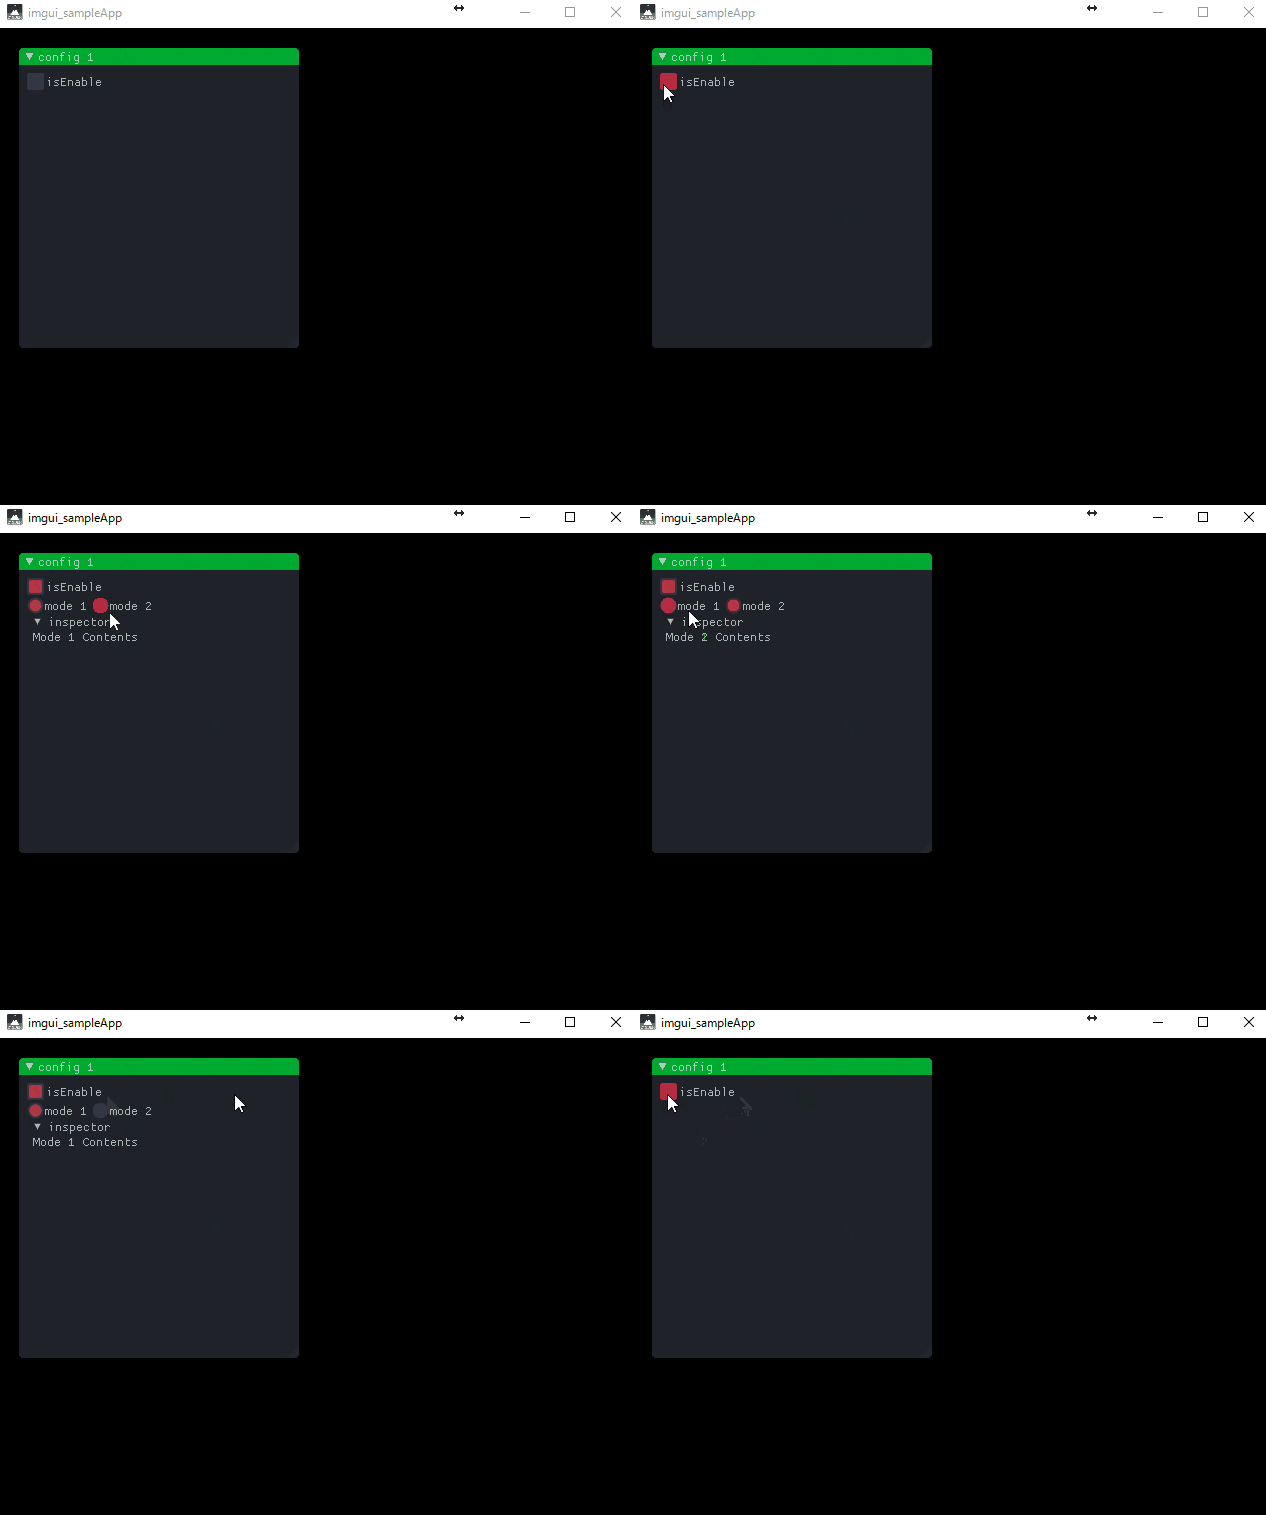
ここでは、さらに依存関係、チェックボックスがオンの時だけラジオボタンを表示して、さらにラジオボタンの内容によって、インスペクタの内容を切り替えます。
一見複雑な動作に見えますが、これも簡単です。
こういう挙動をするGUI、結構あると思います。
void imgui_sampleApp::draw()
{
	gl::clear(Color(0, 0, 0));

	ImGui::PushStyleColor(ImGuiCol_TitleBgActive, ImVec4(0.0f, 0.7f, 0.2f, 1.0f));
	ImGui::PushStyleColor(ImGuiCol_TitleBg, ImVec4(0.0f, 0.3f, 0.1f, 1.0f));
	ImGui::SetNextWindowPos(ImVec2(20, 20), ImGuiSetCond_Once);
	ImGui::SetNextWindowSize(ImVec2(280, 300), ImGuiSetCond_Once);

	ImGui::Begin("config 1");

	static bool isEnable = false;
	static int mode = 0;

	enum {
		MODE_1,
		MODE_2,
	};

	ImGui::Checkbox("isEnable", &isEnable);

	if (isEnable) {

		ImGui::RadioButton("mode 1", &mode, MODE_1); ImGui::SameLine(); ImGui::RadioButton("mode 2", &mode, MODE_2);

		ImGui::SetNextTreeNodeOpen(true, ImGuiSetCond_Once);
		if (ImGui::TreeNode("inspector")) {
			if (mode == MODE_1) {
				ImGui::Text("Mode 1 Contents");
			}
			else if (mode == MODE_2) {
				ImGui::Text("Mode 2 Contents");
			}

			ImGui::TreePop();
		}
	}

	ImGui::End();

	ImGui::PopStyleColor();
	ImGui::PopStyleColor();
}
まとめ
いかがだったでしょうか。
大変シンプルなコードで、かなり高度なことが実現できているのではないでしょうか。
GUIのサンプルコードはいろいろ出していくときりがないので、あとは公式のimgui_demo.cppあたりを参照してもらえればと思います。
imguiを知る前は、opengl環境での調整用GUIにいろいろ苦労していたのですが、その悩みがすべて吹き飛びました。imguiはいいぞ。
また、imguiにはデータのシリアライズ機能はないため、そのあたりについては、
C++のcerealのシリアライズが快適すぎるやばい
http://qiita.com/Ushio@github/items/827cf026dcf74328efb7
を参照してもらえればと思います。
imguiとの相性は抜群です。
