Provisioning Ubuntu VM using Terraform with ARM provider
I provisioned an Ubuntu server using Terraform.
I'd like to shre some tips about it. Terraform is a tool for building, changing, and versioning infrastructure safely and efficiently.It is cloud agnostic architecture and is created by Go language. It works fine both on Windows and Mac.
- Installation
Download Terraform from this URL. Then extract it and set the PATH variable to include the terraform directory.
Also, I recomend to install Azure CLI. You can find it on "Command-line tools" section.
- Service Principal authentication
I followed this blogpost (Sorry, it is Japanese)TerraformをAzure ARMで使う時の認証
I think, this is the easiest way to setup Service principal authentication using Azure CLI.
2.1. Login
Login azure via Azure CLI. Follow the instraction.
> azure login
info:    Executing command login
|info:    To sign in, use a web browser to open the page https://aka.ms/devicelogin. Enter the code <Some Code> to authenticate.
Change the mode of Azure CLI. Default is asm mode. (asm = Azure Service Manager)
> azure config mode arm
2.2. Register your application
Service principle authentication looks complex. However, once you set it up, it will be very useful.
To registre your application to the Azure AD, please do like this.
You can specify an url, that is your blog url or anything, on --home-page and --identifier-uris
> azure ad app create --name "My Terraform" --home-page "http://simplearchitect.hatenablog.com/" --identifier-uris "http://simplearchitect.hatenablog.com/" --password <Your Password>
info:    Executing command ad app create
+ Creating application My Terraform
data:    AppId:                   <Some AppId>
data:    ObjectId:                <Some App ObjectId>
data:    DisplayName:             My Terraform
data:    IdentifierUris:          0=http://simplearchitect.hatenablog.com/
data:    ReplyUrls:
data:    AvailableToOtherTenants:  False
info:    ad app create command OK
Using <Some AppId> Create a service principle.
> azure ad sp create <Some AppId>
info:    Executing command ad sp create
+ Creating service principal for application <Some AppId>
data:    Object Id:               <Some Principle Object Id>
data:    Display Name:            My Terraform
data:    Service Principal Names:
data:                             <Some AppId>
data:                             http://simplearchitect.hatenablog.com/
info:    ad sp create command OK
Then assign a role to the service principle. You can find your subcritpion id by azure account list command.
> azure role assignment create --objectId <Some Principle Object Id> -o Contributor -c /subscriptions/<Your Subscription Id>
info:    Executing command role assignment create
+ Finding role with specified name
-data:    RoleAssignmentId     : /subscriptions/<Your subscription Id>/providers/Microsoft.Authorization/roleAssignments/<Your role assignment Id>
data:    RoleDefinitionName   : Contributor
data:    RoleDefinitionId     : <Your role defininition Id>
data:    Scope                : /subscriptions/<Your subscription Id>
data:    Display Name         : My Terraform
data:    SignInName           :
data:    ObjectId             : <Some Principle Object Id>
data:    ObjectType           : ServicePrincipal
data:
+
info:    role assignment create command OK
You need to get the tenant_id of your subscription. try this command.
> azure  account list --json
[
  {
    "id": "<Your subsctiption Id>",
    "name": "<Your subsctiption name>",
    "user": {
      "name": "<Your e-mail address>",
      "type": "user"
    },
    "tenantId": "<Your tenantId>",
    "state": "Enabled",
    "isDefault": true,
    "registeredProviders": [],
    "environmentName": "AzureCloud"
  }
   :
- Create a terraform configuration
A terraform configuration is a configuration file for your infrastructure.
I uploaded the whole code on my Gist.Terraform configurations for Azure ARM template
Also, please write terraform.tfvar file. client_secret is the password that you specified on 2.2.
terraform.tfvars
default_user = "<OS User Name>"
default_password = "<OS User password>"
subscription_id = "<Your subscription Id>"
client_id       = "<Some AppId>"
client_secret   = "<Your Password>"
tenant_id       = "<Your tenantId>"
You can refer this site to understand tf and tfvar file.
If you don't familier with Azure Resrouce Manager, please check this site.
- Provisioning using terraform
Make sure that you have tf and tfvars file.
>dir
 :
2016/04/30  12:41               667 terraform.tf
2016/04/30  12:40                58 terraform.tfvars
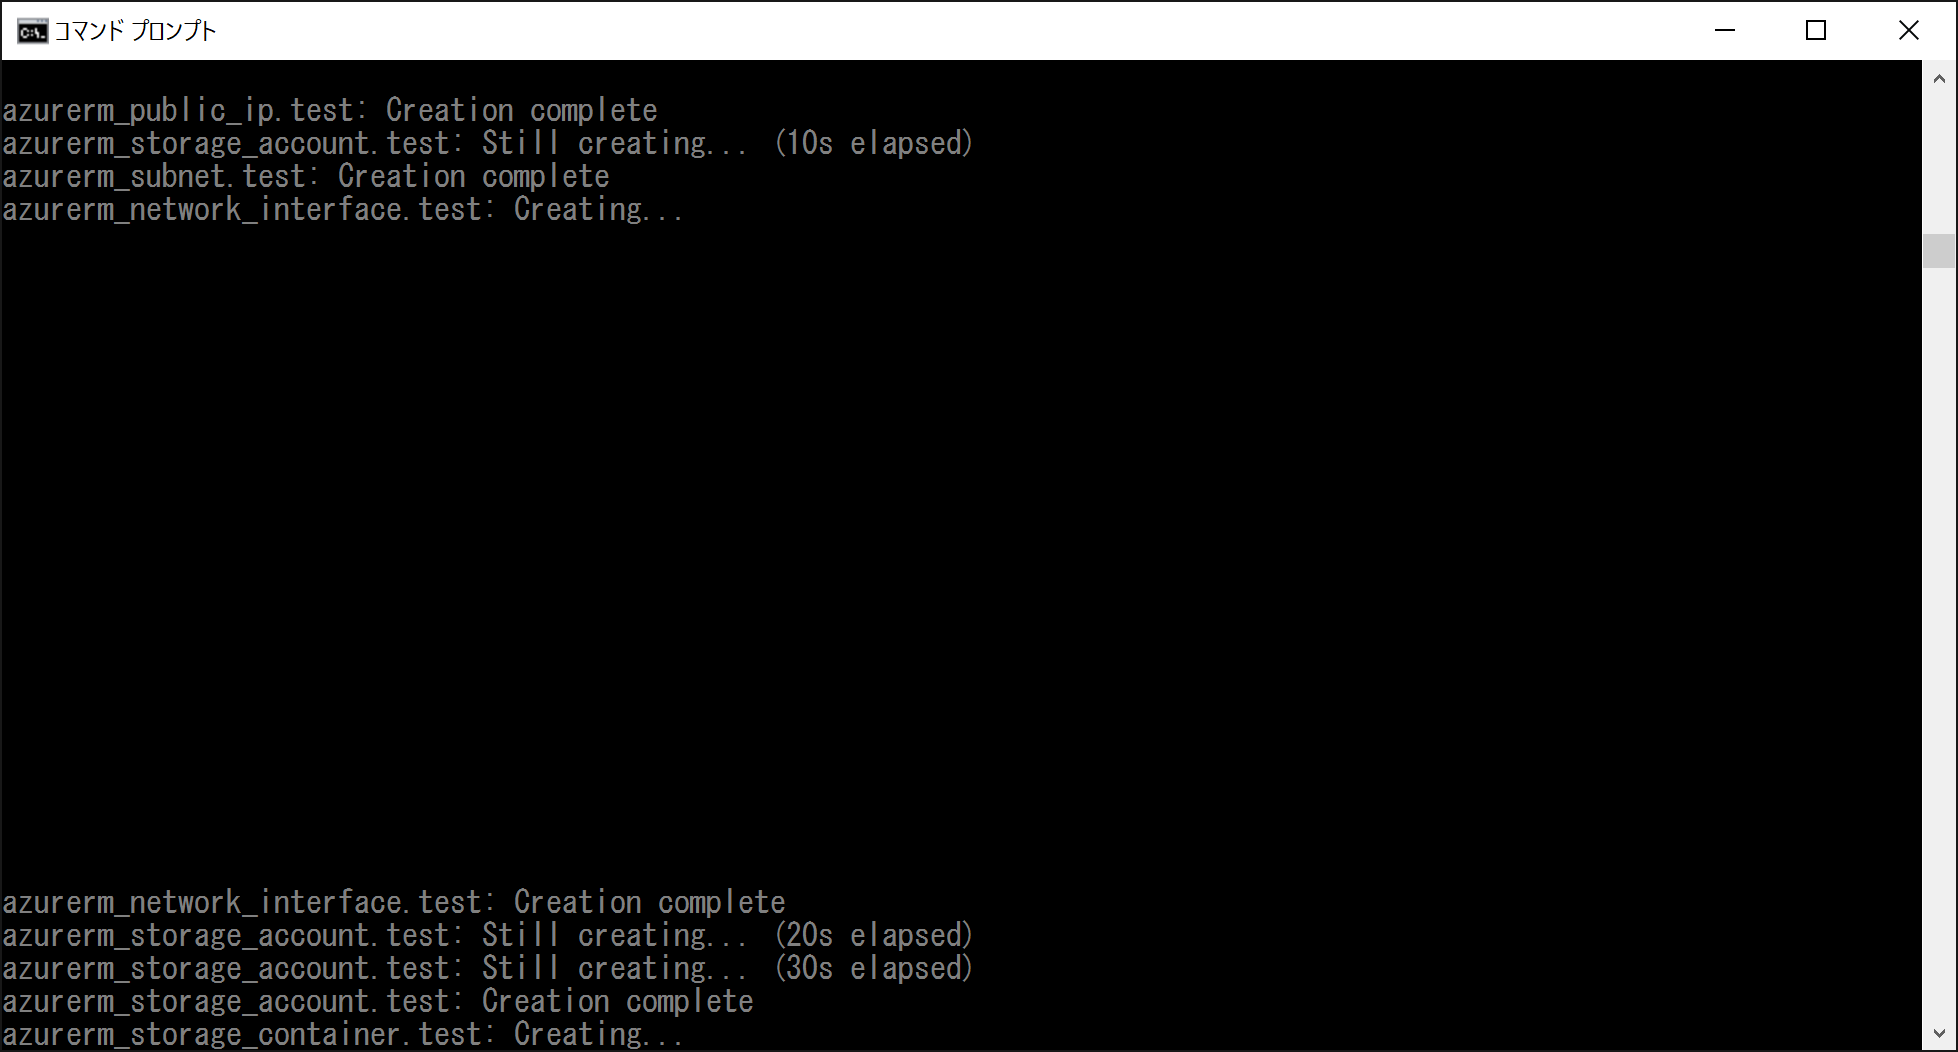
Apply the configuration. If you use windows, -no-color option might help.
> terraform plan
> terraform apply
 :
azurerm_virtual_machine.test (remote-exec): Thank you for installing Chef!
azurerm_virtual_machine.test: Creation complete

Apply complete! Resources: 8 added, 0 changed, 0 destroyed.

The state of your infrastructure has been saved to the path
below. This state is required to modify and destroy your
infrastructure, so keep it safe. To inspect the complete state
use the `terraform show` command.

State path: terraform.tfstate

C:\Users\tsushi\Codes\Terraform>
- Tips for Azure ARM
5.1. Creating Azure ARM strage account at the second time fails.
If you want to repeate remove/recreate a storage account, you might be better to change the storage account name. Please see this issue.
Creating Azure ARM strage account at the second time fails #6412
5.2. Use terraform destroy command
You can remove Resource Group via Azure portal. However, you'd better to remove it using terraform destroy command.
5.3. When terraform command doesn't work well, remove tfstate files.
Sometimes, terraform subcommand won't work well. Then you might better to delete .tfstate and .tfstate.backup file.
2016/04/30  12:13            12,268 terraform.tfstate
2016/04/30  12:11               197 terraform.tfstate.backup
5.3. Use Variables if you want to refer VM attributes
I wanted to refer the os_profile.*.admin_password from the connection resource. However, it doesn't work.
I guess, when it refer the attribute, the VM won't be created, completely. So we might not refer this.
Instead, we can use variables.
resource "azurerm_virtual_machine" "test" {
    name = "TerraformVM01"
    location = "Japan East"
    resource_group_name = "${azurerm_resource_group.test.name}"
    network_interface_ids = ["${azurerm_network_interface.test.id}"]
    vm_size = "Standard_A0"

    storage_image_reference {
    publisher = "Canonical"
    offer = "UbuntuServer"
    sku = "14.04.2-LTS"
    version = "latest"
    }

    storage_os_disk {
        name = "myosdisk1"
        vhd_uri = "${azurerm_storage_account.test.primary_blob_endpoint}${azurerm_storage_container.test.name}/myosdisk1.vhd"
        caching = "ReadWrite"
        create_option = "FromImage"
    }

    os_profile {
    computer_name = "TerraformTest"
    admin_username = "${var.default_user}"
    admin_password = "${var.default_password}"
    }

    os_profile_linux_config {
    disable_password_authentication = false
    }

    provisioner "remote-exec" {
    connection {
        type = "ssh"
        user = "${var.default_user}"
        password = "${var.default_password}"
        host = "${azurerm_public_ip.test.ip_address}"
    }
      inline = [
      "sudo sh -c 'curl -L https://omnitruck.chef.io/install.sh | bash'"
      ]
    }
}
5.4. Use variables for confidential information.
Would you want to separate the confidentical information like subscription, passord, and so on. Use variables.
Please note that you can only use terraform.tfvars for .tfvars file. Any other name is not allowed.
variable "default_user" {}
variable "default_password" {}
variable "subscription_id" {}
variable "client_id" {}
variable "client_secret" {}
variable "tenant_id" {}

provider "azurerm" {
  subscription_id = "${var.subscription_id}"
  client_id       = "${var.client_id}"
  client_secret   = "${var.client_secret}"
  tenant_id       = "${var.tenant_id}"
}
terraform.tfvars
default_user = "<OS User Name>"
default_password = "<OS User password>"
subscription_id = "<Your subscription Id>"
client_id       = "<Some AppId>"
client_secret   = "<Your Password>"
tenant_id       = "<Your tenantId>"
5.5. Use remote exec to execute shell
See Provisioners
    provisioner "remote-exec" {
    connection {
        type = "ssh"
        user = "${var.default_user}"
        password = "${var.default_password}"
        host = "${azurerm_public_ip.test.ip_address}"
    }
      inline = [
      "sudo sh -c 'curl -L https://omnitruck.chef.io/install.sh | bash'"
      ]
    }
5.6. Use -no-color option
If you use windows, you should use -no-color option. Unless it, you can see like this.
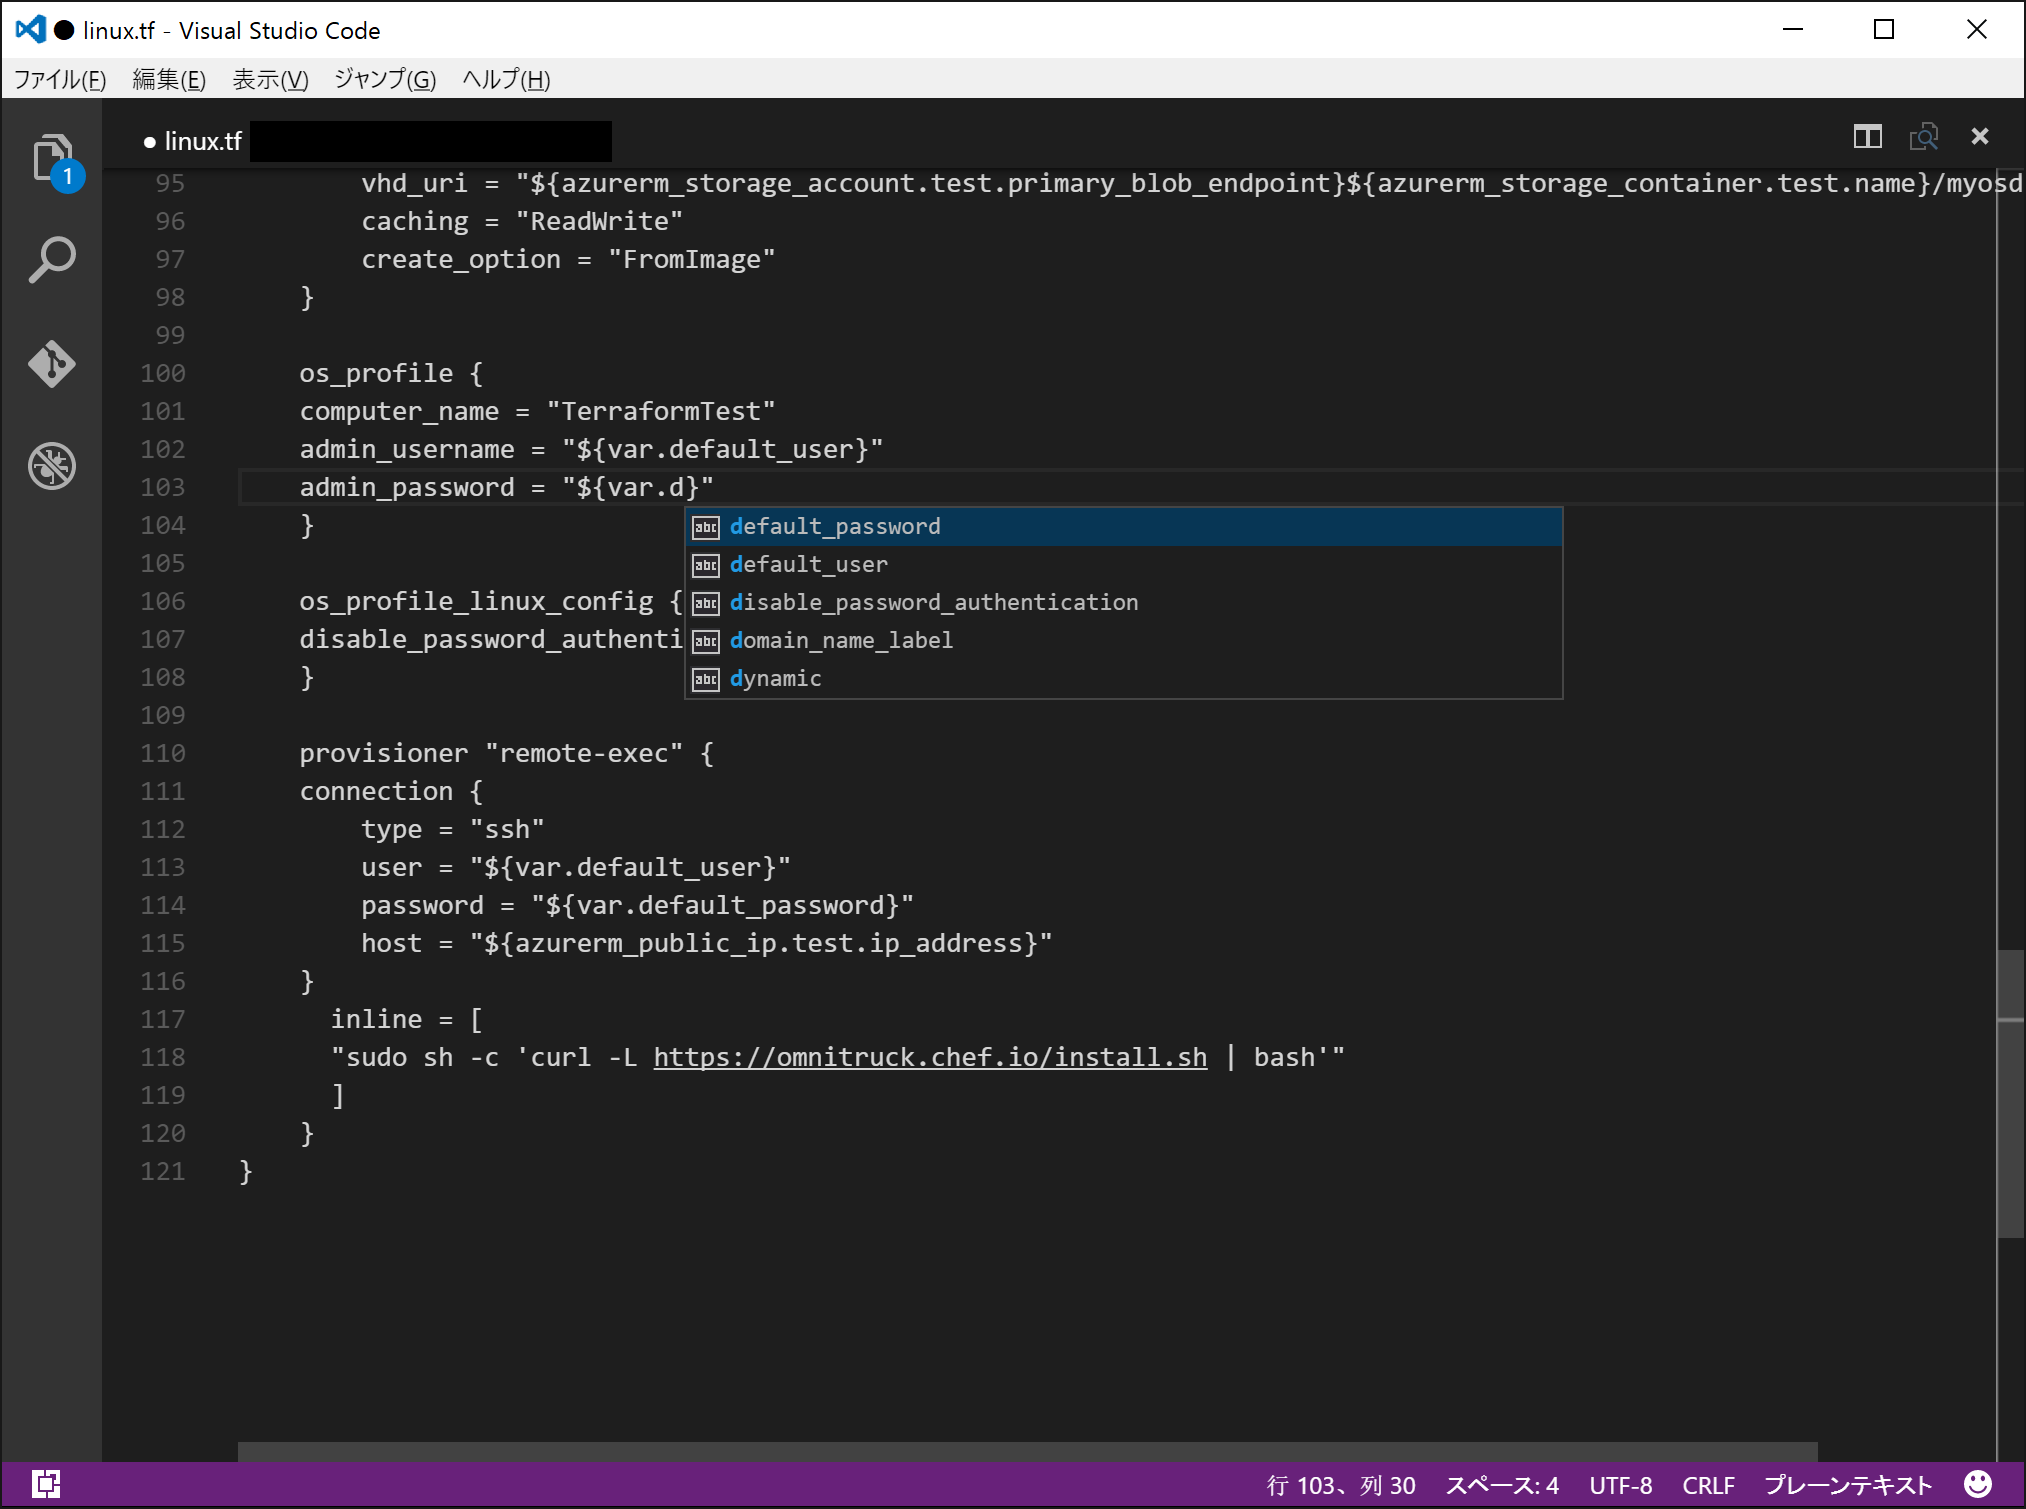
5.6. Visual Studio Code is a good tool for writing tf file.
Visual Studio Code. It is good because it has code completion.
Conclusion
ARM provisioner is just begining. However, it is good for someone who wants to manage several cloud platforms.
Also, it works fine both Windows and Mac. This application is written by Go language. I feel it is really stable.
Enjoy terraform on Azure ARM provisioners.