Visual Studio Code+ASP.NET 5をMacOSXで試してみた
MacOSXで、出たばかりのVisual Studio CodeでASP.NETを動かすところまで試してみました。その手順を共有します。
Visual Studio Codeから、MacOSXのVisual Studio Codeをダウンロードします。
ダウンロードしたら、“Visual Studio Code”を、Applicationsにぶち込みましょう!そしたら、lancherからVisual Studio Codeが見れるはず。
- 標準のチュートリアルをやってみる
ここに、ついていたチュートリアルをやってみます。
Building ASP.NET 5 Applications with Visual Studio Codeしかし、人生はそこまで甘くありません。ここと、ここから辿れるGitHubの手順をやっただけではうまくいきませんでしたので、その手順を書いてみます。
1.1. ASP.NET 5とDNXを入れる
書かれている手順に従って、homebrewから、ASP.NET 5とDNXを入れます。Macで動くなんて不思議な感じ。
$ brew tap aspnet/dnx
$ brew update
$ brew install dnvm
そして、手順通り、yomanをぶち込みます。ただし、npmはインストール済みの前提です。
$ npm install -g yo grunt-cli generator-aspnet bower
早速、yomanを使って、アプリケーションのテンプレートを生成してみます。
$ yo aspnet
? ==========================================================================
We're constantly looking for ways to make yo better!
May we anonymously report usage statistics to improve the tool over time?
More info: https://github.com/yeoman/insight & http://yeoman.io
========================================================================== Yes
 Y
     _-----_
    |       |    .--------------------------.
    |--(o)--|    |      Welcome to the      |
   `---------´   |   marvellous ASP.NET 5   |
    ( _´U`_ )    |        generator!        |
    /___A___\    '--------------------------'
     |  ~  |
   __'.___.'__
 ´   `  |° ´ Y `

? What type of application do you want to create? Web Application
? What's the name of your ASP.NET application? WebApplication
うむ。ロンドン好きの私としては悪くないデザインです。
さて、手順通り続きも行きます!
$ dnu restore
-bash: dnu: command not found
$ dnvm upgrade
-bash: dnvm: command not found
Oh!なんすかこれ、.NET全く知らんわしからしたら謎ですなぁ。普通や、homebrewでインストールすると、コマンドつかえそうですが、若干工夫が必要なようです。.bash_profileなどに、次の記述を追加しましょう。下記のを.bash_profileに書いて、source ~/.bash_profileを実行してください。
# For Mono/ASP.NET 5
export MONO_GAC_PREFIX="/usr/local"
source dnvm.sh
export MONO_MANAGED_WATCHER=false
ちなみに、最後のMONO_MANAGED_WATCHER=falseという記述ですが、これは、Monoのよく知られているバグらしく、後の手順で、ASP.NETを立ち上げると、
kqueue() FileSystemWatcher has reached the maximum nunmber of files to watch.
とかいう謎のエラーに出会います。これを回避するために、上記の環境変数をセットする必要があるようです。
これを入れて、あげると、次のコマンドが使えるようになります。これにより、nugetでなにやらライブラリを取ってくるみたいです。
$ dnu restore
$ dnvm upgrade
1.2. Visual Studio Codeの設定
さて、次ですが、Viusal Studio Codeをせっかくなので、コマンドラインから起動できるようにしましょう。.bash_profileにこれを追加しましょう。
code () {
	if [[ $# = 0 ]]
	then
		open -a "Visual Studio Code"
	else
		[[ $1 = /* ]] && F="$1" || F="$PWD/${1#./}"
		open -a "Visual Studio Code" --args "$F"
	fi
}
これをいれてsource ~/.bash_profileを実行すればコマンドラインからVisual Studio Codeを実行できます。
$ cd aspnet
$ cd WebApplication
$ code .
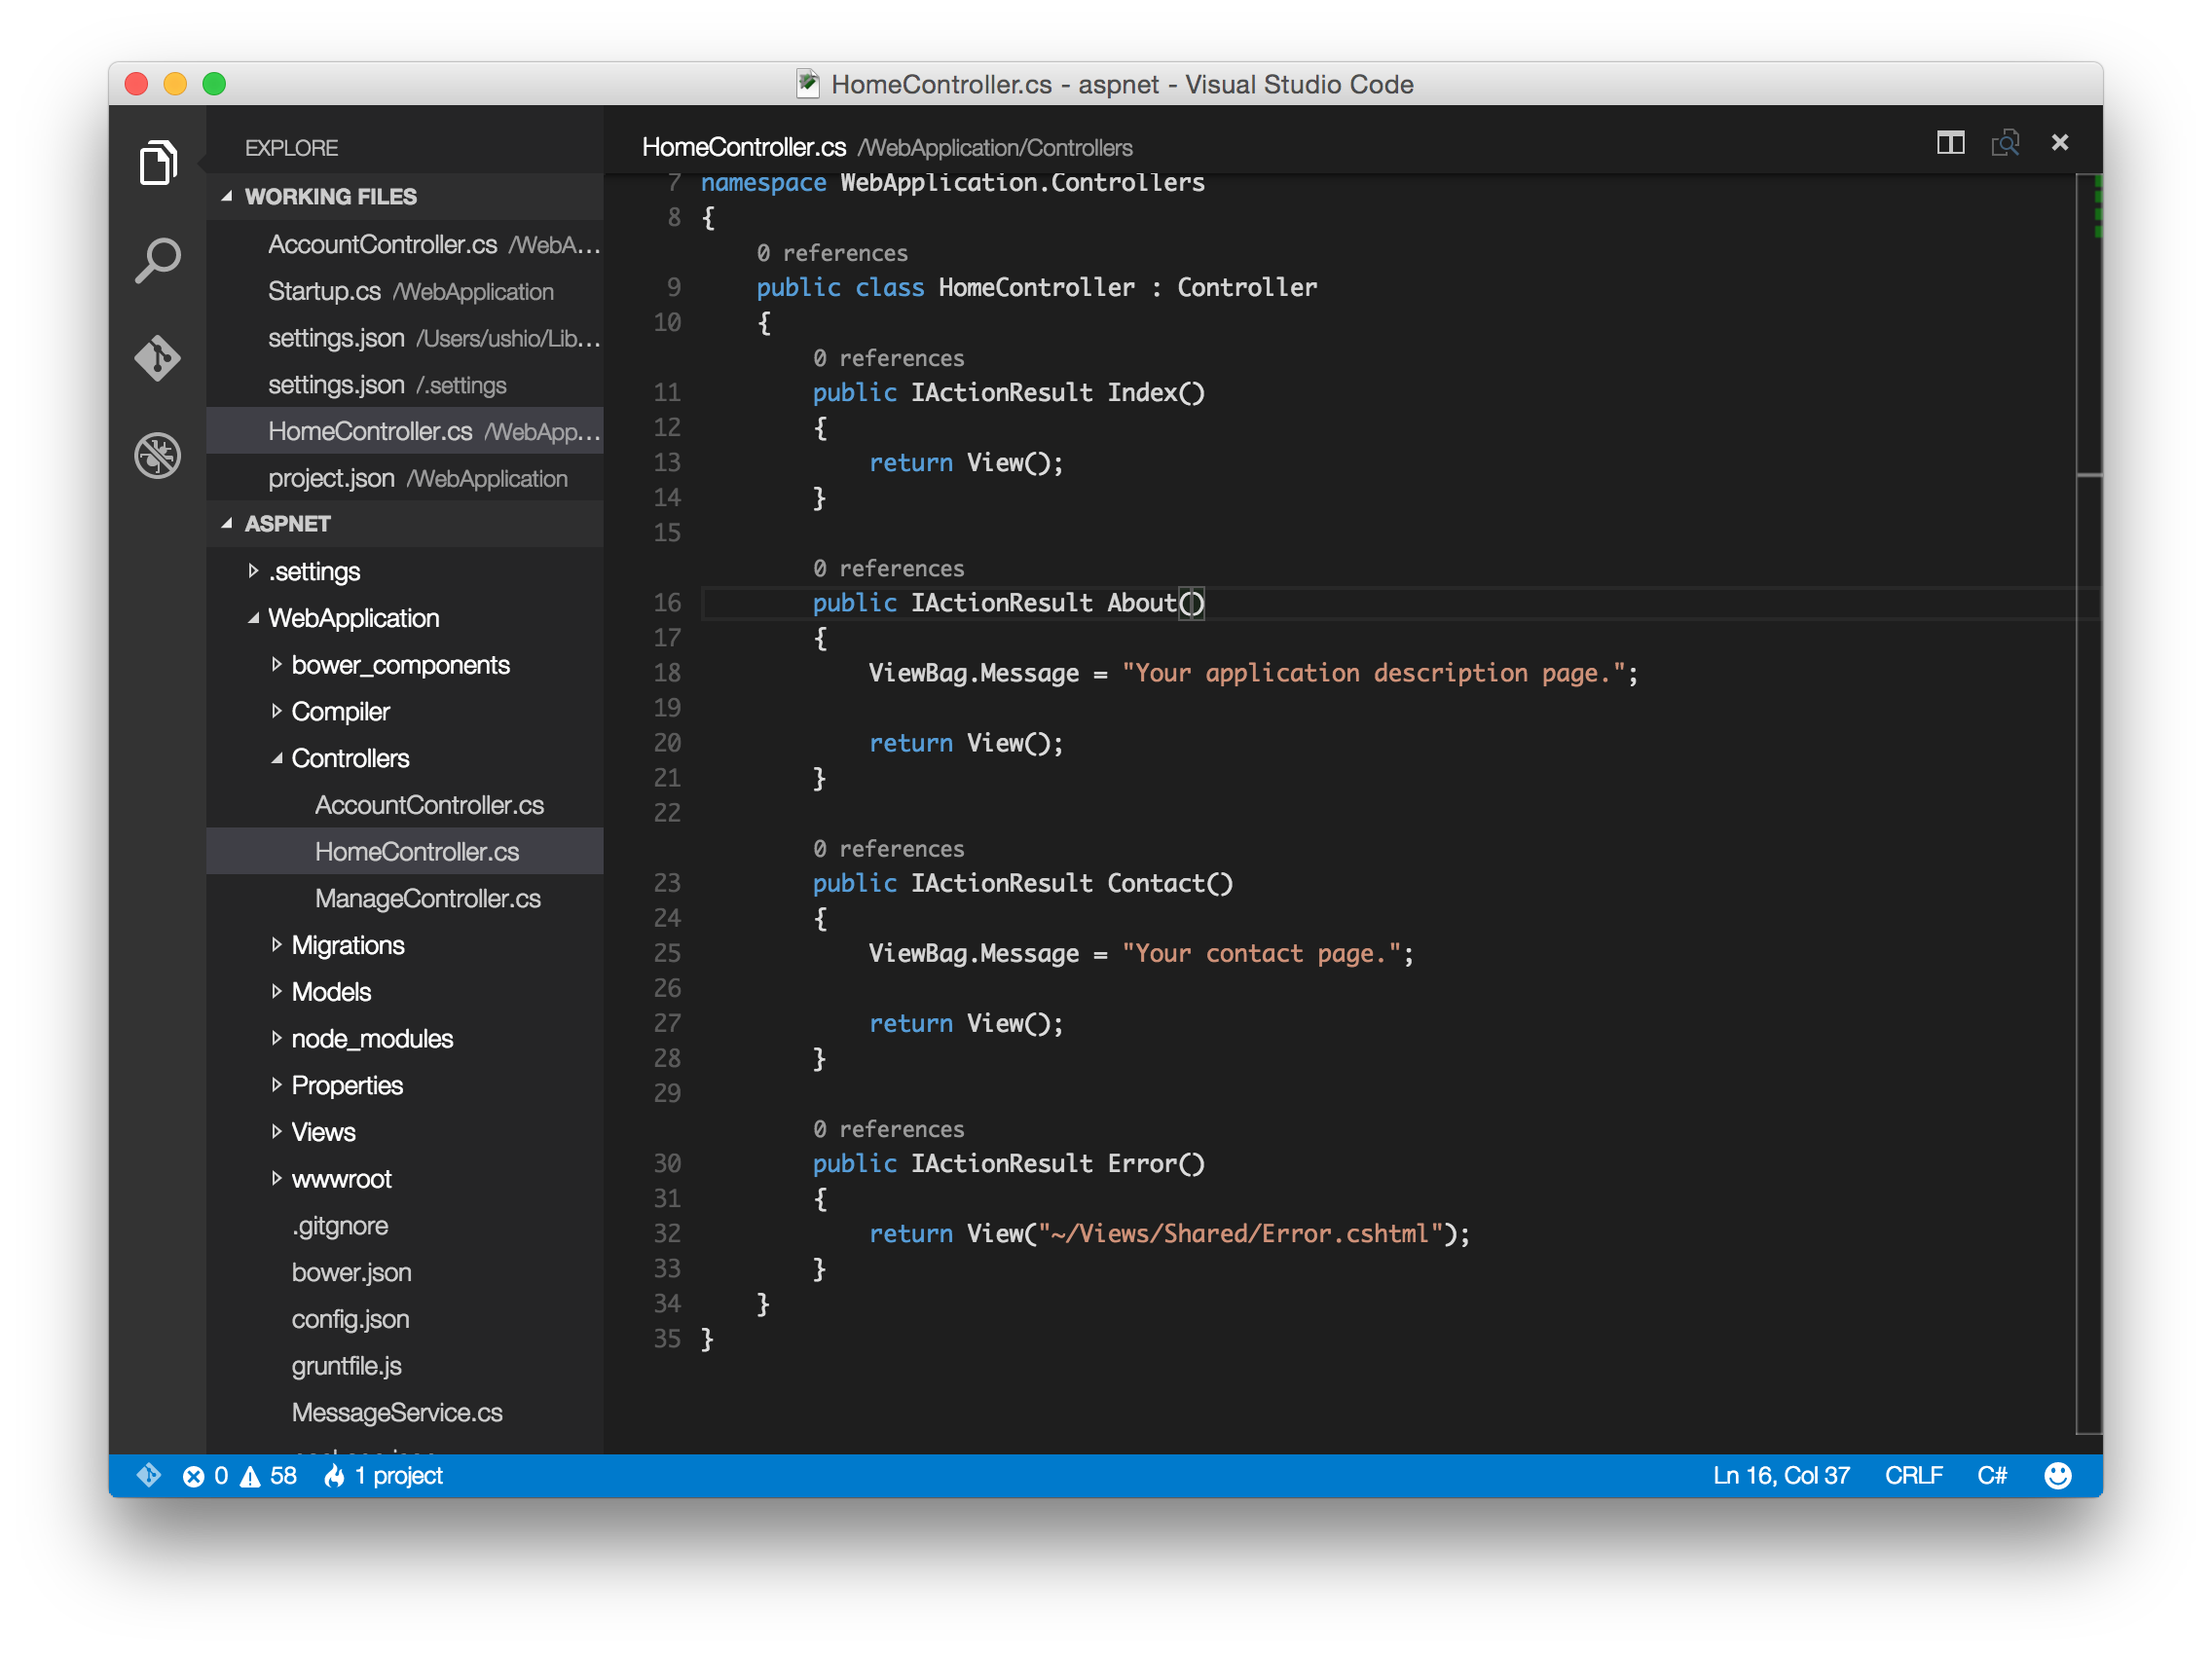
これで、Visual Studio Codeが起動します。するとこんな感じで起動します。
ところが、このままでは、このスクリーンショットのように、0 referencesとかの表示がでてきません。右下のニコちゃんマークの横のC#のところをクリックすると、言語が選べるので、そこでC#を選ぶと、無事、IntelliSenseが有効になるみたいです。
1.3. アプリケーションの起動
あとは、手順の通りで、Command + shift + p で、コマンドを入力できるようになりますので
>kest
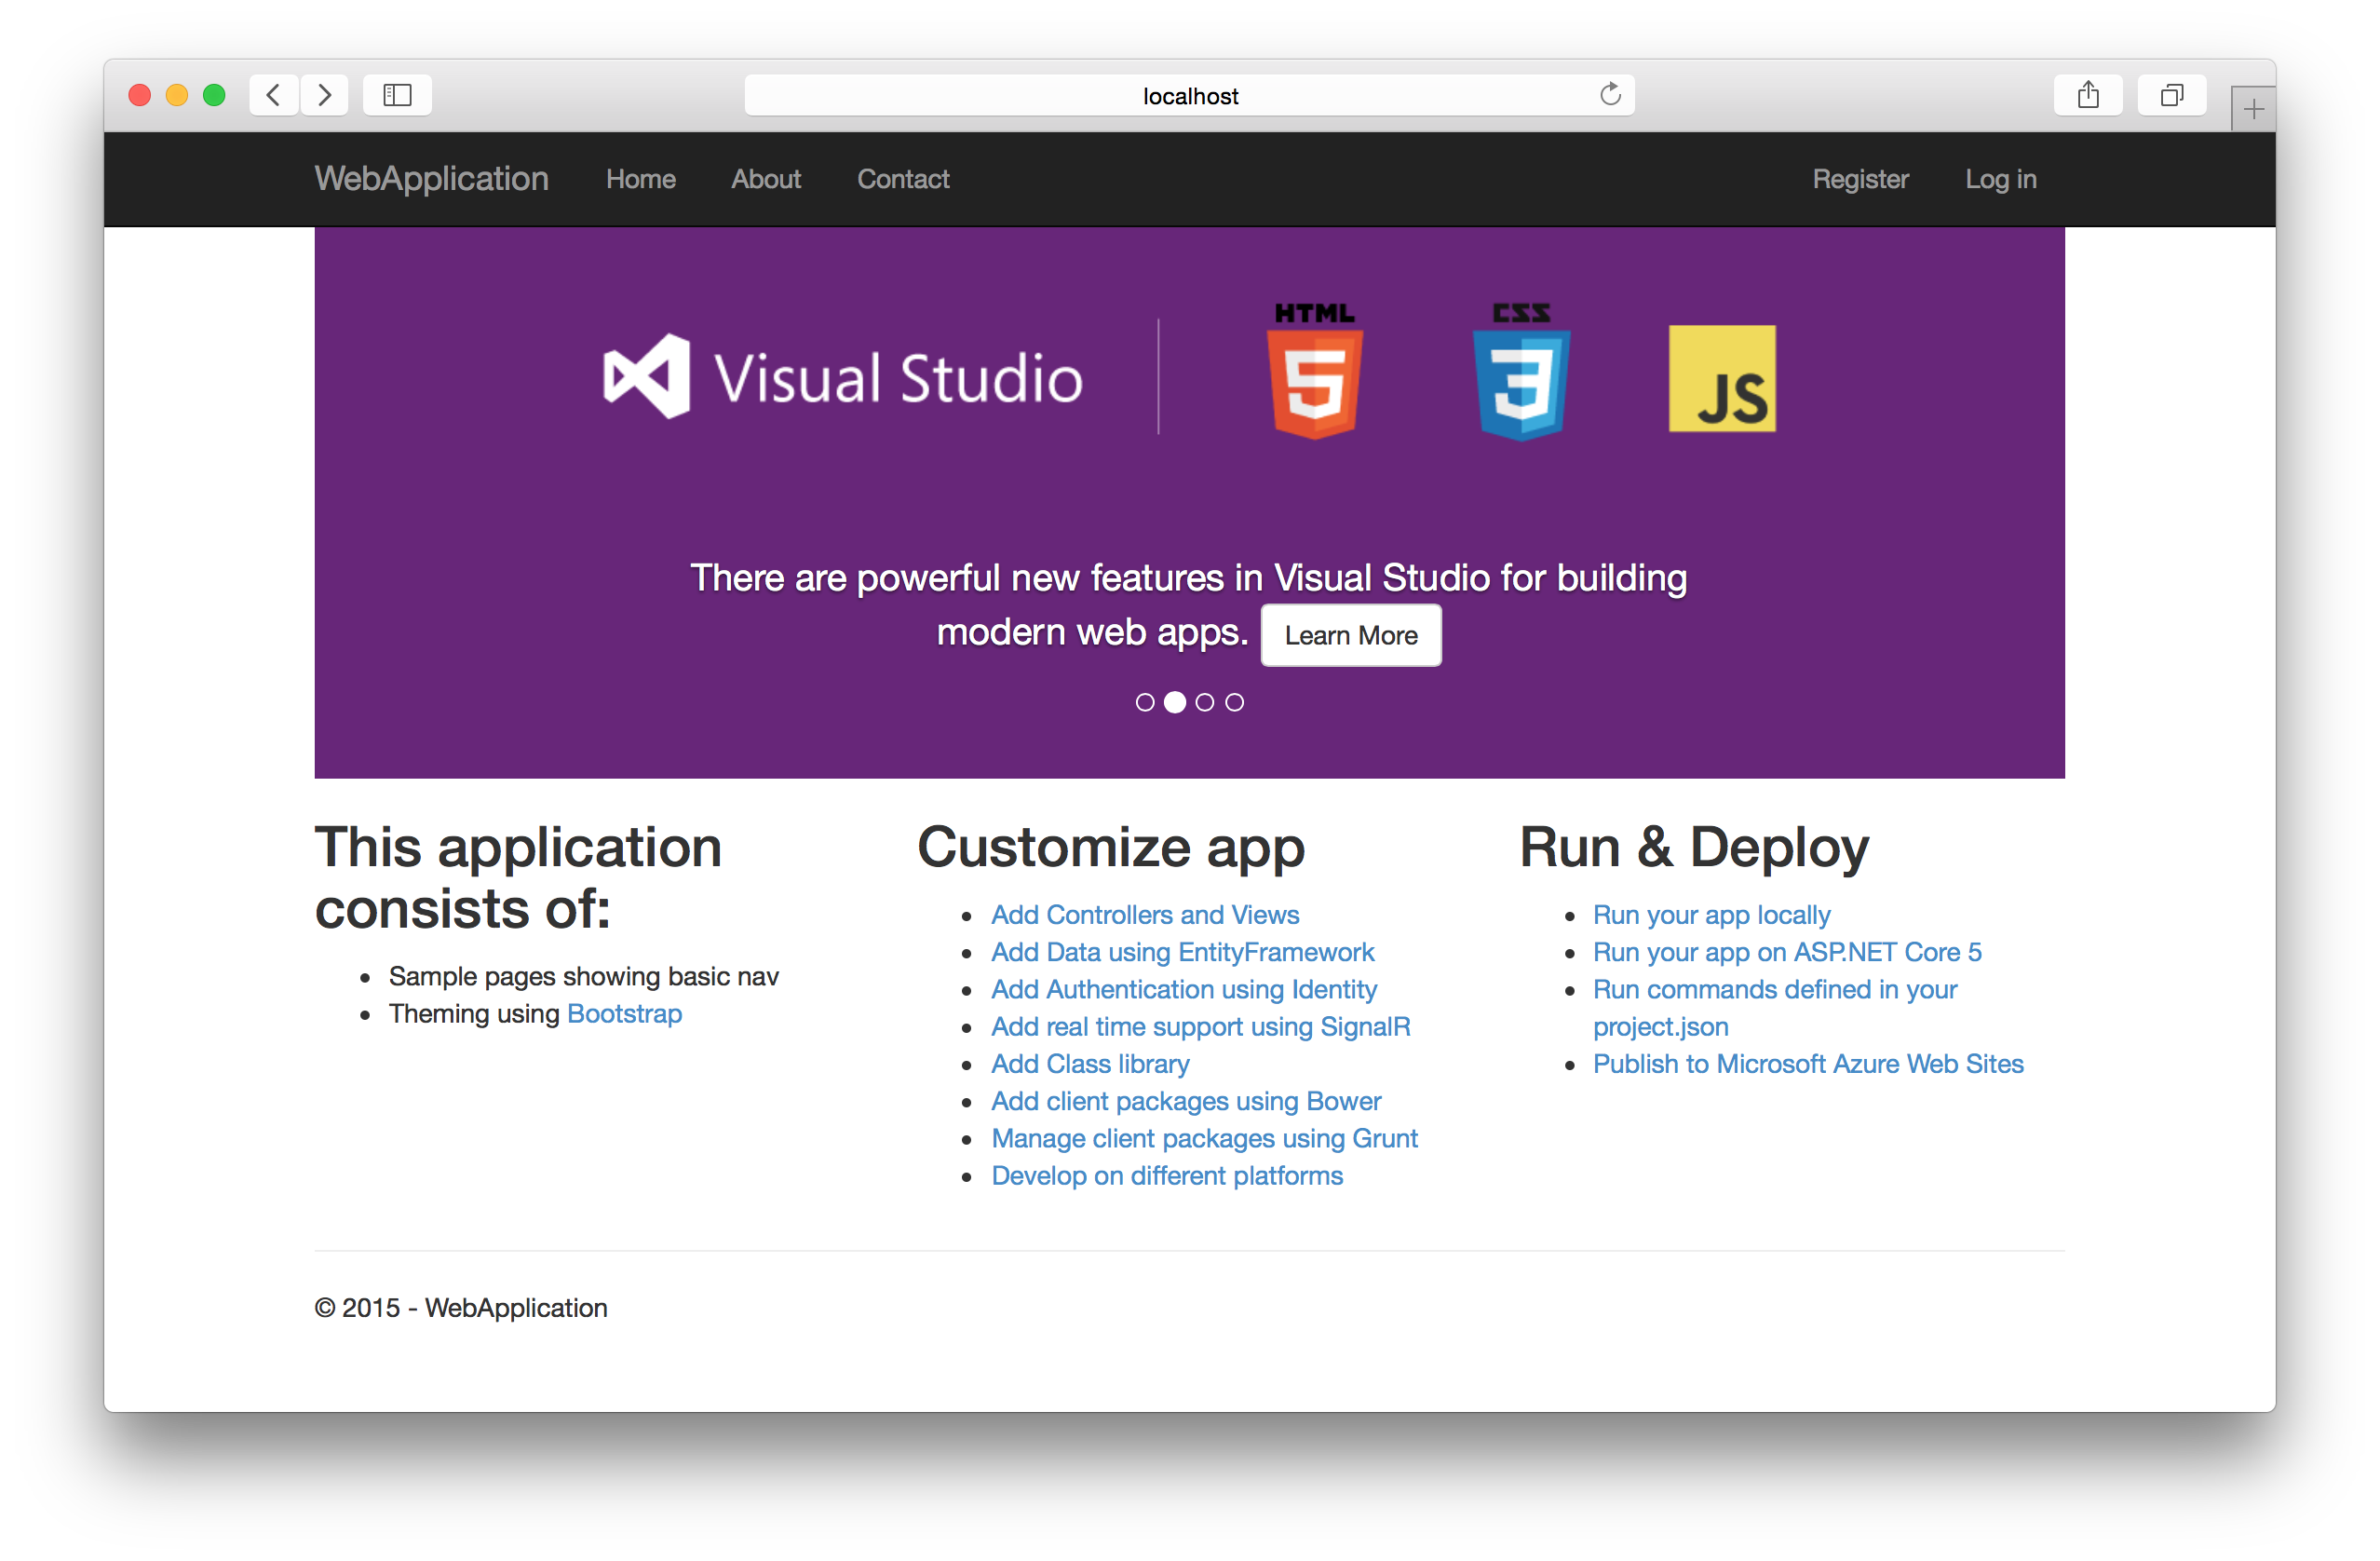
をタイプしたらでてくるdnx: kestrel を選択することで、localhost:5001にアクセスすると、ASP.NETのページを見ることができます。
めでたし、めでたし。

