概要
EC2にOpenAMをインストールします。
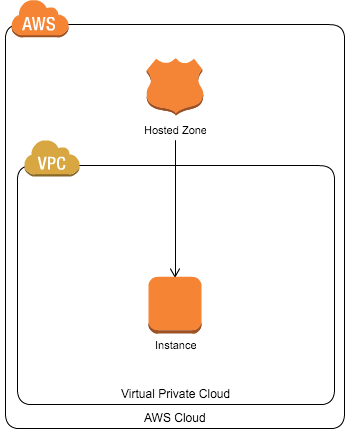
ターゲット環境
手順
以下にインストールの手順を書きます。
不要なサービスの停止
$ sudo service iptables stop
$ sudo service ip6tables stop
$ sudo chkconfig iptables off
$ sudo chkconfig ip6tables off
hostsの編集
$ sudo cp /etc/hosts{,.orgn}
$ sudo vi /etc/hosts
$ sudo diff /etc/hosts.orgn /etc/hosts
1a2
> 172.31.29.76 sso.XXXXX.com
ネットワークの編集
$ sudo cp /etc/sysconfig/network{,.orgn}
$ sudo vi /etc/sysconfig/network
$ sudo diff /etc/sysconfig/network.orgn /etc/sysconfig/network
2c2
< HOSTNAME=localhost.localdomain
---
> HOSTNAME=sso.XXXXX.com
Tomcatのインストール
$ sudo yum -y install tomcat7
$ sudo /sbin/chkconfig --level 2345 tomcat7 on
OpenAMの入手
サイトからwarファイルをダウンロードする。
$ sudo mv OpenAM-13.0.0.war /usr/share/tomcat7/webapps/openam.war
$ sudo chown -R tomcat /usr/share/tomcat7/
Tomcatの設定
$ sudo cp /etc/tomcat7/tomcat7.conf{,.orgn}
$ sudo vi /etc/tomcat7/tomcat7.conf
$ sudo diff /etc/tomcat7/tomcat7.conf.orgn /etc/tomcat7/tomcat7.conf
21a22
> JAVA_OPTS="-Xmx1024m -XX:MaxPermSize=256m"
Tomcatの起動とログフォルダ権限変更
$ sudo /sbin/service tomcat7 start
$ sudo chmod -R 775 /var/log/tomcat7/
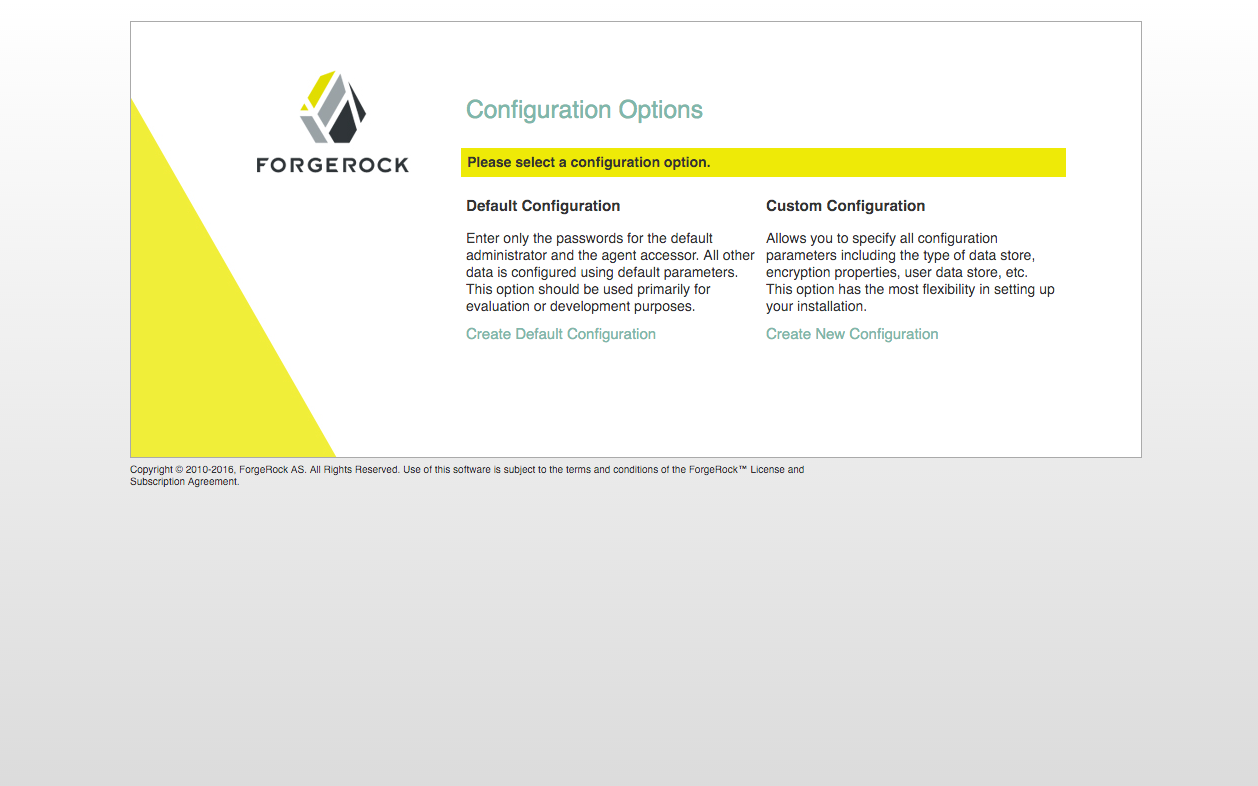
OpenAMにアクセス
http://sso.XXXXX.com:8080/openam/
OpenAMの画面が表示されればOK

