EspressifにあるUARTのサンプルを動かしてみました。
試したのは以下のコードです。
- /esp-idf/examples/peripherals/uart_echo
今回、UARTの接続の確認には、Switch ScienceさんのFT231XS USB-シリアル変換ボードです。
こういったボードは手元にあるとサクッと動作確認できるので便利ですね。
ではいきましょう!
Step1 デバイスの接続
WROOM32とFT231XS USB-シリアル変換ボードの接続をします。
ソースコードを見ると接続はフロー制御ありですので、TX,RXに加えてCTS, RTSも接続します。
This is a example exaple which echos any data it receives on UART1 back to the sender, with hardware flow control
/* Uart Events Example

   This example code is in the Public Domain (or CC0 licensed, at your option.)

   Unless required by applicable law or agreed to in writing, this
   software is distributed on an "AS IS" BASIS, WITHOUT WARRANTIES OR
   CONDITIONS OF ANY KIND, either express or implied.
*/
# include <stdio.h>
# include <string.h>
# include <stdlib.h>
# include "freertos/FreeRTOS.h"
# include "freertos/task.h"
# include "esp_system.h"
# include "nvs_flash.h"
# include "driver/uart.h"
# include "freertos/queue.h"
# include "esp_log.h"
# include "soc/uart_struct.h"

/**
 * This is a example exaple which echos any data it receives on UART1 back to the sender, with hardware flow control
 * turned on. It does not use UART driver event queue.
 *
 * - port: UART1
 * - rx buffer: on
 * - tx buffer: off
 * - flow control: on
 * - event queue: off
 * - pin assignment: txd(io4), rxd(io5), rts(18), cts(19)
 */

# define ECHO_TEST_TXD  (4)
# define ECHO_TEST_RXD  (5)
# define ECHO_TEST_RTS  (18)
# define ECHO_TEST_CTS  (19)

# define BUF_SIZE (1024)

//an example of echo test with hardware flow control on UART1
static void echo_task()
{
    const int uart_num = UART_NUM_1;
    uart_config_t uart_config = {
        .baud_rate = 115200,
        .data_bits = UART_DATA_8_BITS,
        .parity = UART_PARITY_DISABLE,
        .stop_bits = UART_STOP_BITS_1,
        .flow_ctrl = UART_HW_FLOWCTRL_CTS_RTS,
        .rx_flow_ctrl_thresh = 122,
    };
    //Configure UART1 parameters
    uart_param_config(uart_num, &uart_config);
    //Set UART1 pins(TX: IO4, RX: I05, RTS: IO18, CTS: IO19)
    uart_set_pin(uart_num, ECHO_TEST_TXD, ECHO_TEST_RXD, ECHO_TEST_RTS, ECHO_TEST_CTS);
    //Install UART driver (we don't need an event queue here)
    //In this example we don't even use a buffer for sending data.
    uart_driver_install(uart_num, BUF_SIZE * 2, 0, 0, NULL, 0);

    uint8_t* data = (uint8_t*) malloc(BUF_SIZE);
    while(1) {
        //Read data from UART
        int len = uart_read_bytes(uart_num, data, BUF_SIZE, 20 / portTICK_RATE_MS);
        //Write data back to UART
        uart_write_bytes(uart_num, (const char*) data, len);
    }
}

void app_main()
{
    //A uart read/write example without event queue;
    xTaskCreate(echo_task, "uart_echo_task", 1024, NULL, 10, NULL);
}
ピンの接続は以下の説明にしたがって接続します。
#define ECHO_TEST_TXD (4)
#define ECHO_TEST_RXD (5)
#define ECHO_TEST_RTS (18)
#define ECHO_TEST_CTS (19)
実際は以下の用に接続します
WROOM32 --- FT231XS USB-シリアル変換ボード
TXD D4 -> RX
RXD D5 -> TX
RTS D18 -> CTS
CTS D19 -> RTX
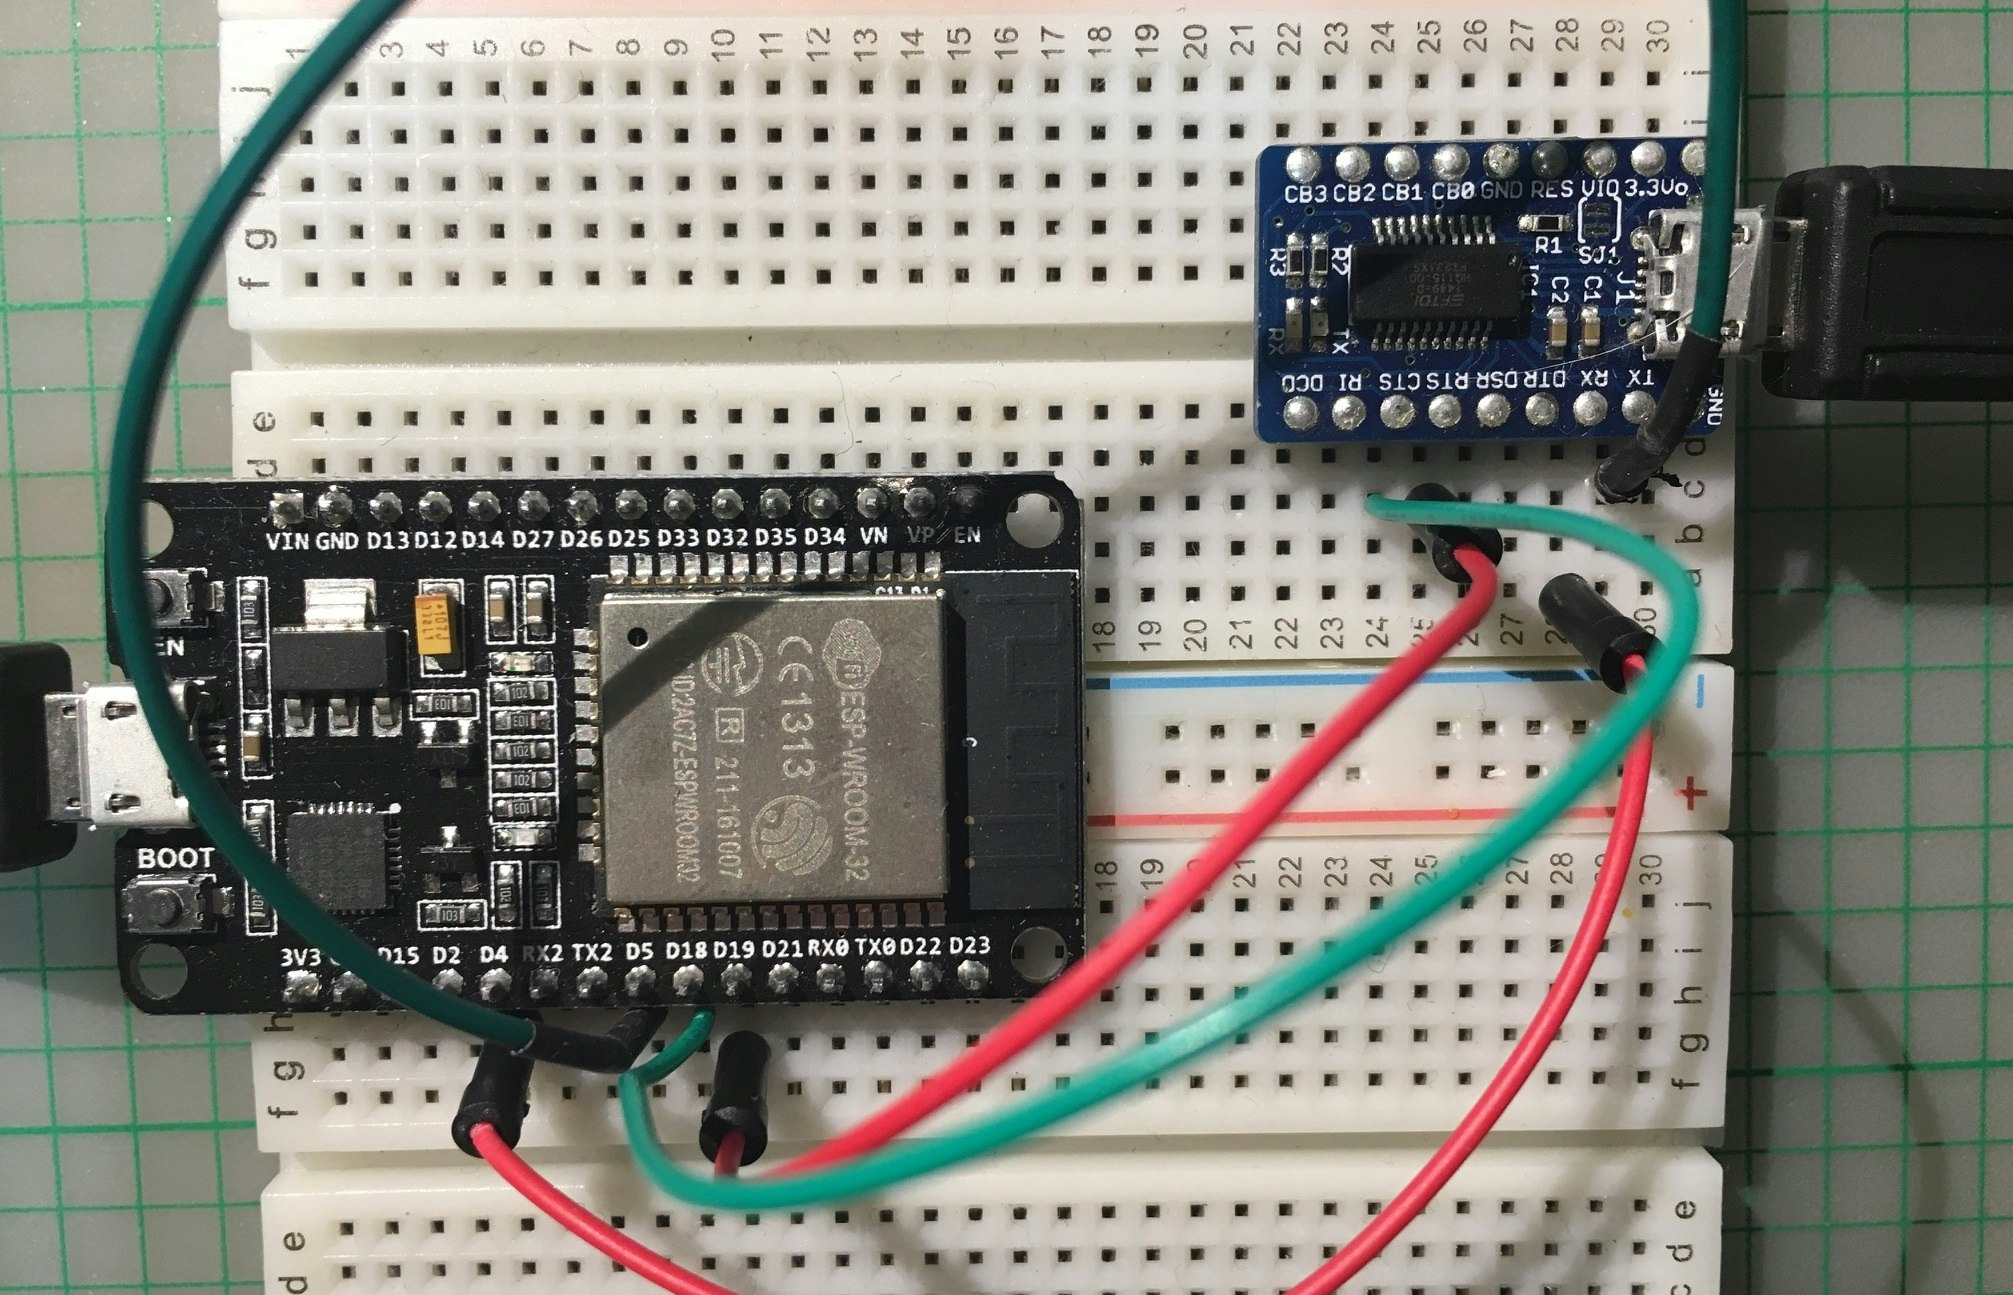
PCからは、WROOM32へのUSB接続と、FT231XS USB-シリアル変換ボード用のUSBで二本必要です。
Step2 コードのビルド
変更しないのでビルドするだけです。
make
make flash
ここでつまずいたら、WROOM-32 セットアップの投稿を見てください。
<補足>
以下のコマンドを使うとmakeからWROOM32への転送、動作中のWROOM32のメッセージの確認が一度にできます。
make -j5 flash monitor
Step3 動作確認
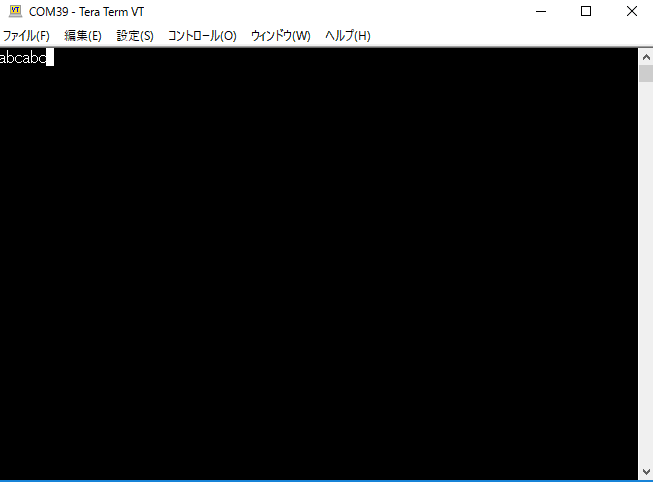
私はWindows環境なので、Tera Termで確認しました。
キーボードで打ち込んだ文字が接続先から返ってくるのが確認できます。