Solr サンプルプログラムの実行
サンプルデータの登録
Solrインストールフォルダに移動してSolrを起動します。
bin/solr start
※solrの停止コマンドは?
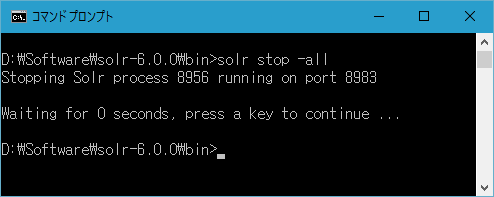
bin/solr stop -all
Linuxでは通常、postコマンドを使うみたいなんですが、Widowsだと使えない...
でもWindows用にpostツールが用意されているそうです。
Post Tool - Apache Solr Reference Guide - Apache Software Foundation
というわけで言われるがままにそこに書いてあるコマンドを実行してみます。
[結果]
core/collectionが必須ですと怒られます。
SimplePostTool: FATAL: Specifying either url or core/collection is mandatory.
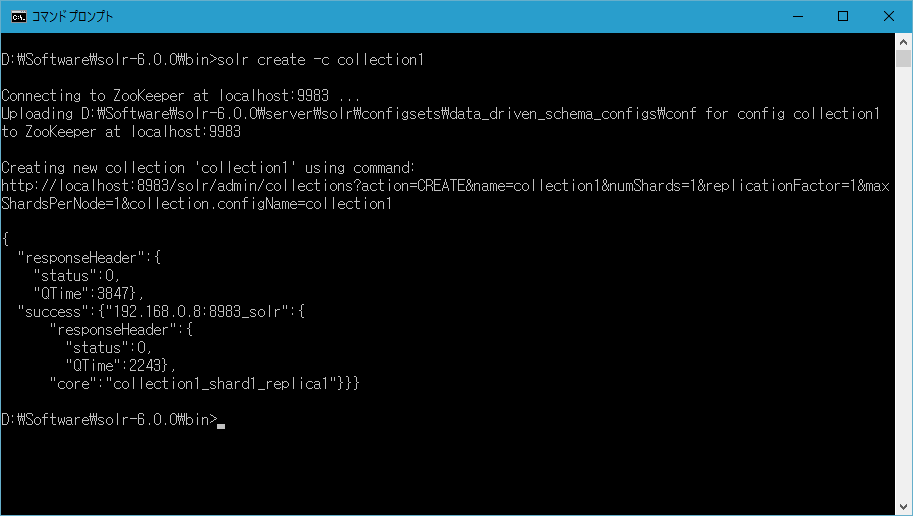
coreを作らないといけないみたいですので、まずは「D:\Software\solr-6.0.0\bin」フォルダに移動し、下記のコマンドを実行します。
solr create -c collection1
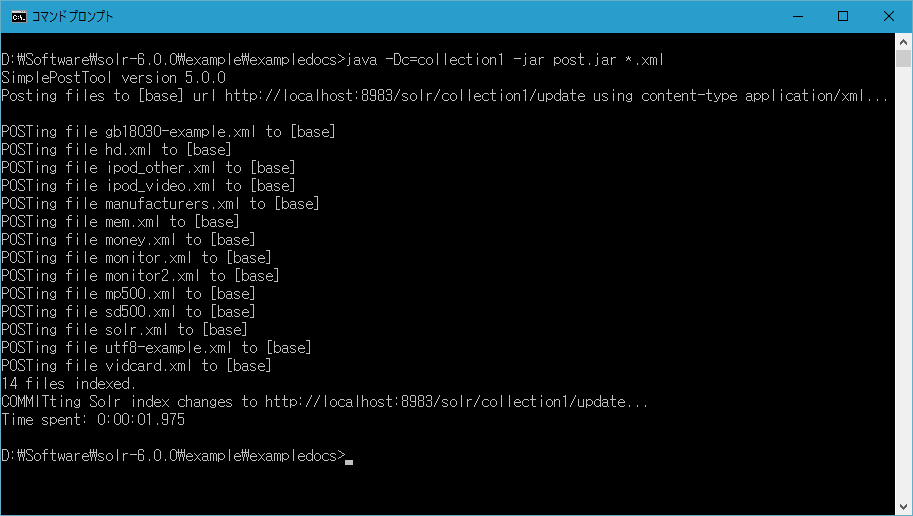
そのうえで、「D:\Software\solr-6.0.0\example\exampledocs」フォルダに移動し、core/collectionを指定してサンプルドキュメントを登録します。
java -Dc=collection1 -jar post.jar *.xml
登録できました。
サンプルデータの検索
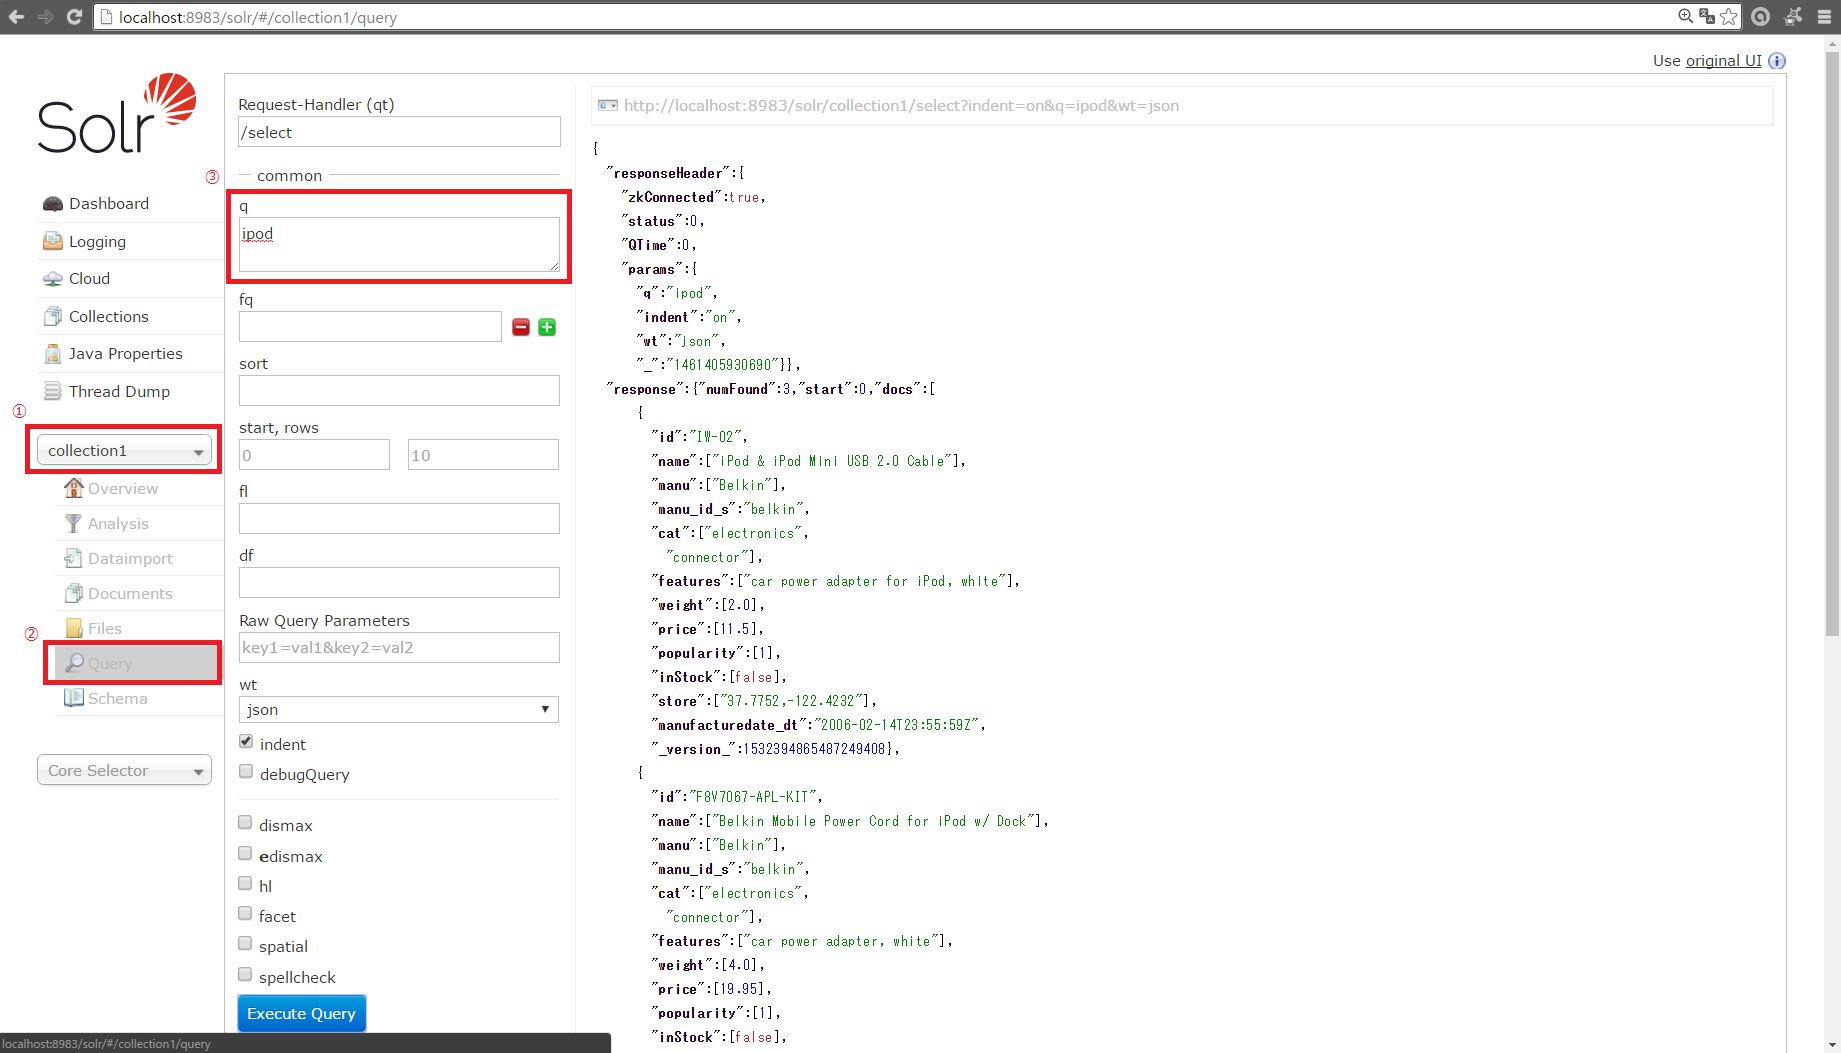
管理画面から簡単な検索を実行することができます。
① 左のメニューのセレクトボックスから「Collection1」(Solrのコア名)選択。
② その下のメニューの「Query」をクリック。
③ 右の入力フォーム「qの部分」に適当な検索語を入力し、フォームの下部にある「Execute Query」ボタンをクリック。
すると、JSON形式の検索結果がフォームの右側に表示されます。
以上が、Solrの起動と、付属のサンプル・データを使った登録と検索の手順です。


