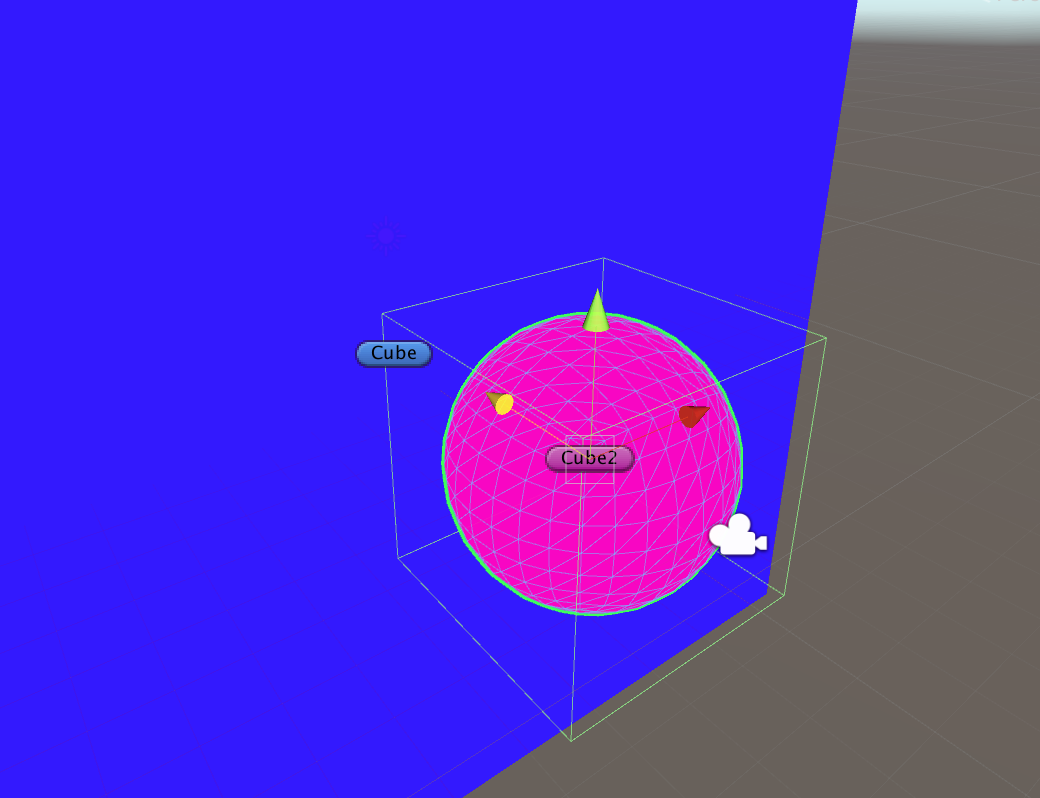
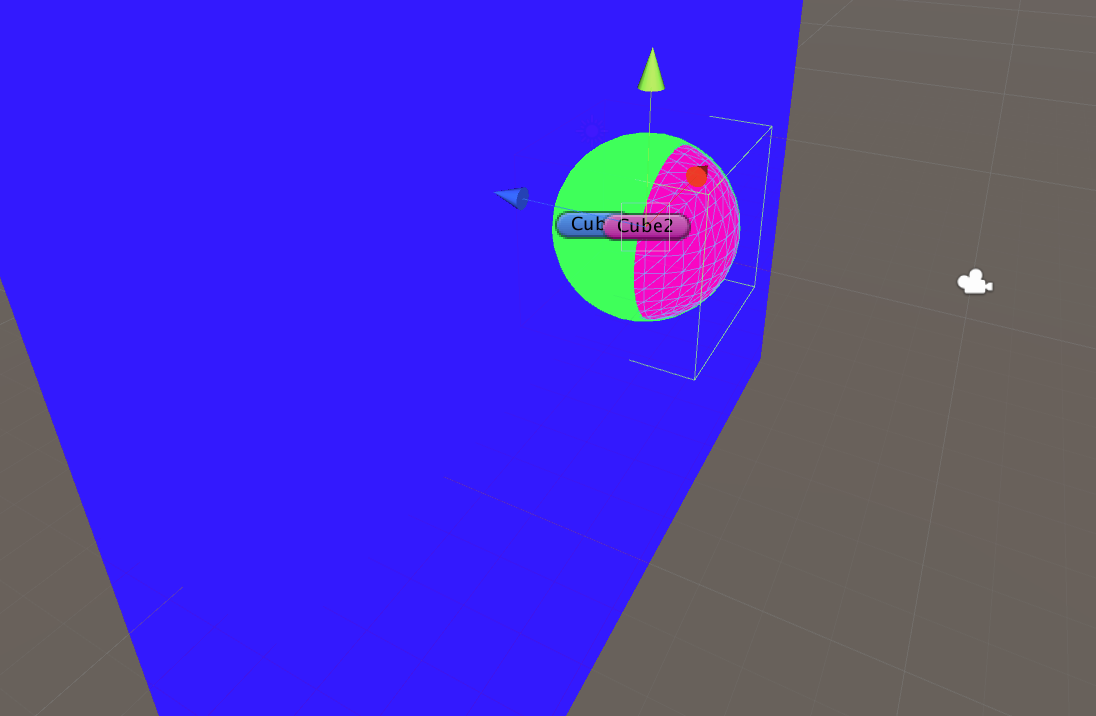
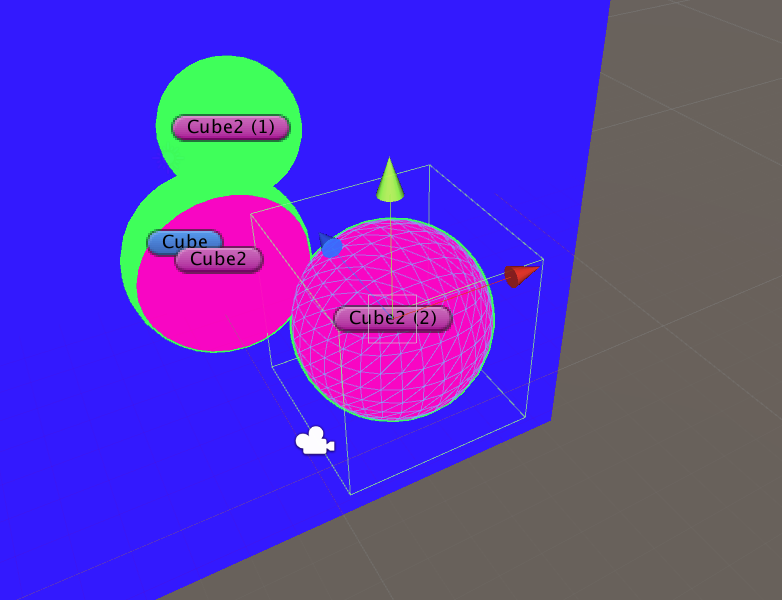
##アルファブレンディングについて
アルファブレンディングをするためにはShaderにBendの記述が必要。
とりあえずアルファブレンディング用のShaderを書いてみた
Shader "Custom/TestShader2" {
	Properties {
		_Color("Color", Color) = (1,1,1,1)
	}

	SubShader {
		Tags { "Queue" = "Transparent" "RenderType" = "Transparent"}
		ZTest LEqual
		ZWrite On
		Blend SrcAlpha OneMinusSrcAlpha

		Pass {
			CGPROGRAM
			#pragma vertex vert
			#pragma fragment frag

			uniform float4 _Color;

			float4 vert(float4 pos : POSITION) : SV_POSITION {
				return mul(UNITY_MATRIX_MVP,pos);
			}

			float4 frag() : SV_TARGET {
				return _Color;
			}
			ENDCG
		}
	}
}
結果(手前のピンクCubeにTest2Shaderをつけてる)
アルファブレンディングが正常に動作した。
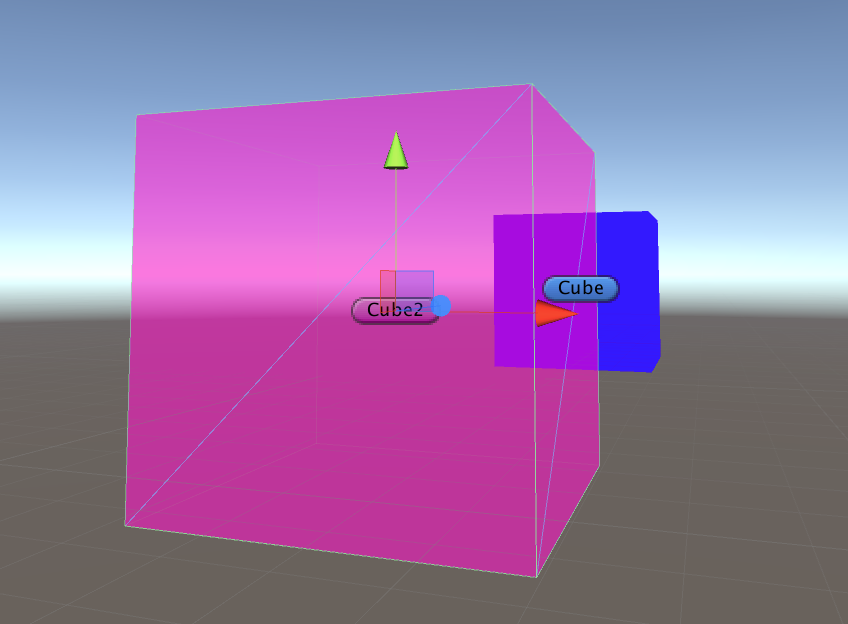
アルファブレンディングの仕方は様々あるらしい。
Unity Shaderでは次の行で指定している
Blend SrcAlpha OneMinusSrcAlpha
Blendしない場合はBlend Off (Blend指定しないとデフォルトでOffになる)
ちなみにBlend Offにするとこんな感じ
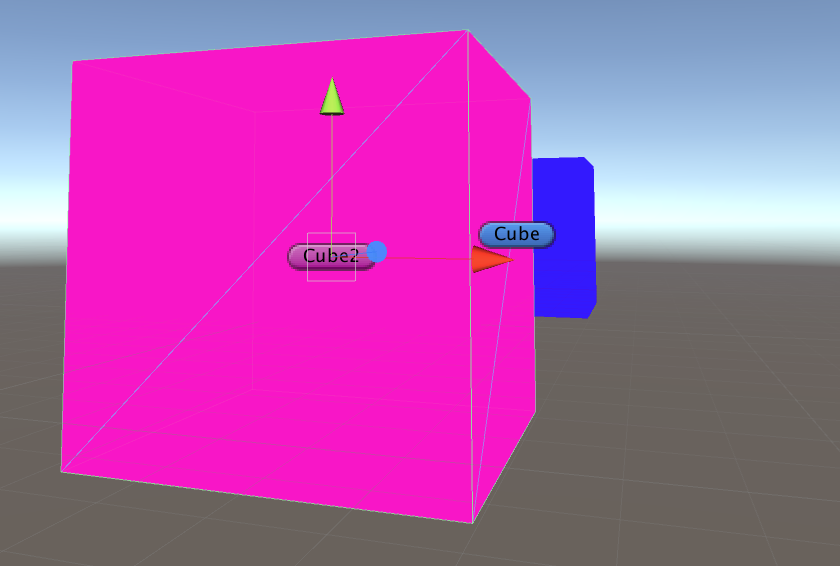
Blend SrcAlpha OneMinusSrcAlphaについて調べて見る
このあたりのサイトが参考になった。
http://masuqat.net/programming/csharp/OpenTK01-09.php
https://wgld.org/d/webgl/w029.html
Blend SrcAlpha OneMinusSrcAlphaとはfragmet処理後の色を決定するアルファブレンドの式に使用され、
fragment処理後の色 =
デプスバッファに書き込まれている色 * SrcAlpha + 今から書き込もうとしている色 * OneMinusSrcAlpha
になるとのこと。
##ステンシルバッファについて
ここを参照
https://wgld.org/d/webgl/w038.html
http://qiita.com/edo_m18/items/95a7f350d1164486e03b
ステンシルバッファ => ステンシルテストに使う基準値を記録するバッファ
ステンシルテスト => デプステストみたいにそのピクセルに色を塗るかどうか判断するテスト
とりあえずコード書いてみた
Shader "Custom/TestShader" {
	Properties {
		_Color("main Color" , Color) = (1,1,1,1)
	}

	SubShader {
		Tags { "Queue" = "Geometry" "RenderType" = "Opaque"}
		ZTest LEqual
		ZWrite On
		Pass {
			Stencil {
				Ref 1
				Comp Always
				Pass replace
			}

			CGPROGRAM
			#pragma vertex vert
			#pragma fragment frag

			uniform float4 _Color;

			float4 vert(float4 pos : POSITION) : SV_POSITION {
				return mul(UNITY_MATRIX_MVP,pos);
			}

			float4 frag() : SV_TARGET {
				return _Color;
			}
			ENDCG
		}
	}
}
Shader "Custom/TestShader2" {
	Properties {
		_Color("Color", Color) = (1,1,1,1)
	}

	SubShader {
		Tags { "Queue" = "Transparent" "RenderType" = "Transparent"}
		ZTest LEqual
		ZWrite On
		Blend SrcAlpha OneMinusSrcAlpha

		Pass {

			Stencil {
				Ref 1
				Comp Equal
				Pass replace
			}
			CGPROGRAM
			#pragma vertex vert
			#pragma fragment frag

			uniform float4 _Color;

			float4 vert(float4 pos : POSITION) : SV_POSITION {
				return mul(UNITY_MATRIX_MVP,pos);
			}

			float4 frag() : SV_TARGET {
				return _Color;
			}
			ENDCG
		}
	}
}
TestShaderは必ずRef1を書き込み、TestShader2はステンシルバッファに1が入っていた時のみ描画する。
そのためTestShader2の描画は背後にTestShaderを持ったオブジェクトがある時のみ行われるはず。
結果
青CubeがTestShader
ピンクCubeがTestShader2
ピンクCubeはステンシルテストに不合格のため描画されない
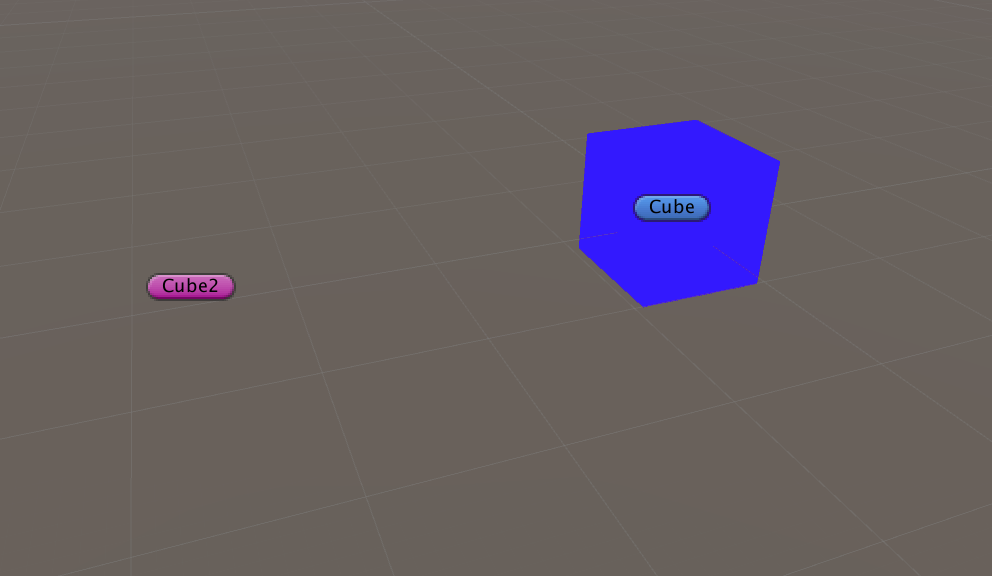
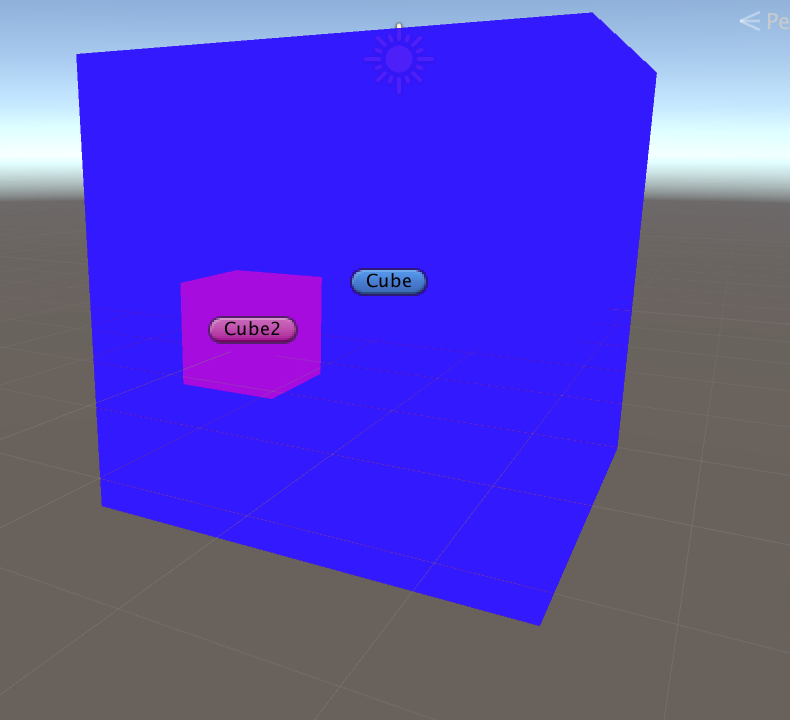
わかりやすく青Cubeを大きくした。
背後に青Cubeがあり、ステンシルバッファに1が書き込まれているため、ピンクCubeがステンシルテストに合格したのでピンクCubeは描画された。
Shader処理の順番は、
fragment処理 => ステンシルテスト => (ステンシル合格なら) デプステスト => (デプステスト合格なら) 書き込み
となっている。
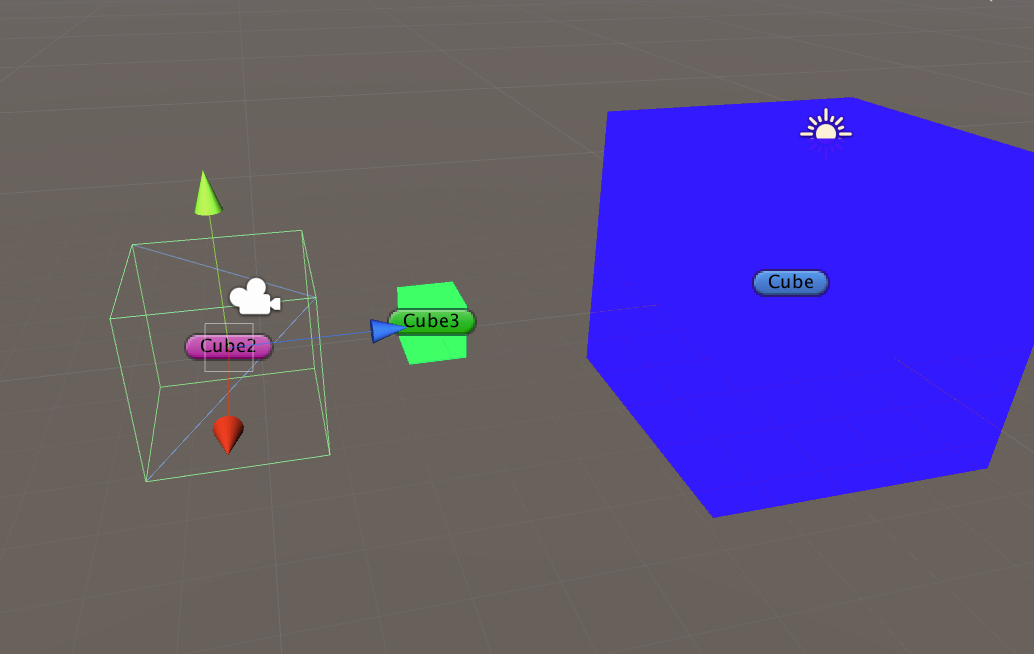
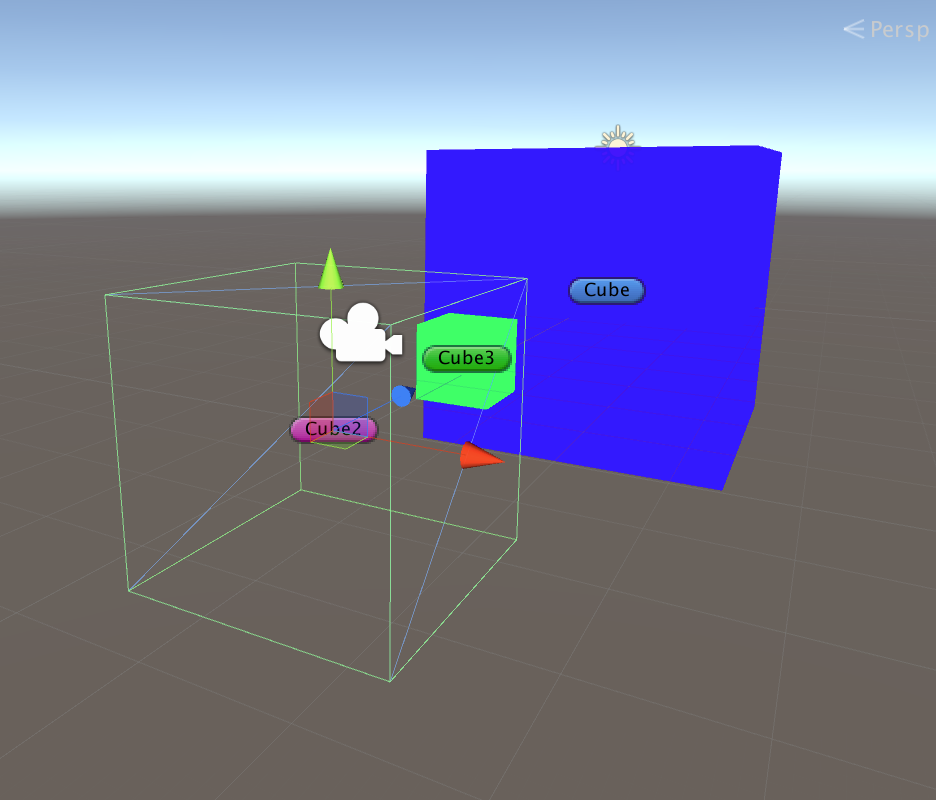
ステンシルテストが不合格の場合にデプステストは行われるのだろうか?
結果:ステンシルテストが不合格の場合はデプステストは行われない。
ピンクCubeのステンシルテストをNeverにして必ず不合格にし、緑Cube(ピンクCubeよりQueueが大きい)をピンクCubeより奥に配置した。
緑Cubeが描画されているのでピンクCubeのデプステストが行われていないことがわかる
##ステンシルを使ってアウトラインを書いてみる
こちらを参照
https://wgld.org/d/webgl/w039.html
http://tarowork.hatenablog.jp/entry/2014/07/27/193816
1Passでアウトライン用のStencilを書き込んで
2Passで本体描画
3Passでアウトライン描画
Shader "Custom/TestShader2" {
	Properties {
		_Color("Color", Color) = (1,1,1,1)
		_OutlineColor("Outline Color",Color) = (1,1,1,1)
		_OutlineWidth("outline width",Range(0,0.5)) = 0.01

	}

	SubShader {
		Pass {
			Tags { "Queue" = "Geometry-1" "RenderType" = "Opaque"}
			ZTest Off
			ZWrite Off
			ColorMask 0
			Cull Off

			Stencil {
				Ref 2
				CompFront always
				CompBack always
				PassFront replace
				PassBack replace
			}

			CGPROGRAM
			#pragma vertex vert
			#pragma fragment frag
			#include "UnityCG.cginc"

			uniform float _OutlineWidth;

			float4 vert(float4 pos : POSITION,float3 normal : NORMAL) : SV_POSITION {
				float4 wPos = mul(UNITY_MATRIX_MVP,pos);
				wPos += float4(UnityObjectToWorldNormal(normal) * _OutlineWidth,0);
				return wPos;
			}

			float4 frag() : SV_TARGET {
				return float4(1,1,1,1);
			}
			ENDCG
		}

		Pass {
			Tags { "Queue" = "Geometry" "RenderType" = "Opaque"}
			ZTest LEqual
			ZWrite On
			Stencil {
			  Ref 3
			  CompFront always
			  CompBack always
			  PassFront replace
			  PassBack replace
			  FailFront replace
			  FailBack replace
			//ZFailBack replace
			//ZFailFront replace
			}
			CGPROGRAM
			#pragma vertex vert
			#pragma fragment frag
			uniform float4 _Color;

			float4 vert(float4 pos : POSITION) : SV_POSITION {
				return mul(UNITY_MATRIX_MVP,pos);
			}

			float4 frag() : SV_TARGET {
				return _Color;
			}
			ENDCG
		}

		Pass {
			Tags { "Queue" = "Ovarlay" "RenderType" = "Opaque"}
			ZTest Off
			ZWrite Off

			Stencil {
				Ref 2
				Comp Equal
			}
			CGPROGRAM
			#pragma vertex vert
			#pragma fragment frag
			#include "UnityCG.cginc"
			uniform float4 _OutlineColor;
			uniform float _OutlineWidth;

			float4 vert(float4 pos : POSITION,float3 normal : NORMAL) : SV_POSITION {
				float4 wPos = mul(UNITY_MATRIX_MVP,pos);
				wPos += float4(UnityObjectToWorldNormal(normal) * _OutlineWidth,0);
				return wPos;
			}

			float4 frag() : SV_TARGET {
				return _OutlineColor;
			}
			ENDCG
		}
	}
}
アウトライン楽しい :)
