XcodeプロジェクトにGoogle Maps SDKを入れる
まずターミナルを起動
Google Maps SDKを使いたいXcodeのプロジェクトにディレクトリ移動します
次に、そこでpod initというコマンドを打ち込みます
次に、Finderでそのプロジェクトをみると、podfileというファイルが作成されます。
そこを以下のように変更
# Uncomment this line to define a global platform for your project
# platform :ios, '6.0'

target 'SampleGoogleMaps' do
pod ‘GoogleMaps’
end

target 'SampleGoogleMapsTests' do

end

target 'SampleGoogleMapsUITests' do

end
このように編集後、保存します
再びターミナルで、pod installというコマンドを打ちます
Google Maps API Keyを取得
続いて、Google Developer ConsoleからGoogle Maps APIを取得します
以下のURLからアクセス
https://console.developers.google.com/

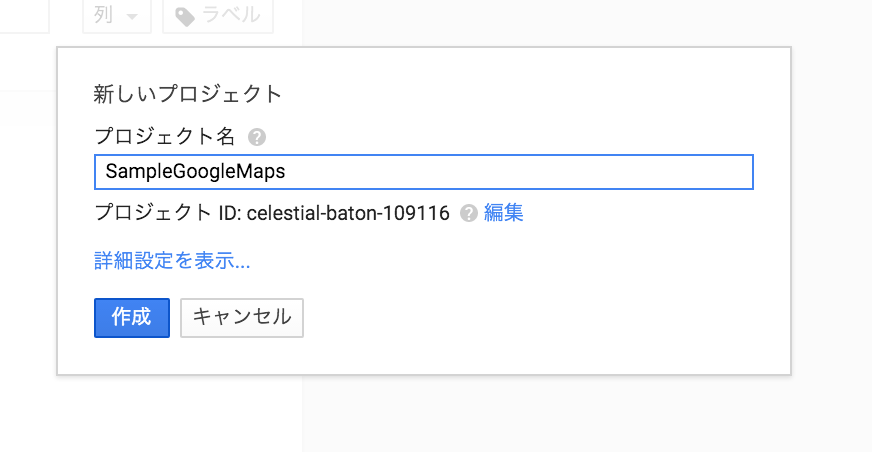
プロジェクト名を入れる
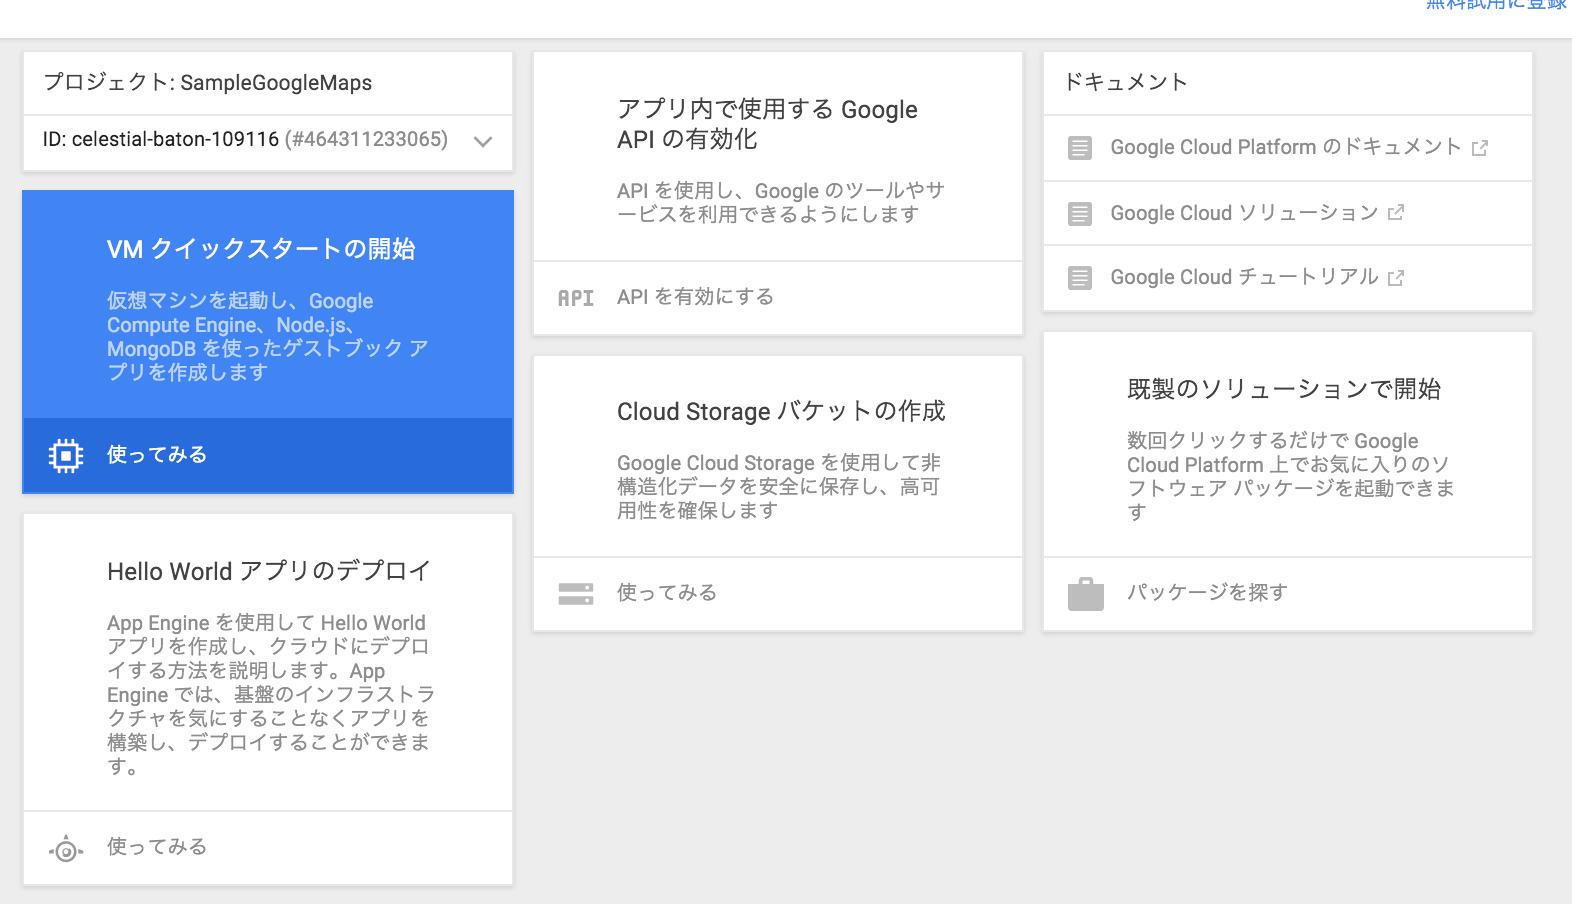
アプリ内で使用するGoogle APIの有効化
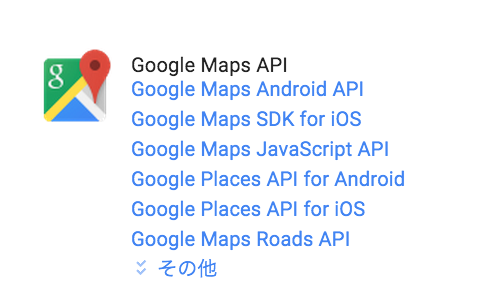
Google Maps SDK for iOSを選択
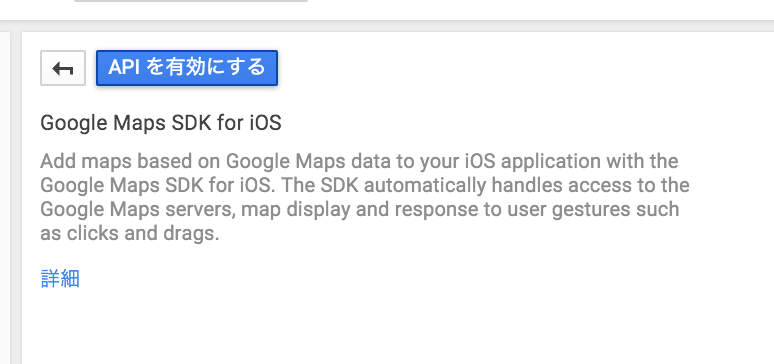
APIを有効にするを選択する
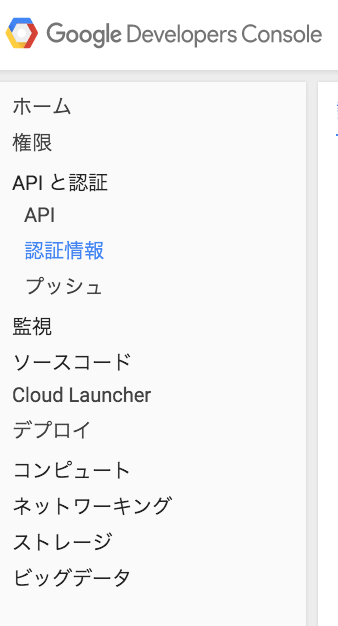
続いて左側のサイドバーから認証情報を選択する
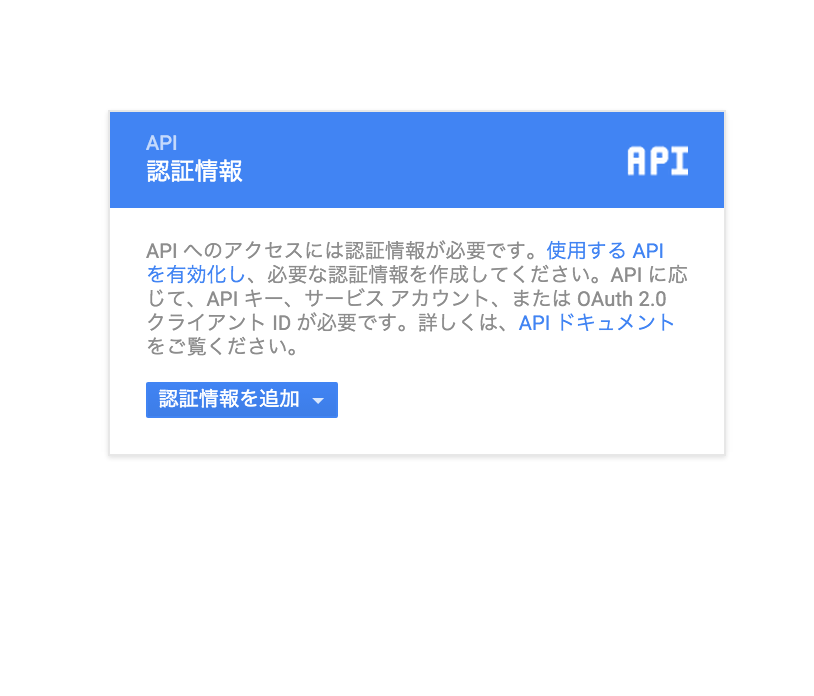
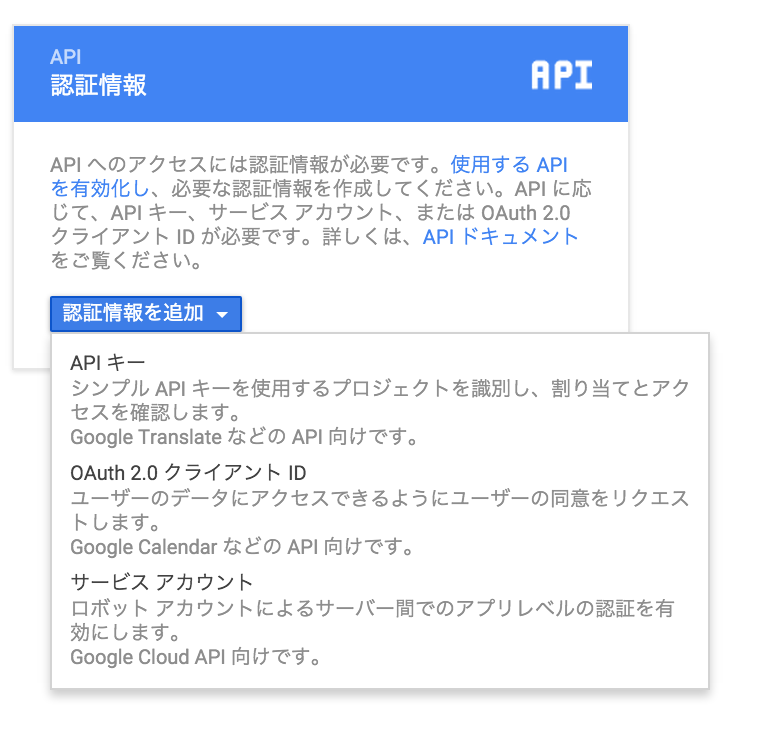
認証情報を追加を選択
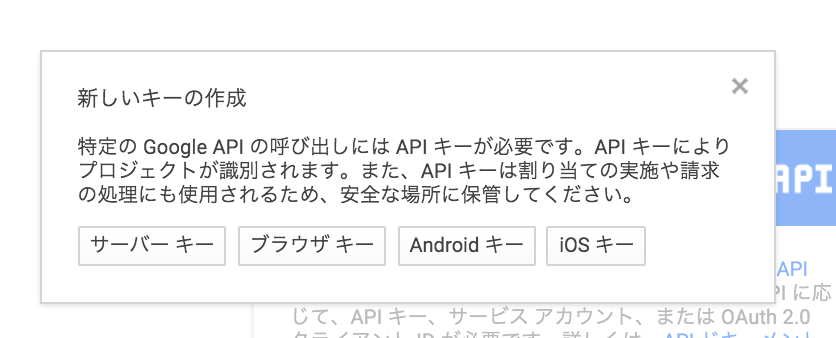
APIキーを選択する
iOSキーを選択する
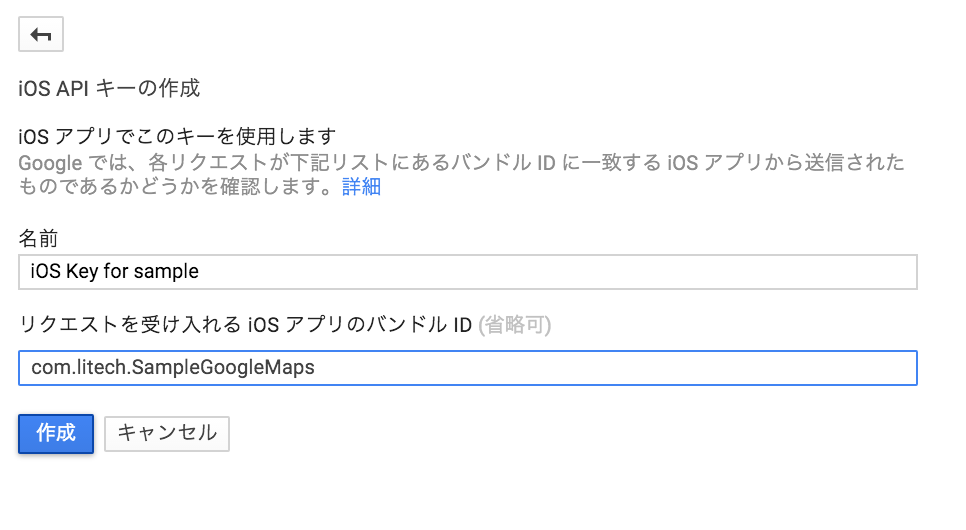
すると、以下のようにBundle Identifierを聞かれるので、
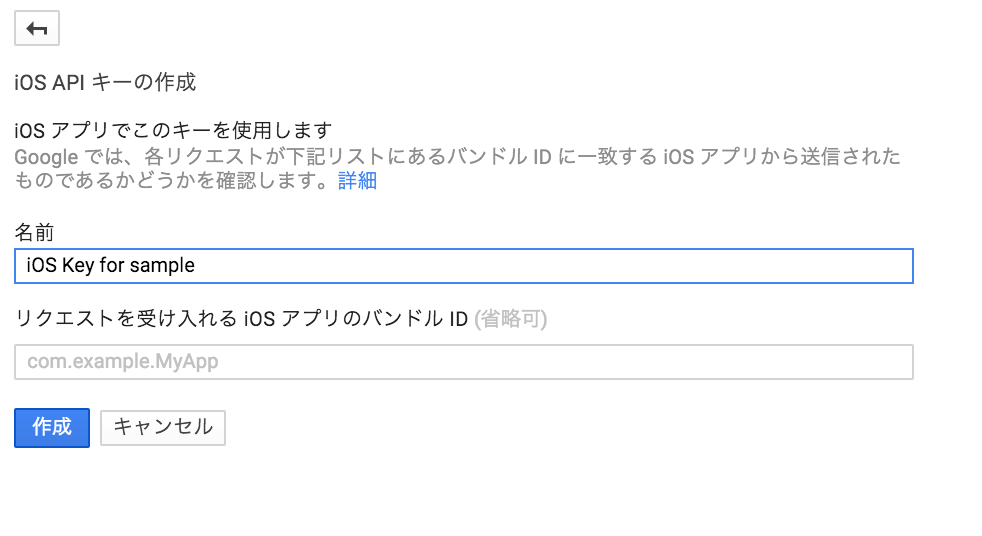
Xcodeの以下の部分からBundle Identifierをコピーして、さきほどの部分に次の写真のようにBundle Identifierを記入して、作成する

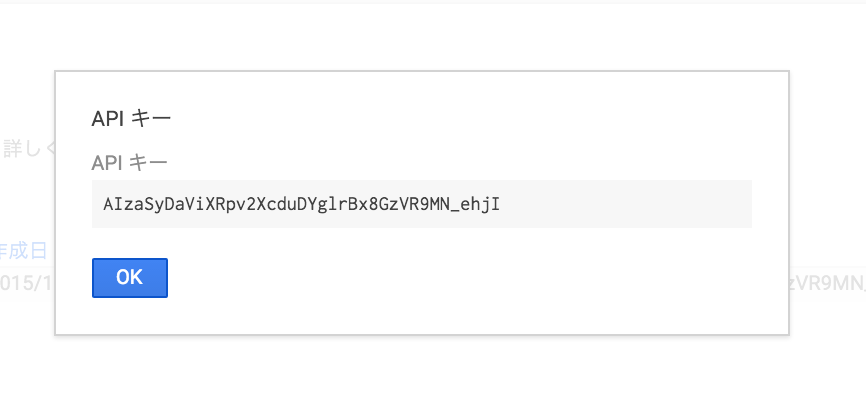
こんな感じでAPIを取得できました
Code
Finderでxcodeprojではなく、xcworkspaceの方を開き、以下のようにコードを書きます
import UIKit
import GoogleMaps

@UIApplicationMain
class AppDelegate: UIResponder, UIApplicationDelegate {

    var window: UIWindow?

    let googleMapsAPI = "AIzaSyDZLzLCuap1Uodhk3BJlKpxKhzl6eECWSE"


    func application(application: UIApplication, didFinishLaunchingWithOptions launchOptions: [NSObject: AnyObject]?) -> Bool {
        // Override point for customization after application launch.
        GMSServices.provideAPIKey(googleMapsAPI)
        return true
    }
import UIKit
import GoogleMaps

class ViewController: UIViewController {


    override func viewDidLoad() {
        super.viewDidLoad()
        // Do any additional setup after loading the view, typically from a nib.

        let camera = GMSCameraPosition.cameraWithLatitude(35.647305, longitude: 139.73597, zoom: 10)
        let mapView = GMSMapView.mapWithFrame(CGRectZero, camera: camera)
        self.view = mapView


        let marker = GMSMarker()
        marker.position = CLLocationCoordinate2DMake(35.647305,139.73597)
        marker.title = "hoge"
        marker.snippet = "hoge"
        marker.map = mapView
    }

    override func didReceiveMemoryWarning() {
        super.didReceiveMemoryWarning()
        // Dispose of any resources that can be recreated.
    }


}
最後に
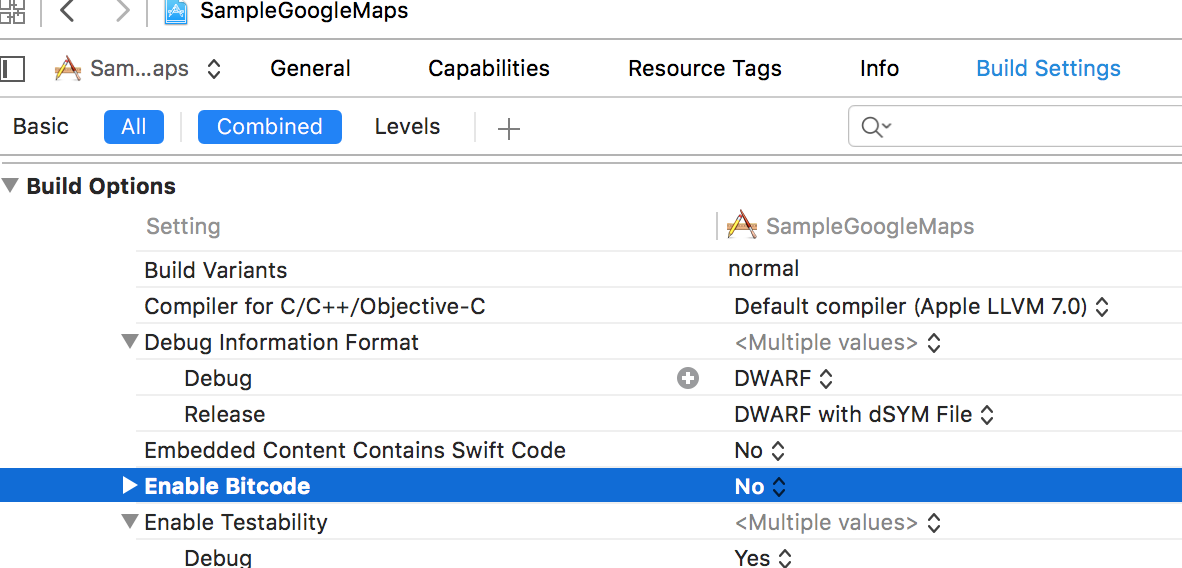
実機に登録する場合、Bitcodeについてのエラーを吐く場合があります。そのときは以下の写真のようにBitcodeをNoに設定してあげます。
参考WebSite
https://sites.google.com/a/gclue.jp/swift-docs/ni-yinki100-ios/googlemap/004-makawo-biao-shi
https://console.developers.google.com/project
https://sites.google.com/a/gclue.jp/swift-docs/ni-yinki100-ios/06-corelocation/001-xian-zai-wei-zhino-qu-de
http://swift.swift-studying.com/entry/2015/07/12/012132