先日発表されたVisual Studio2017を使ってBotの開発をしてみます。
これから何回かに分けていろいろと試してみたいと思います。
開発環境
Visual Studio 2017 Communityで開発を行います。以下よりダウンロードしインストールを行います。
ダウンロードサイト
Bot Framework Template
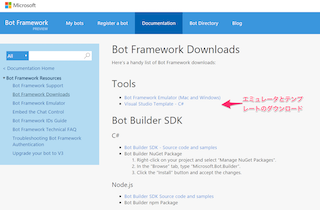
Bot FrameworkダウンロードサイトよりBotを開発するためのテンプレートをダウンロードします。
ダウンロードしたテンプレートをzipのまま以下の場所に置きます。
以下はVisual Studio 2017の場合
C:\Users[[ユーザ名]\Documents\Visual Studio 2017\Templates\ProjectTemplates\Visual C#
Bot Framework Emulator
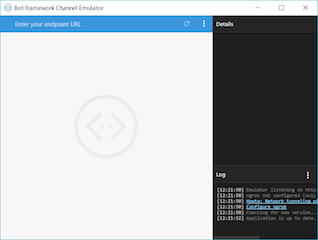
次にBot Emulatorをダウンロードし、インストールします。
Emulatorはコンソール版もあります。(Mac版もあります)
ここでは起動の確認だけ行っておきます。
Bot Frameworkプロジェクトの作成
まずはBotテンプレートのプロジェクトを作成します。
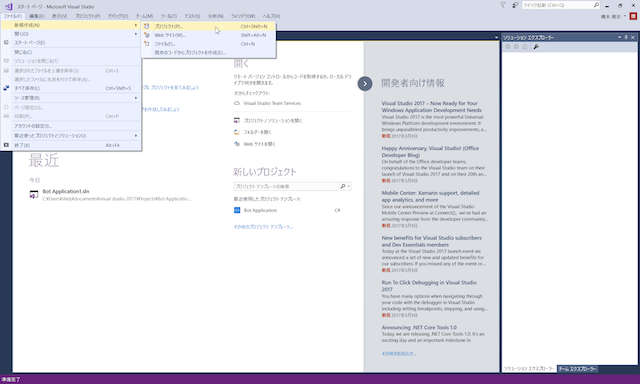
Visual Studioのメニューよりファイル>新規作成>プロジェクトを選択します。
新しいプロジェクトウィンドウの右上の検索エリアにbotと入力し、検索します。
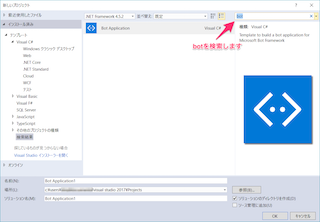
名前・場所・ソリューション名称デフォルトのままとしておきます。
Botアプリケーションの実行
さっそく起動してみます。
ビルドが成功するとブラウザが立ち上がります。
次にBot Emulatorを起動し、Botアプリケーションに接続します。
画面上部のEnter your endpoint URLのフィールドにブラウザに表示されているURL+/api/messages/を入力します。
ブラウザに表示されているURLが http://localhost:xxxx/ の場合、入力するURLは http://localhost:xxxx/api/messages となります。
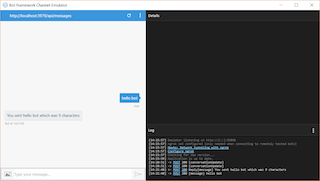
画面下部の*Type your message...*フィールドにメッセージを入力してみます。
以下のように応答が返ってくれば成功です。
次回はMicrosoft Translatorを利用して翻訳Botを作りたいと思います。
