参考サイト
Koshian & WICED で開発
Koshianのファームを書き換えてみた
WICEDのポート設定
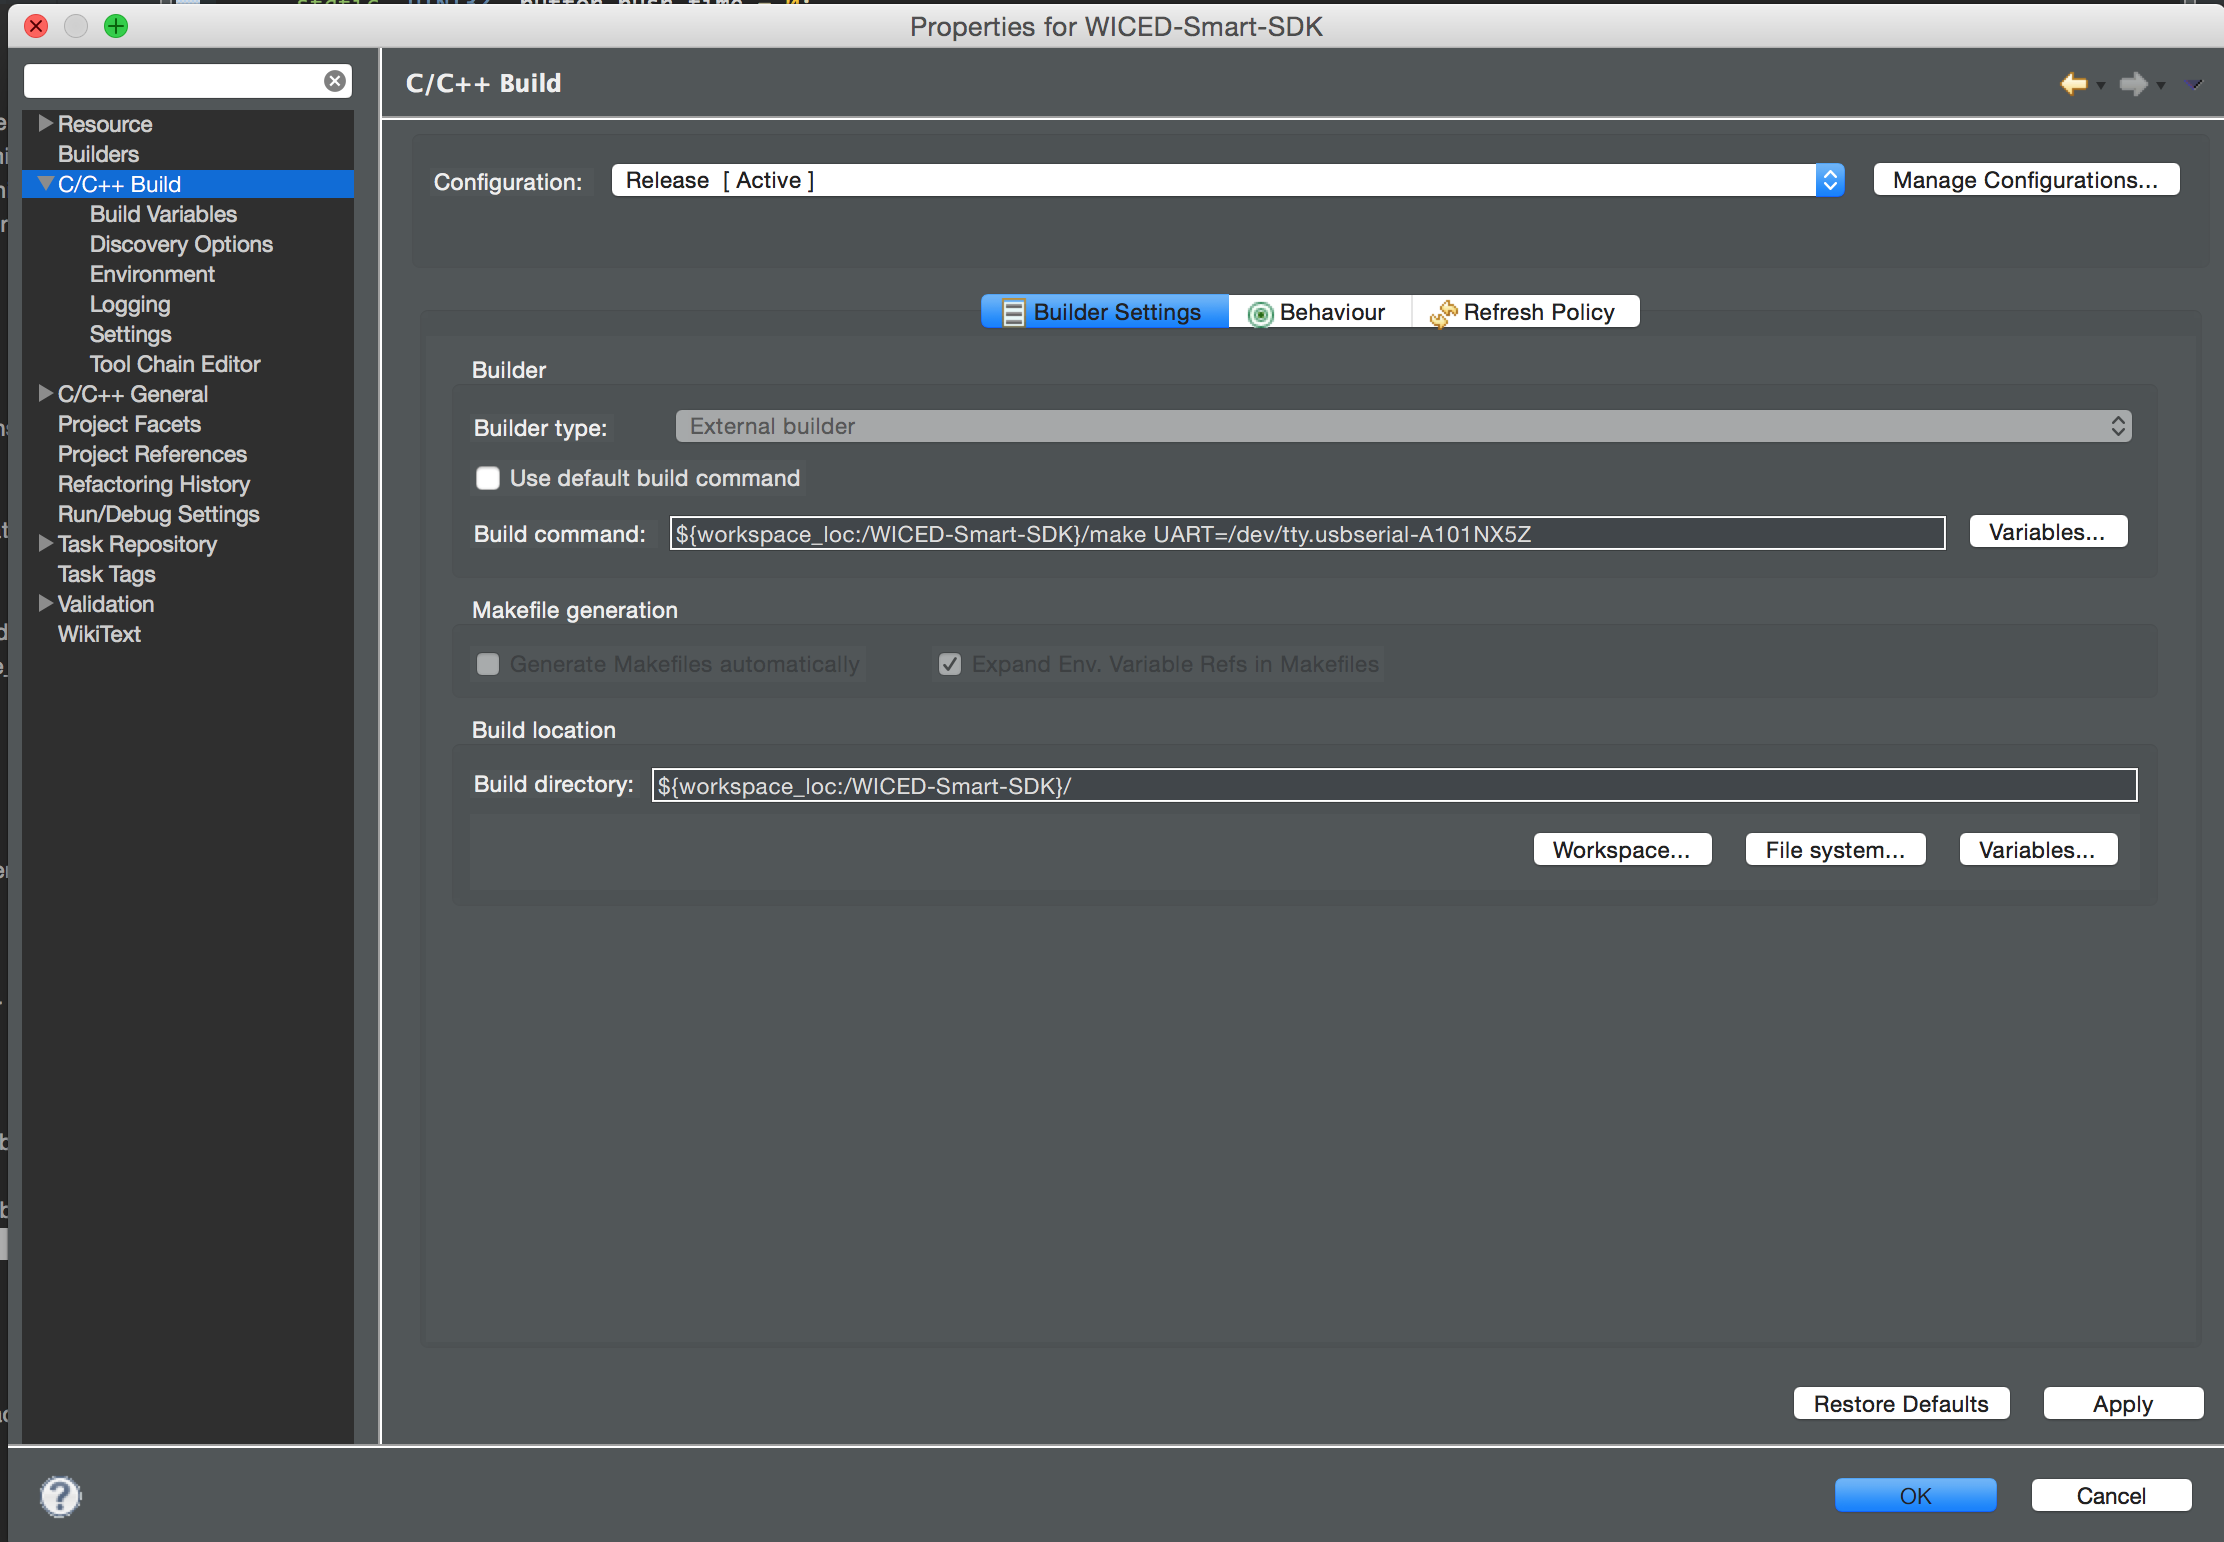
1.[Project]->[Properties]を開く
2.[C/C++ Build]-> [Builder Setting] の[Build command]を以下に変更する
${workspace_loc:/WICED-Smart-SDK}/make UART=protName
Macなら protNameが/dev/tty.usbserial~にたいな感じ
WICEDのプロジェクト作成
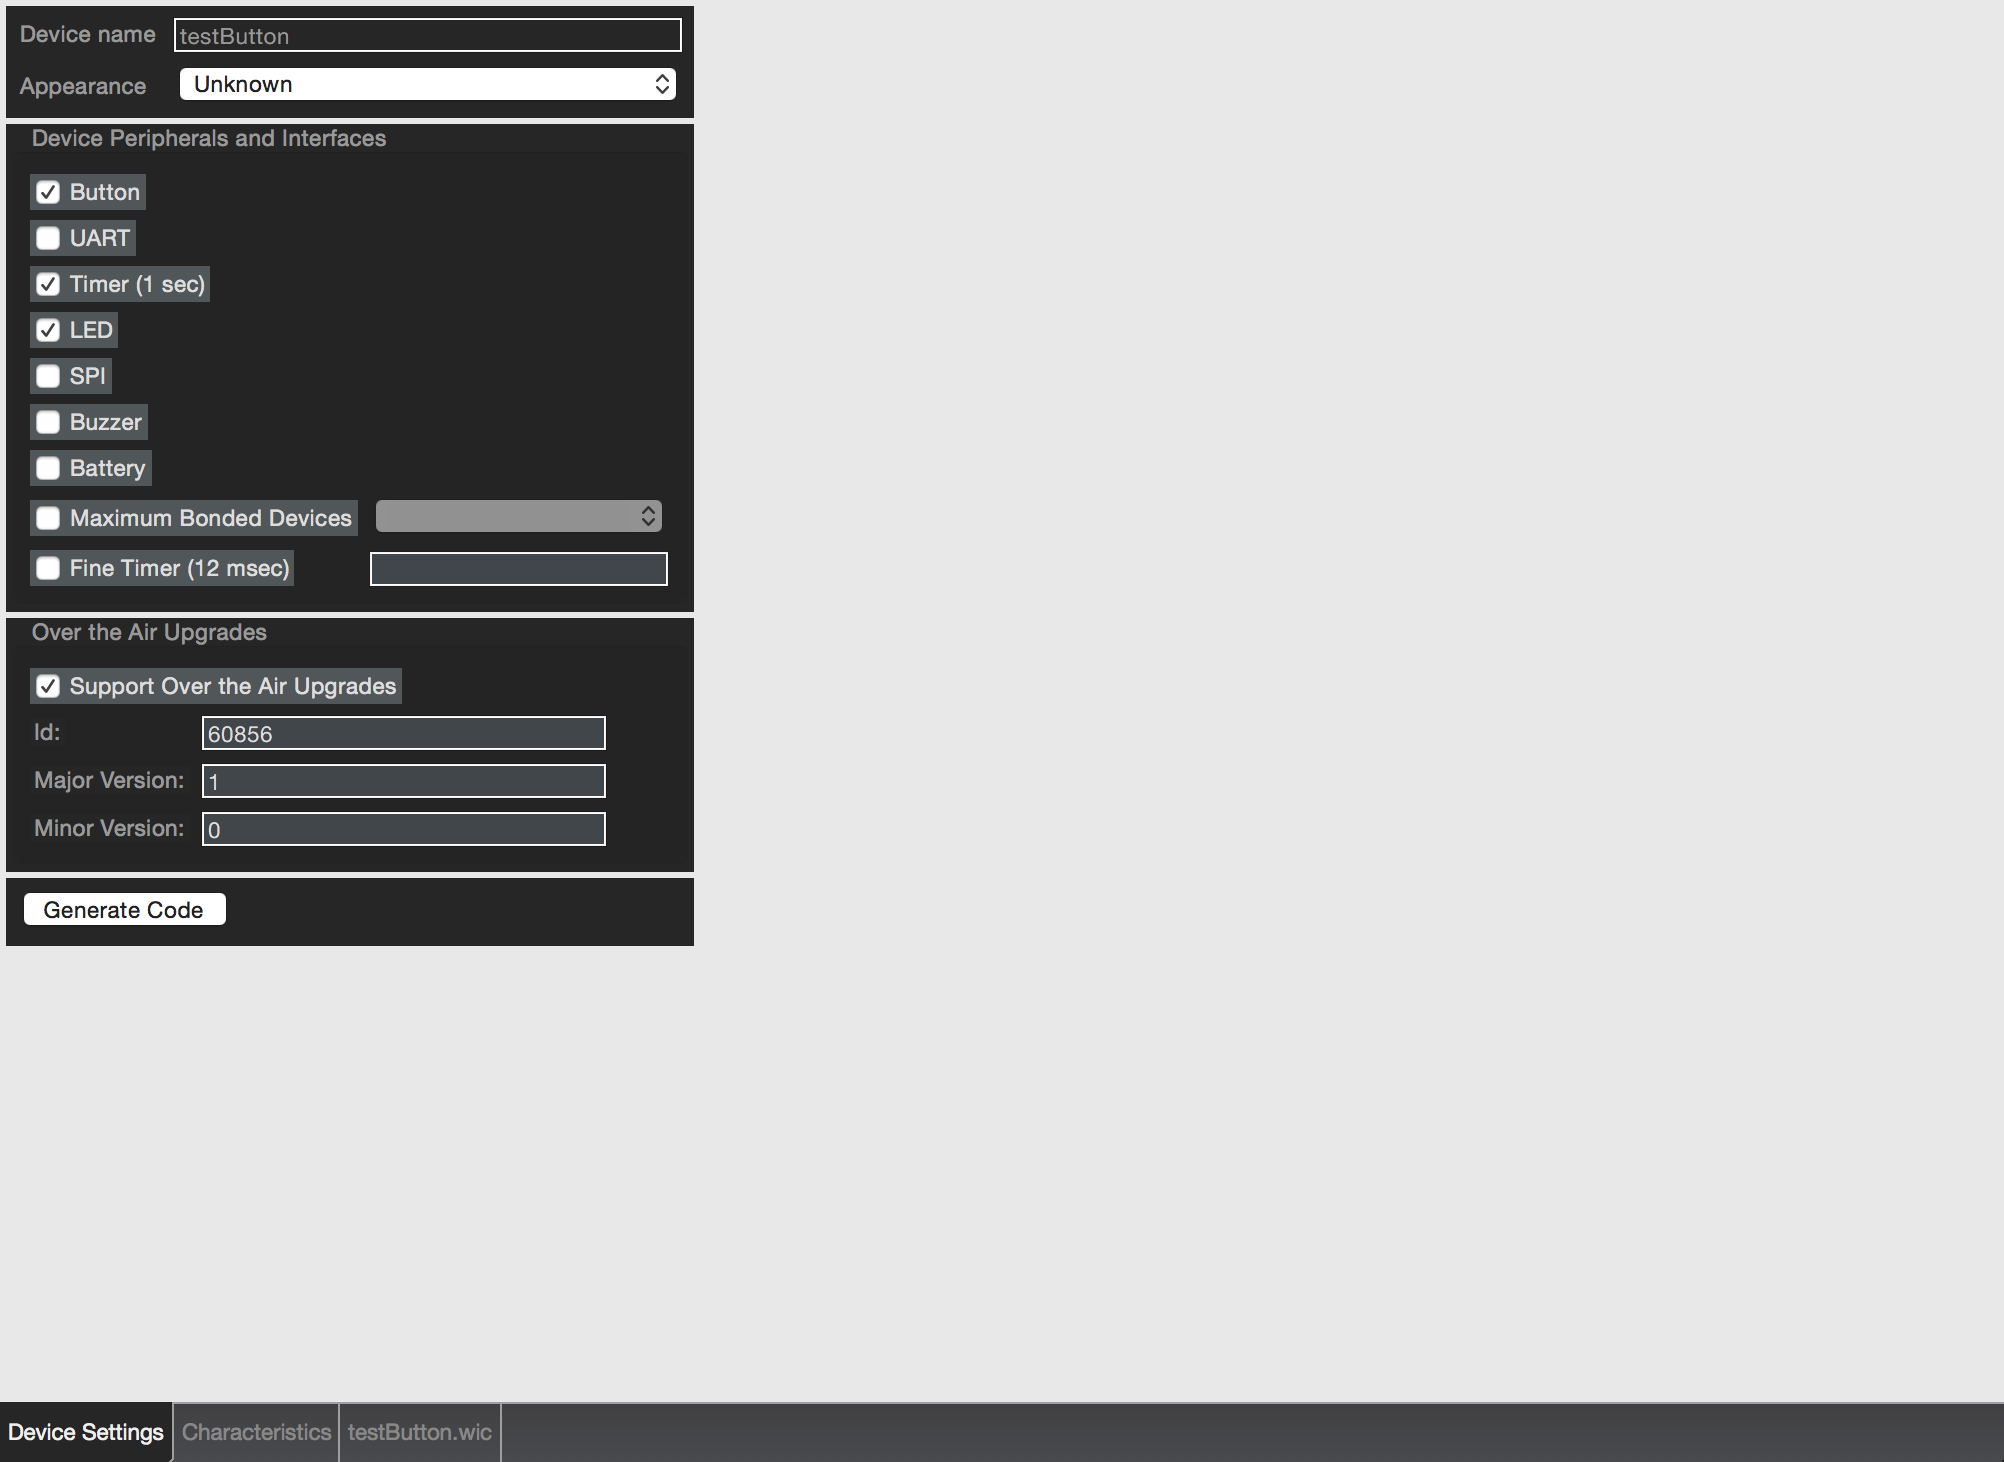
1.[File]->[New]->[WICED Smart Designer]をクリック
2.[Device Setting]タブで使いたいインターフェースにチェックを入れる
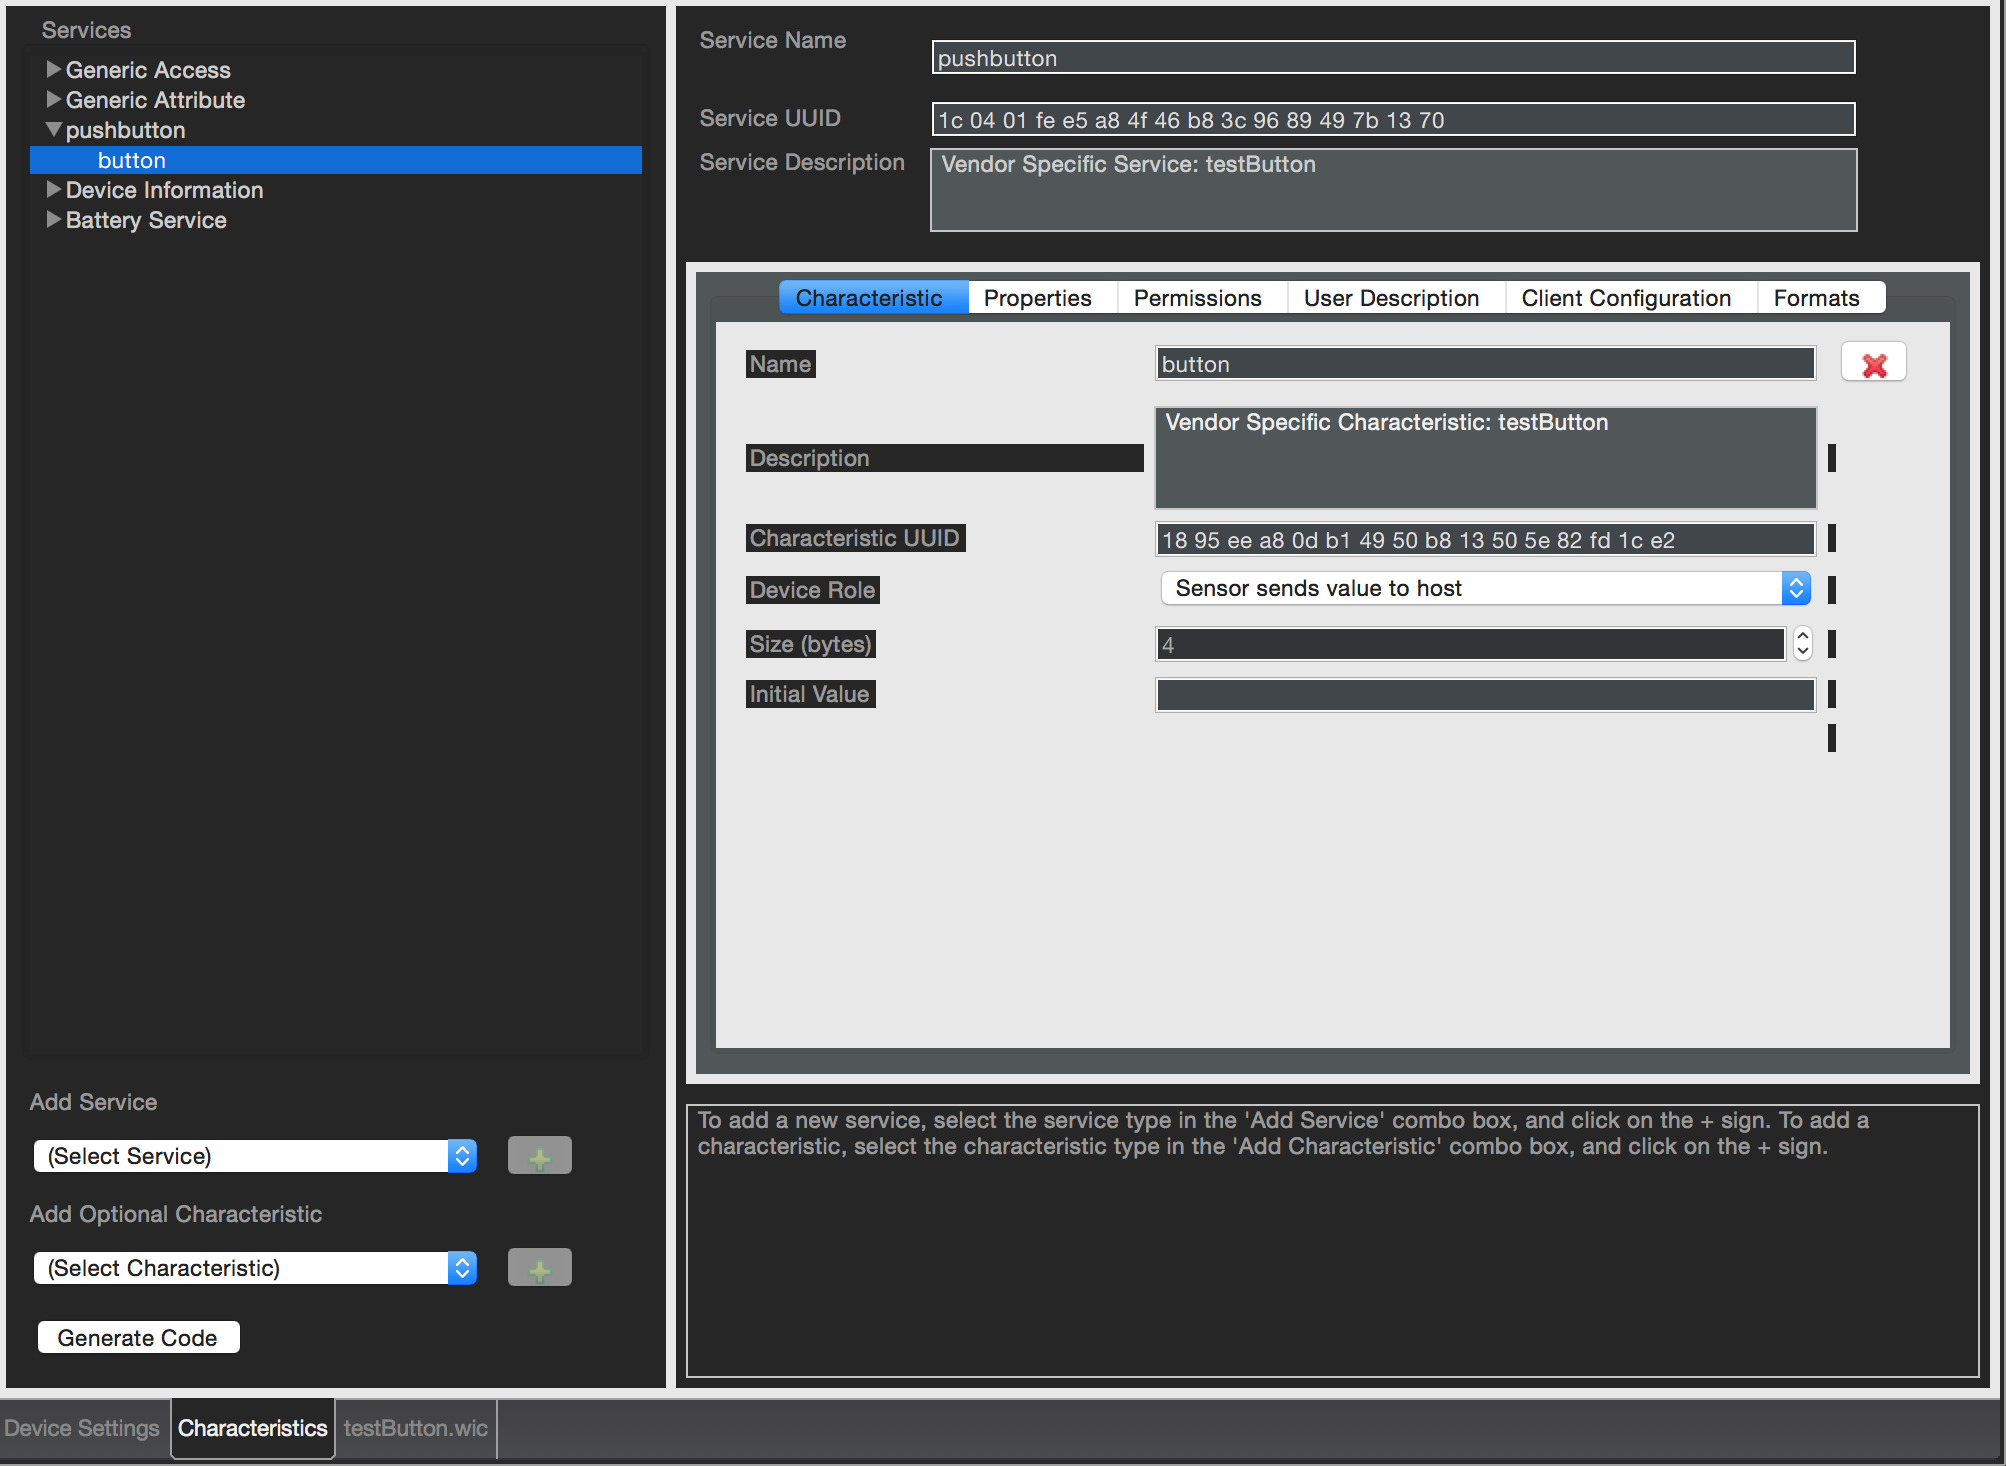
3.[Characteristics]タブでUUIDとNameはお好みで変更して、使いたいサービスをに追加する
4.Size(bytes)はサービス内で使いたいWrite/Read容量的なやつ (だいたい1byteで足りる)
5.Characteristicの[Properties]タブでRead, Write, Notifyにチェックを入れる
6.Geberate Codeを押してプロジェクトを作成する
WICEDのソースコード
Pin Assain
- project_db.cのconst BLE_PROFILE_GPIO_CFG testbutton_gpio_cfgで定義されてるっぽい
- P24をINPUT(Button), P4をOUTPUT(LED)に設定する場合
project_db.c
const BLE_PROFILE_GPIO_CFG testbutton_gpio_cfg =
{
    {
        GPIO_PIN_WP,    // This need to be used to enable/disable NVRAM write protect
        24, 4, -1, -1,
        -1, -1, -1, -1, -1, -1, -1, -1, -1, -1, -1 // Other GPIOs are not used
    },
    /*.gpio_flag =*/
    {
        GPIO_SETTINGS_WP,
        GPIO_SETTINGS_BUTTON, GPIO_SETTINGS_LED, 0, 0,
        0, 0, 0, 0, 0, 0, 0, 0, 0, 0, 0
    }
};
Button INPUT
- project.cのxxx_interrupt_handlerがINPUT割り込みになってるっぽい
- ボタンを押された時、Writeする
project.c
xxx_interrupt_handler(UINT8 value) {
    // ToDo: handle the interrupts here.
    UINT32 *sendData;
    BOOL _button_pushed = value & 0x01;
    memcpy(&db_pdu.pdu[0], sendData, 4);
    db_pdu.len = 4; // Project作成の時に決めたSizeの大きさ

    if(_button_pushed){
        // セントラルにWriteする.
        bleprofile_WriteHandle(HDLC_PUSHBUTTON_BUTTON_VALUE, &db_pdu);
    }
}
Message read
- project.cのxxx_write_handlerがセントラルからのメッセージを受信した時のイベントっぽい
- 受信した数字分だけLEDをBlinkする
project.c
int testbutton_write_handler(LEGATTDB_ENTRY_HDR *p) {
    UINT8  writtenbyte;
    UINT16 handle   = legattdb_getHandle(p);
    int    len      = legattdb_getAttrValueLen(p);
    UINT8  *attrPtr = legattdb_getAttrValue(p);
    BOOL changed;

    ble_trace1("write_handler: handle %04x", handle);
    changed = __write_handler(handle, len, attrPtr);

    if ((len >= 1) && (handle == HDLC_PUSHBUTTON_BUTTON_VALUE)) {
        testbutton_hostinfo.generated.pushbutton_button_client_configuration = attrPtr[0];
        if (testbutton_hostinfo.generated.pushbutton_button_client_configuration != 0){
            bleprofile_LEDBlink(250, 250, testbutton_hostinfo.generated.pushbutton_button_client_configuration);
        }
    }

    // Save update to NVRAM if it has been changed.
    if (changed) {
        writtenbyte = bleprofile_WriteNVRAM(VS_BLE_HOST_LIST, sizeof(testbutton_hostinfo), (UINT8 *)&testbutton_hostinfo);
        ble_trace1("NVRAM write:%04x", writtenbyte);
    }
    return 0;
}
書き込み
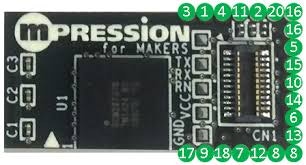
接続
- 書き込みはFTDIをKoshian繋いで[Make Target]タブから書き込みたいターゲットをダブルクリックするだけ
- RNピンはリセットピンで、普段は接続する必要なし
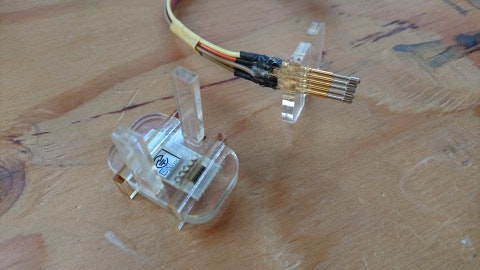
自分は専用ライターを自作して書き込みしてる
peripheral UUIDの設定
- Target Nameに[BT_DEVICE_ADDRESS=random]を追加するとperipheral UUIDをランダムで生成してくれる
リカバーモード
- 書き込みをミスって書き込めなくなった場合はリカバーモードでMake Targetを実行する
1.KoshianをFTDIに接続してから、リセットする. RNピンを GNDに落とすとリセットされる
2.Target Nameの[download]を[recover]に変更するしてダブルクリック
