はじめに
MacでTreeTaggerを使いたいと思い、インストールしてみましたが色々とめんどくさかったのでメモ。
環境
- Mac OSX 10.11.6
注意!!
これから手順通りにやっていきますが、以下のことを守ってください。
- わかりやすい場所 ( Desktop等 )に
TreeTaggerという名前でフォルダを作っておく - ダウンロードしたファイルは 全て そのフォルダに入れる
- ダウンロードしたファイルは 解凍しない 。
TreeTaggerのインストール
まずは 公式サイトから必要なファイル群をダウンロードしてきます。
Download the tagger package for your system (PC-Linux, Mac OS-X (Intel-CPU), PC-Linux (version for older kernels)).
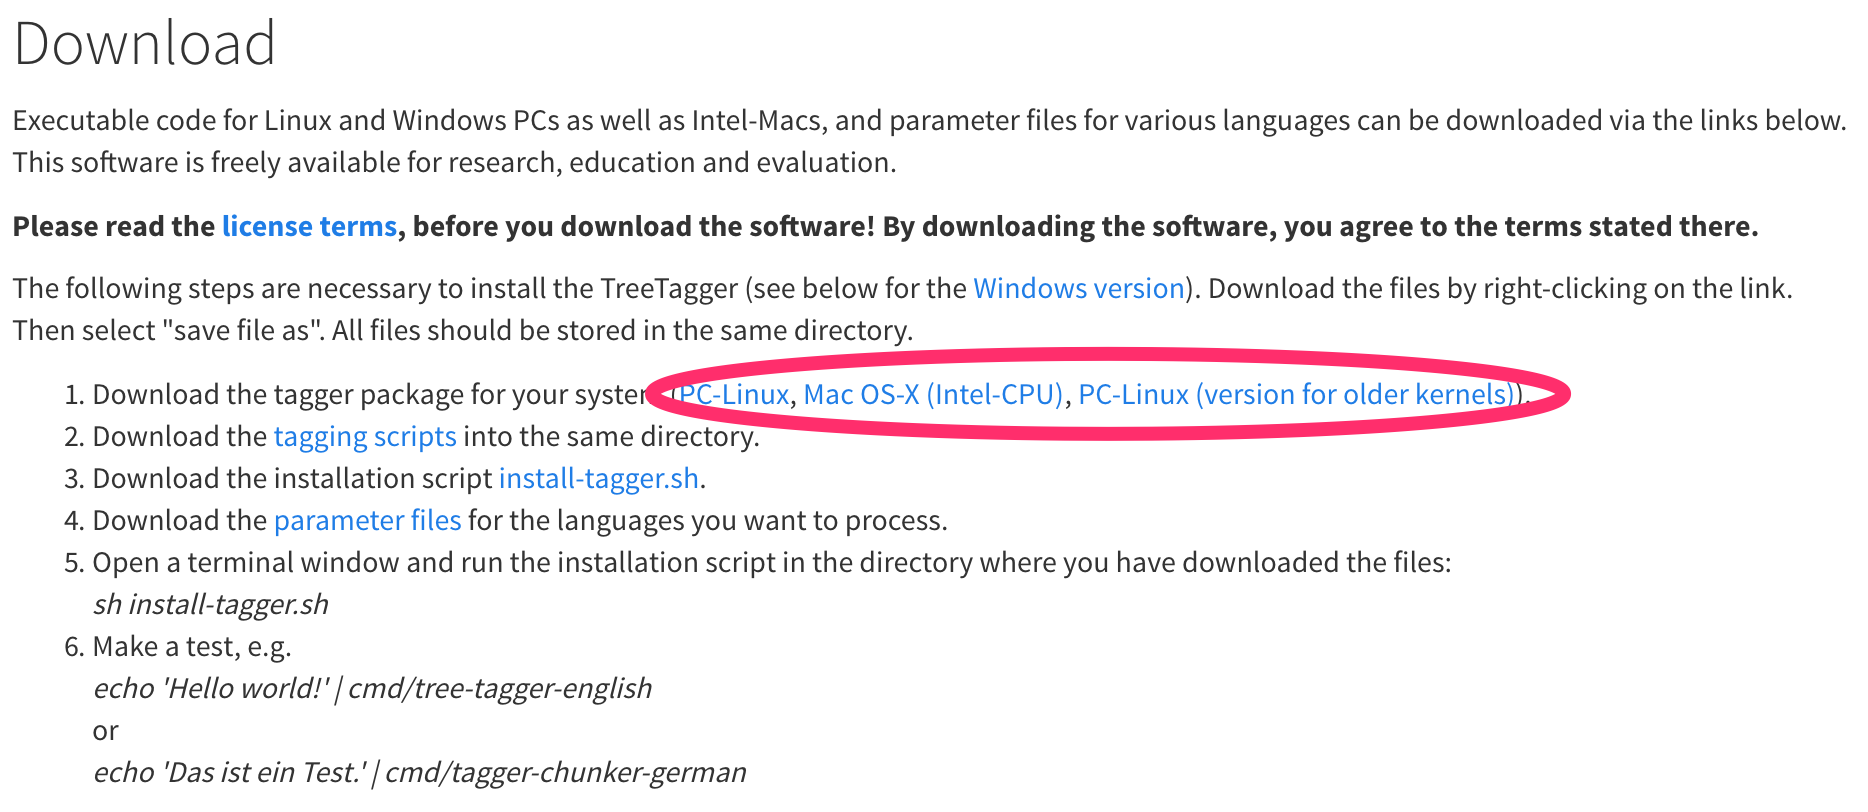
自分の環境にあったパッケージをダウンロードしろと書いてありますが、今回はMacなので Mac OS-X (Intel-CPU) を選択。
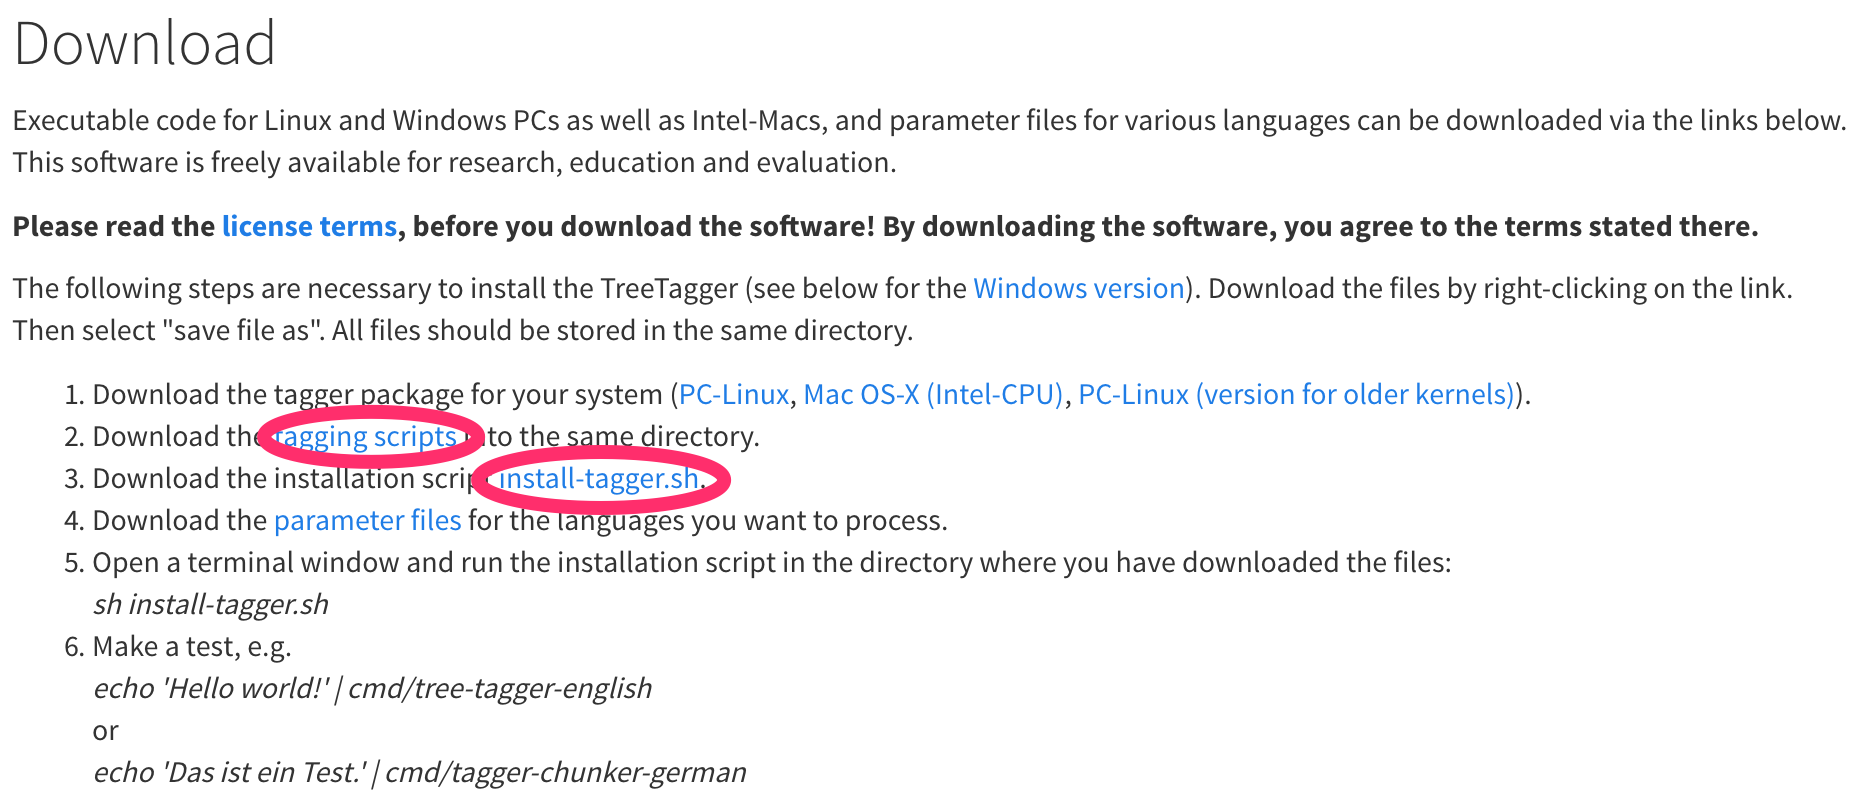
Download the tagging scripts into the same directory.
Download the installation script install-tagger.sh.
tagging scripts , install-tagger.sh をダウンロードします。
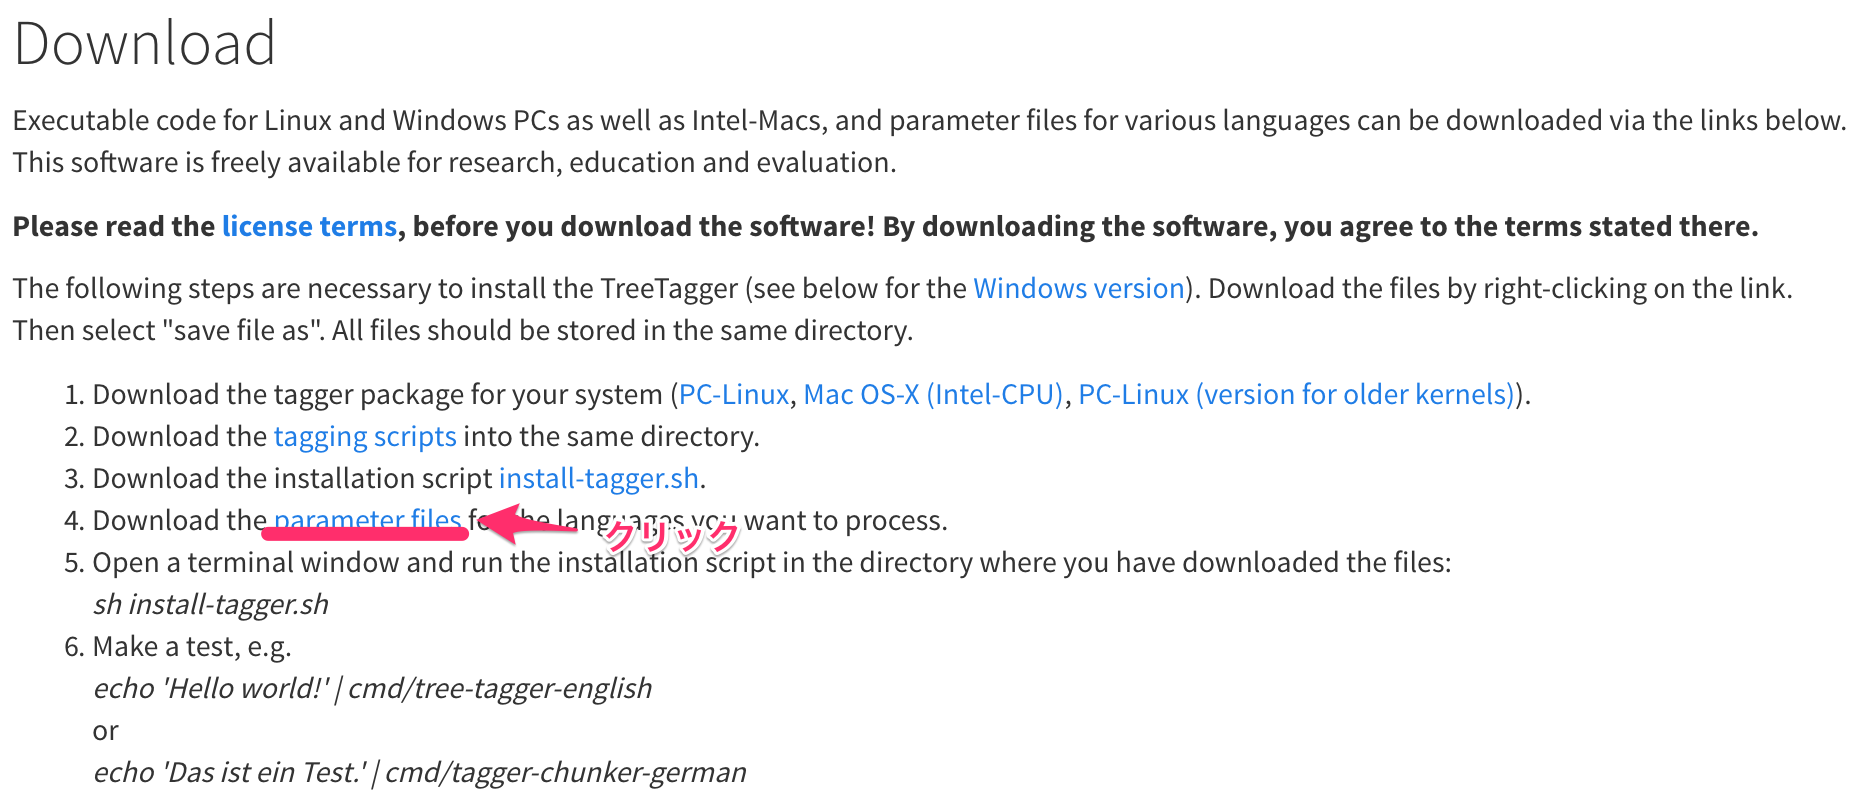
Download the parameter files for the languages you want to process.
最後に parameter files をダウンロードします。今回は英語なので、英語のパラメータファイルをダウンロードします。
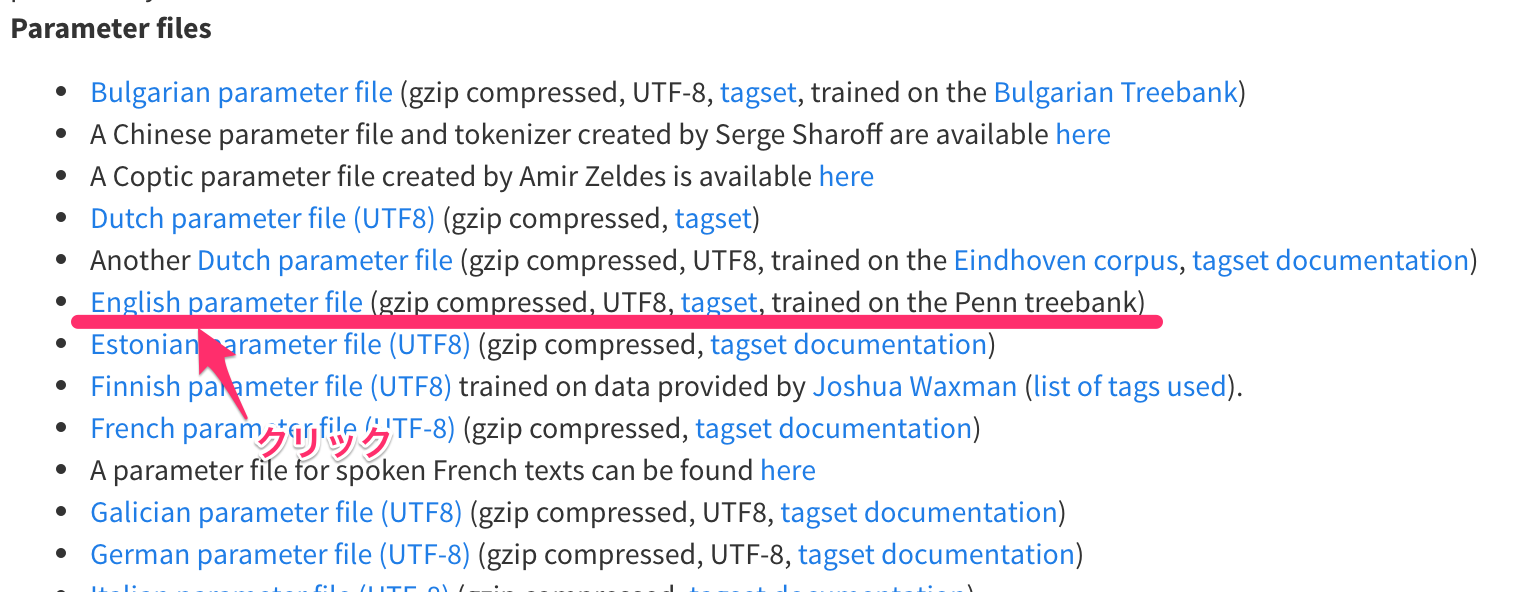
English Parameter file をクリックしてダウンロードします。
全てインストールし終えると、以下の状態になっていると思います。
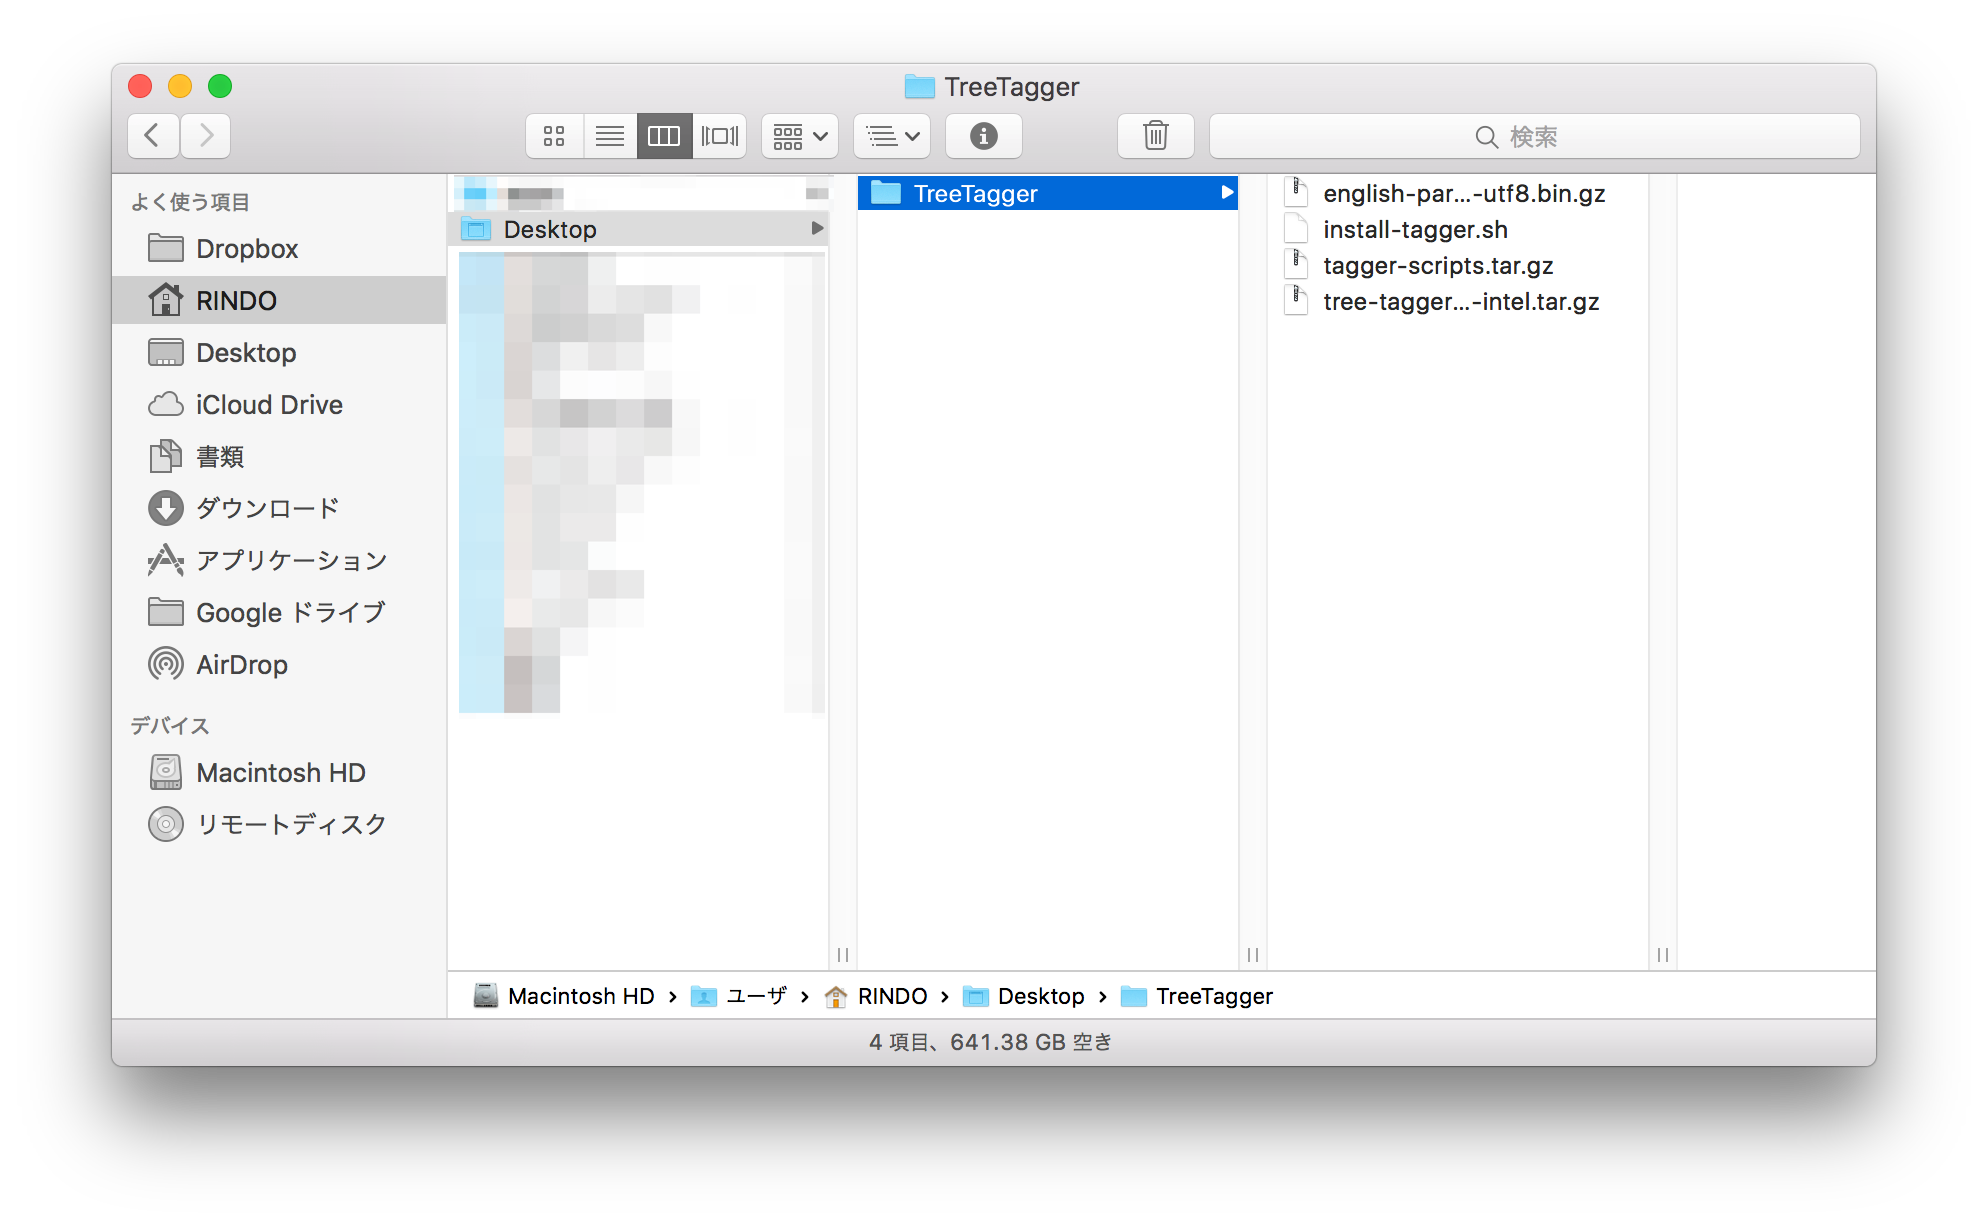
まずは、このフォルダをアプリケーションフォルダに移動しましょう。 ( ずっとDesktopにあると汚いので )
次にターミナルで、このフォルダを開き、以下のコマンドを叩きます。
sh install-tagger.sh

(~/Desktop/TreeTagger) RINDO ~> sh install-tagger.sh

Mac OS-X version of TreeTagger for Intel CPUs installed.
Tagging scripts installed.
English parameter file (Linux, UTF8) installed.
Path variables modified in tagging scripts.

You might want to add /Applications/TreeTagger/cmd and /Applications/TreeTagger/bin to the PATH variable so that you do not need to specify the full path to run the tagging scripts.
これで公式にある
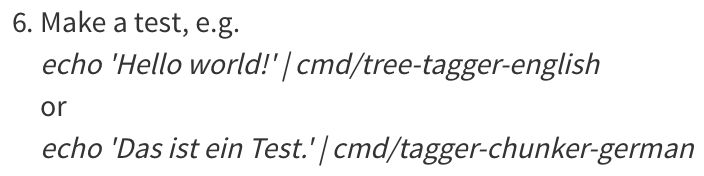
が実行できるようになります。
PATHを通す
echo 'Hello world!' | cmd/tree-tagger-english は実行できるようになりましたが、 cdすると使えないのでPATHを通していきます。
引き続きターミナルで作業してきます。
$ vim ~/.bash_profile

# 以下の行を追加
export PATH=$PATH:/Applications/TreeTagger/cmd
export PATH=$PATH:/Applications/TreeTagger/bin
追加し終わったら、以下のコマンドを叩きます。
source ~/.bash_profile
これで、以下のようにして使うことができます。
echo 'Hello world!' | tree-tagger-english