最近Elixirが盛り上がってるっぽいのでちょっと試してみることにした
流れ
- Erlang入れる
- Elixir入れる
- Phoenix入れる
- Hello Phoenix!!
残念ながらCentOSのリポジトリに無いのでソースからビルドして入れていきます
Erlang入れる
ソースの取得
Erlang公式 - downloadに最新版ソースのtarballがあるので、取ってきて解凍
cd /usr/local/src
wget http://www.erlang.org/download/otp_src_18.0.tar.gz

tar zxvf otp_src_18.0.tar.gz
cd otp_src_18.0
依存ライブラリインストール
Erlang公式のインストールガイドに依存関係の説明があったので入れておく
- GNU C Compiler
- OpenSSL
- ncurses
- JDK
- fop
あとX Windowsとかも合ったけどGUIアプリじゃないからやめておく
yum install \
gcc \
openssl \
openssl-devel \
ncurses \
ncurses-devel \
java-1.7.0-openjdk-devel \
fop
ビルド
./configure
が、configure失敗
*********************************************************************
**********************  APPLICATIONS DISABLED  **********************
*********************************************************************

odbc           : ODBC library - link check failed

*********************************************************************
*********************************************************************
**********************  APPLICATIONS INFORMATION  *******************
*********************************************************************

wx             : wxWidgets not found, wx will NOT be usable

*********************************************************************
wxは入れてないからいいにせよodbcがいるのか
ってことでodbc入れる
yum install unixODBC unixODBC-devel
再びconfigure
./configure
Makefile出来たのでビルド開始
make
make install
対話シェルでErlangがインストールできたか確認
Erlang/OTP 18 [erts-7.0] [source] [64-bit] [async-threads:10] [hipe] [kernel-poll:false]

Eshell V7.0  (abort with ^G)
1>
ちなみにデフォルトのインストール先は/usr/local/lib/erlangのもよう
Elixir入れる
ビルド
Elixir公式のインストールガイドに手順載ってるのでそれのとおりにやっておく
なお、インストール先はErlangにあわせて/usr/local/lib配下にする
cd /usr/local/lib
git clone https://github.com/elixir-lang/elixir.git
cd elixir
make clean test
パスを通してあげて
vi ~/.bash_profile

PATH=$PATH:$HOME/bin
PATH=$PATH:/usr/local/lib/elixir/bin # 追記

export PATH
読み込んだら対話シェルで確認
source ~/.bash_profile
iex

Erlang/OTP 18 [erts-7.0] [source] [64-bit] [async-threads:10] [hipe] [kernel-poll:false]

Interactive Elixir (1.1.0-dev) - press Ctrl+C to exit (type h() ENTER for help)
iex(1)>
Phoenix入れる
パッケージマネージャを入れる
phoenixのパッケージマネージャであるhexを入れます
ユーティリティのmixを使ってこんな感じ
mix local.hex

Are you sure you want to install archive https://s3.amazonaws.com/s3.hex.pm/installs/1.0.0/hex.ez? [Yn] y
Phoenix Frameworkを入れる
mixのインストーラーにアーカイブを渡してあげるらしいので、リポジトリから最新のものを食わせてあげる
mix archive.install https://github.com/phoenixframework/phoenix/releases/download/v1.0.0/phoenix_new-1.0.0.ez

Are you sure you want to install archive https://github.com/phoenixframework/phoenix/releases/download/v1.0.0/phoenix_new-1.0.0.ez? [Yn] y
ユーティリティを確認するとphoenix系のタスクが増えている
mix --help | grep phoenix
mix phoenix.new       # Create a new Phoenix v0.17.1 application
Hello Phoenix!!
プロジェクト作成
とりあえず適当な場所でプロジェクトを新規作成してみる
cd ~/workspace
mix phoenix.new hello_phoenix

* creating hello_phoenix/config/config.exs
* creating hello_phoenix/config/dev.exs
* creating hello_phoenix/config/prod.exs
* creating hello_phoenix/config/prod.secret.exs
* creating hello_phoenix/config/test.exs
* creating hello_phoenix/lib/hello_phoenix.ex
* creating hello_phoenix/lib/hello_phoenix/endpoint.ex
* creating hello_phoenix/test/controllers/page_controller_test.exs
* creating hello_phoenix/test/views/error_view_test.exs
* creating hello_phoenix/test/views/page_view_test.exs
* creating hello_phoenix/test/views/layout_view_test.exs
* creating hello_phoenix/test/support/conn_case.ex
* creating hello_phoenix/test/support/channel_case.ex
* creating hello_phoenix/test/test_helper.exs
* creating hello_phoenix/web/channels/user_socket.ex
* creating hello_phoenix/web/controllers/page_controller.ex
* creating hello_phoenix/web/templates/layout/app.html.eex
* creating hello_phoenix/web/templates/page/index.html.eex
* creating hello_phoenix/web/views/error_view.ex
* creating hello_phoenix/web/views/layout_view.ex
* creating hello_phoenix/web/views/page_view.ex
* creating hello_phoenix/web/router.ex
* creating hello_phoenix/web/web.ex
* creating hello_phoenix/mix.exs
* creating hello_phoenix/README.md
* creating hello_phoenix/lib/hello_phoenix/repo.ex
* creating hello_phoenix/test/support/model_case.ex
* creating hello_phoenix/priv/repo/seeds.exs
* creating hello_phoenix/.gitignore
* creating hello_phoenix/brunch-config.js
* creating hello_phoenix/package.json
* creating hello_phoenix/web/static/css/app.css
* creating hello_phoenix/web/static/js/app.js
* creating hello_phoenix/web/static/js/socket.js
* creating hello_phoenix/web/static/assets/robots.txt
* creating hello_phoenix/web/static/assets/images/phoenix.png
* creating hello_phoenix/web/static/assets/favicon.ico

Fetch and install dependencies? [Yn] y

Phoenix uses an optional assets build tool called brunch.io
that requires node.js and npm. Installation instructions for
node.js, which includes npm, can be found at http://nodejs.org.

After npm is installed, install your brunch dependencies by
running inside your app:

    $ npm install

If you don't want brunch.io, you can re-run this generator
with the --no-brunch option.

* running mix deps.get

We are all set! Run your Phoenix application:

    $ cd hello_phoenix
    $ mix ecto.create
    $ mix phoenix.server

You can also run your app inside IEx (Interactive Elixir) as:

    $ iex -S mix phoenix.server
途中で依存ライブラリのインストールをするか聞かれるので、Yと答えておく、がNode.jsがない
入れるの忘れてたのでソースからサクっと入れよう
cd /usr/local/src
wget https://nodejs.org/dist/v0.12.7/node-v0.12.7.tar.gz

tar zxvf node-v0.12.7.tar.gz
cd node-v0.12.7

./configure --prefix=/usr/local
make
make install
あらためて依存ライブラリをインストール
cd hello_phoenix
npm install
サーバ起動
本当はmix ecto.createでマイグレーションを行うんだけど今回はスキップ
デフォルトがPostgresだが、MySQLでやりたい場合はmix phoenix.new hello_phoenix --database mysqlでデフォルトのアダプタをMySQLにすることができる
mix phoenix.server

Could not find rebar, which is needed to build dependency :poolboy
I can install a local copy which is just used by mix
Shall I install rebar? [Yn] y


略


[info] Running HelloPhoenix.Endpoint with Cowboy on http://localhost:4000
途中でプーリングライブラリを入れていいか聞かれるのでY!
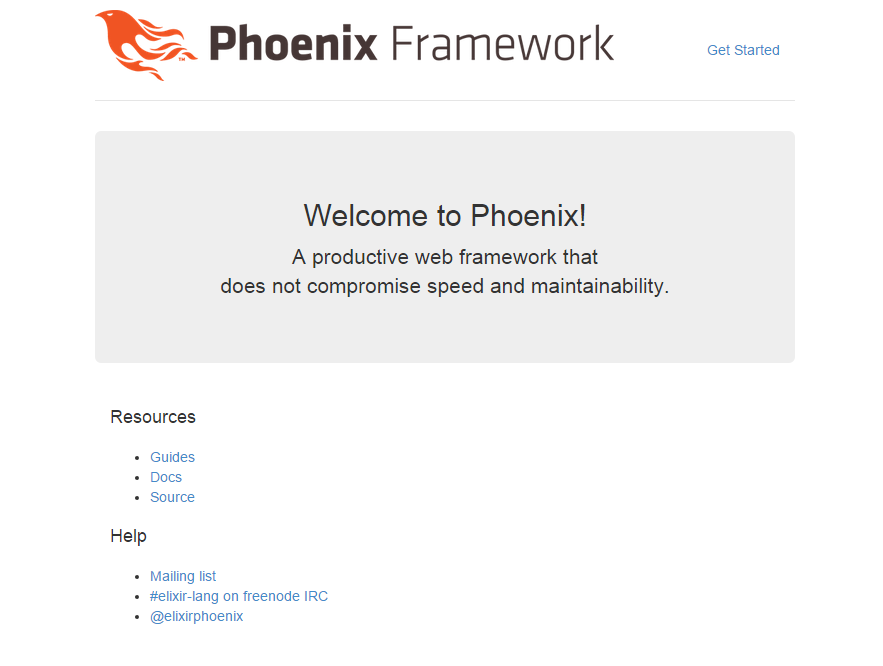
あとはブラウザから確認すればこんな感じの画面が見えるはず
これで完了、かとおもいきやコンソールにこんなエラーが
[error] backend port not found: :inotifywait
ライブリロード用のツールがないのが原因みたい
ってことでyumっちゃいましょう
yum install inotify-tools
再度実行したらエラーもなくなったので、これで完了
とりあえずこれで一通り入れ終わったのでちょこちょこいじっていこうかな
