3
3

Delete article

Deleted articles cannot be recovered.

Draft of this article would be also deleted.

Are you sure you want to delete this article?

More than 5 years have passed since last update.

Spring Rooでアプリケーションを開発する

Last updated at Posted at 2014-11-09

「Spring Tool Suite-3.6.2」(以下STSと記述します)で「Spring Roo」(以下Rooと記述します)でアプリケーションを開発する方法です。
書籍を読むと、STSに標準でRooが入っていたようですが、STS-v3.5からRooが標準から外されたようで、別途インストールする必要があるようです。

「STS」ではRooが最初からインストールされていないので、自分でインストールを行う必要があります。

(1)STSにRooをインストール

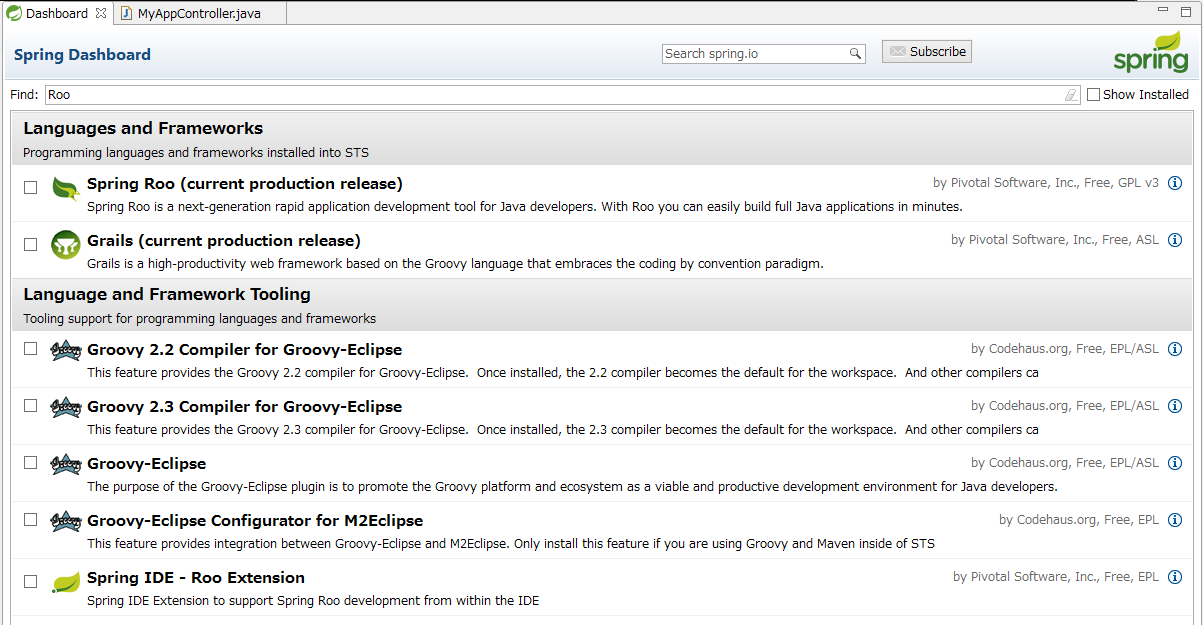
STSを起動し「Spring Dashboard」の「Help and Documentation」にある「Extensions」を押下するとインストールできるプラグインが表示されます。

dashBoardHelp.png

Find:に「Roo」を入力し、Enterを押下すると検索が行われます。

表示されたリストから以下を選択してインストールします。
■ Spring Roo
■ Spring IDE - Roo Extention

spring.png

インストールが終了するとSTSの再起動を行うかのダイアログが表示されるので再起動を行うとSTSでRooが利用可能になります。

(2)Spring Rooプロジェクトの作成方法

STSを起動し[File]-[New]-[Other]からSpringを開き「Spring Roo Project」を選択します。

「Roo Shellビュー」の「roo > 」に「web mvc setup」を入力しEnterで実行します。
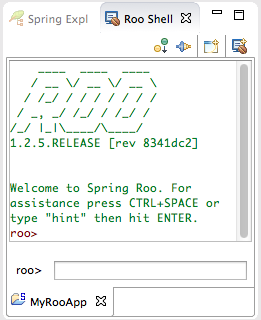
rooShell.png

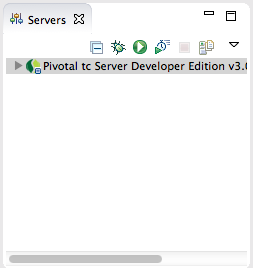
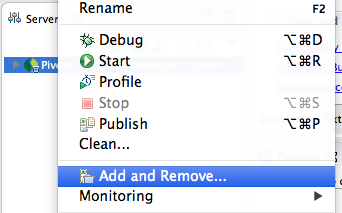
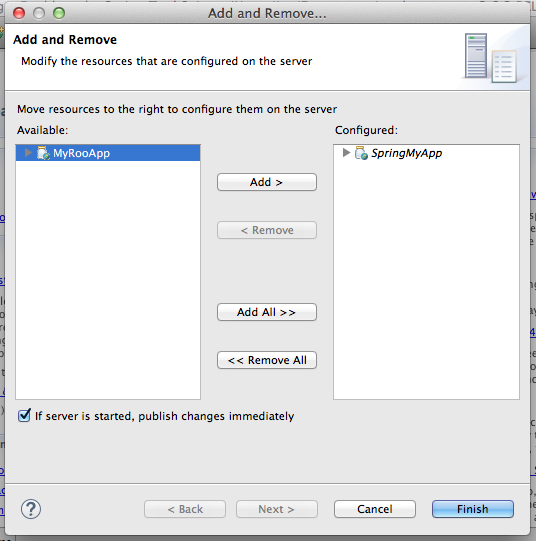
最後に「tc server」に追加するので、「Serverビュー」の「Pivotal tc Server Developer Edition v3.0」を右クリックし「Add and Remove...」を押下し、表示された画面で作成したRooプロジェクトを追加します。

(Serverビュー)
tcServer.png

(Add and Remove...)
tcServerAdd.png

(Add and Remove...画面)
tcServerAdd2.png

3
3
0

Register as a new user and use Qiita more conveniently

  1. You get articles that match your needs
  2. You can efficiently read back useful information
  3. You can use dark theme
What you can do with signing up
3
3

Delete article

Deleted articles cannot be recovered.

Draft of this article would be also deleted.

Are you sure you want to delete this article?