GitとGithubを使用した、Pull Requestまでの流れ
1.リポジトリの作成とクローン
共有リポジトリがない場合、リポジトリを作成することができます。リポジトリの作成は下記のコマンドを実行。
git init
これで初期リポジトリが作成出来ます。
共有リポジトリを利用して開発を進める場合、クローン(clone)して作業ディレクトリをローカルに作成します。このクローンはサーバが保持しているデータをほぼすべてローカルにコピーします。これはプロジェクトのすべてのファイルのすべての履歴が手元にコピーされることを意味しています。
作業ディレクトリを作成するコマンドは下記を実行します。
※clone以下は、GitHub等のhttpsを入力してください。
git clone https://github.com/.git
これで共有リポジトリからローカルに作業ディレクトリを作成します。
※git clone の後のURLをHTTPSにしないと、下記のエラーになる。
(SSHの場合はエラーになる)
[vagrant@localhost ~]$ git clone git@github.com:SoneKosuke/pullreq.git
Initialized empty Git repository in /home/vagrant/pullreq/.git/
Permission denied (publickey).
fatal: The remote end hung up unexpectedly
成功の場合は下記の表示になる。
[vagrant@localhost ~]$ git clone https://github.com/SoneKosuke/pullreq.git
Initialized empty Git repository in /home/vagrant/pullreq/.git/
remote: Counting objects: 7, done.
remote: Compressing objects: 100% (3/3), done.
remote: Total 7 (delta 0), reused 3 (delta 0)
Unpacking objects: 100% (7/7), done.
2.ファイルの追加 & コミット
作業ディレクトリで変更したファイルを索引に追加します。
まず現在のブランチの確認をします。
git branch
* master
次に変更を加える。ブランチを作成します。
git checkout -b update-readme
正常にブランチができたか確認しましょう。
git branch
  master
* update-readme
ブランチができたらファイルの編集をしてきます。
ファイルの変更後、ファイルをaddします。(README.mdはファイル名の例)
git add README.md
次に変更をローカルリポジトリにcommitします。(README.mdはファイル名の例)
git commit -m "Update README.md"
コミットが完了後、リモートリポジトリにpushします。
git push origin update-readme
[vagrant@localhost .git]$ git push origin update-readme
Password:
Total 0 (delta 0), reused 0 (delta 0)
To https://SoneKosuke@github.com/SoneKosuke/pullreq.git
 * [new branch]      update-readme -> update-readme
※この時に下記エラーが発生する場合は、/.git/configの変更が必要です。
error: The requested URL returned error: 403 Forbidden while accessing https://github.com/SoneKosuke/pullreq.git/info/refs
fatal: HTTP request failed
/.git/configの変更箇所
https://とgithub.com の間にユーザ名を入力する。
url = https://SoneKosuke@github.com/SoneKosuke/pullreq.git
これで、GitHubにPushが完了しました。
3.GitHub上で、Pull Requestを作成する
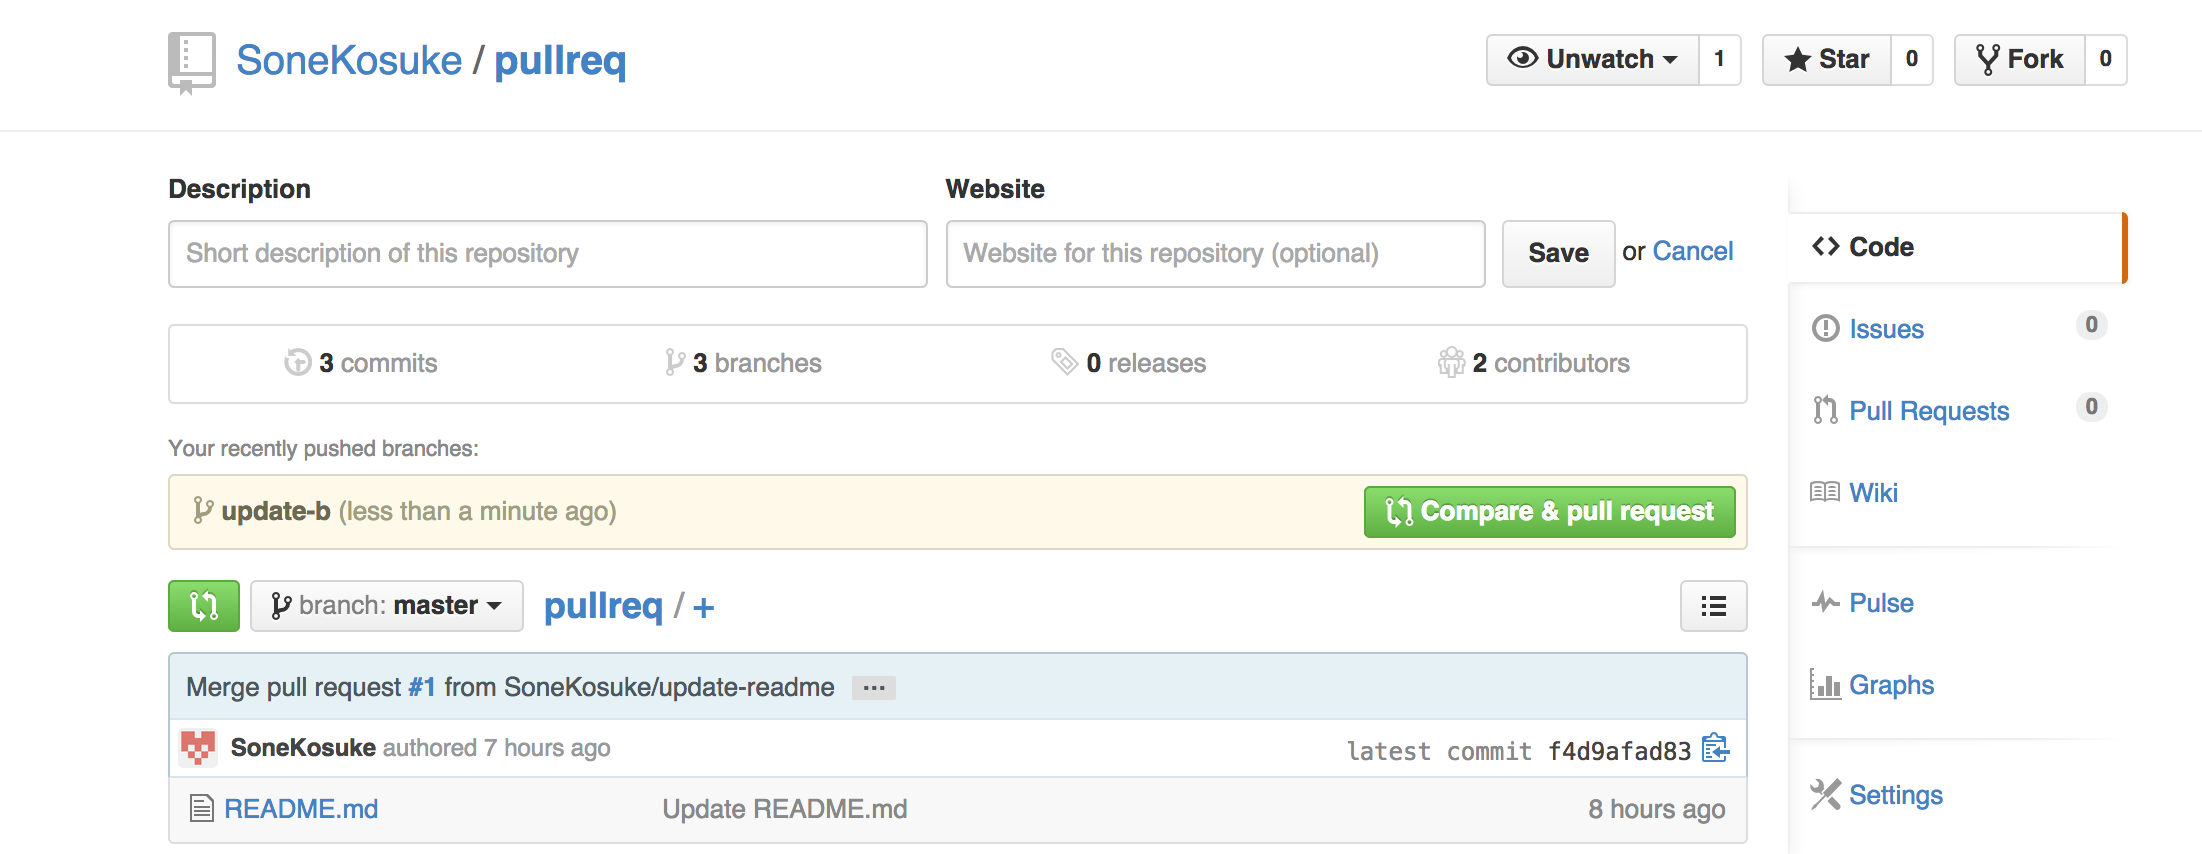
GitHub上に作成したpullreqのリポジトリページを開くと、pushしたupdate-readmeブランチに関する情報が表示されているはずです。そこに表示されているCompare & pull requestボタンを押すと、Pull Request作成ページに移動できます。

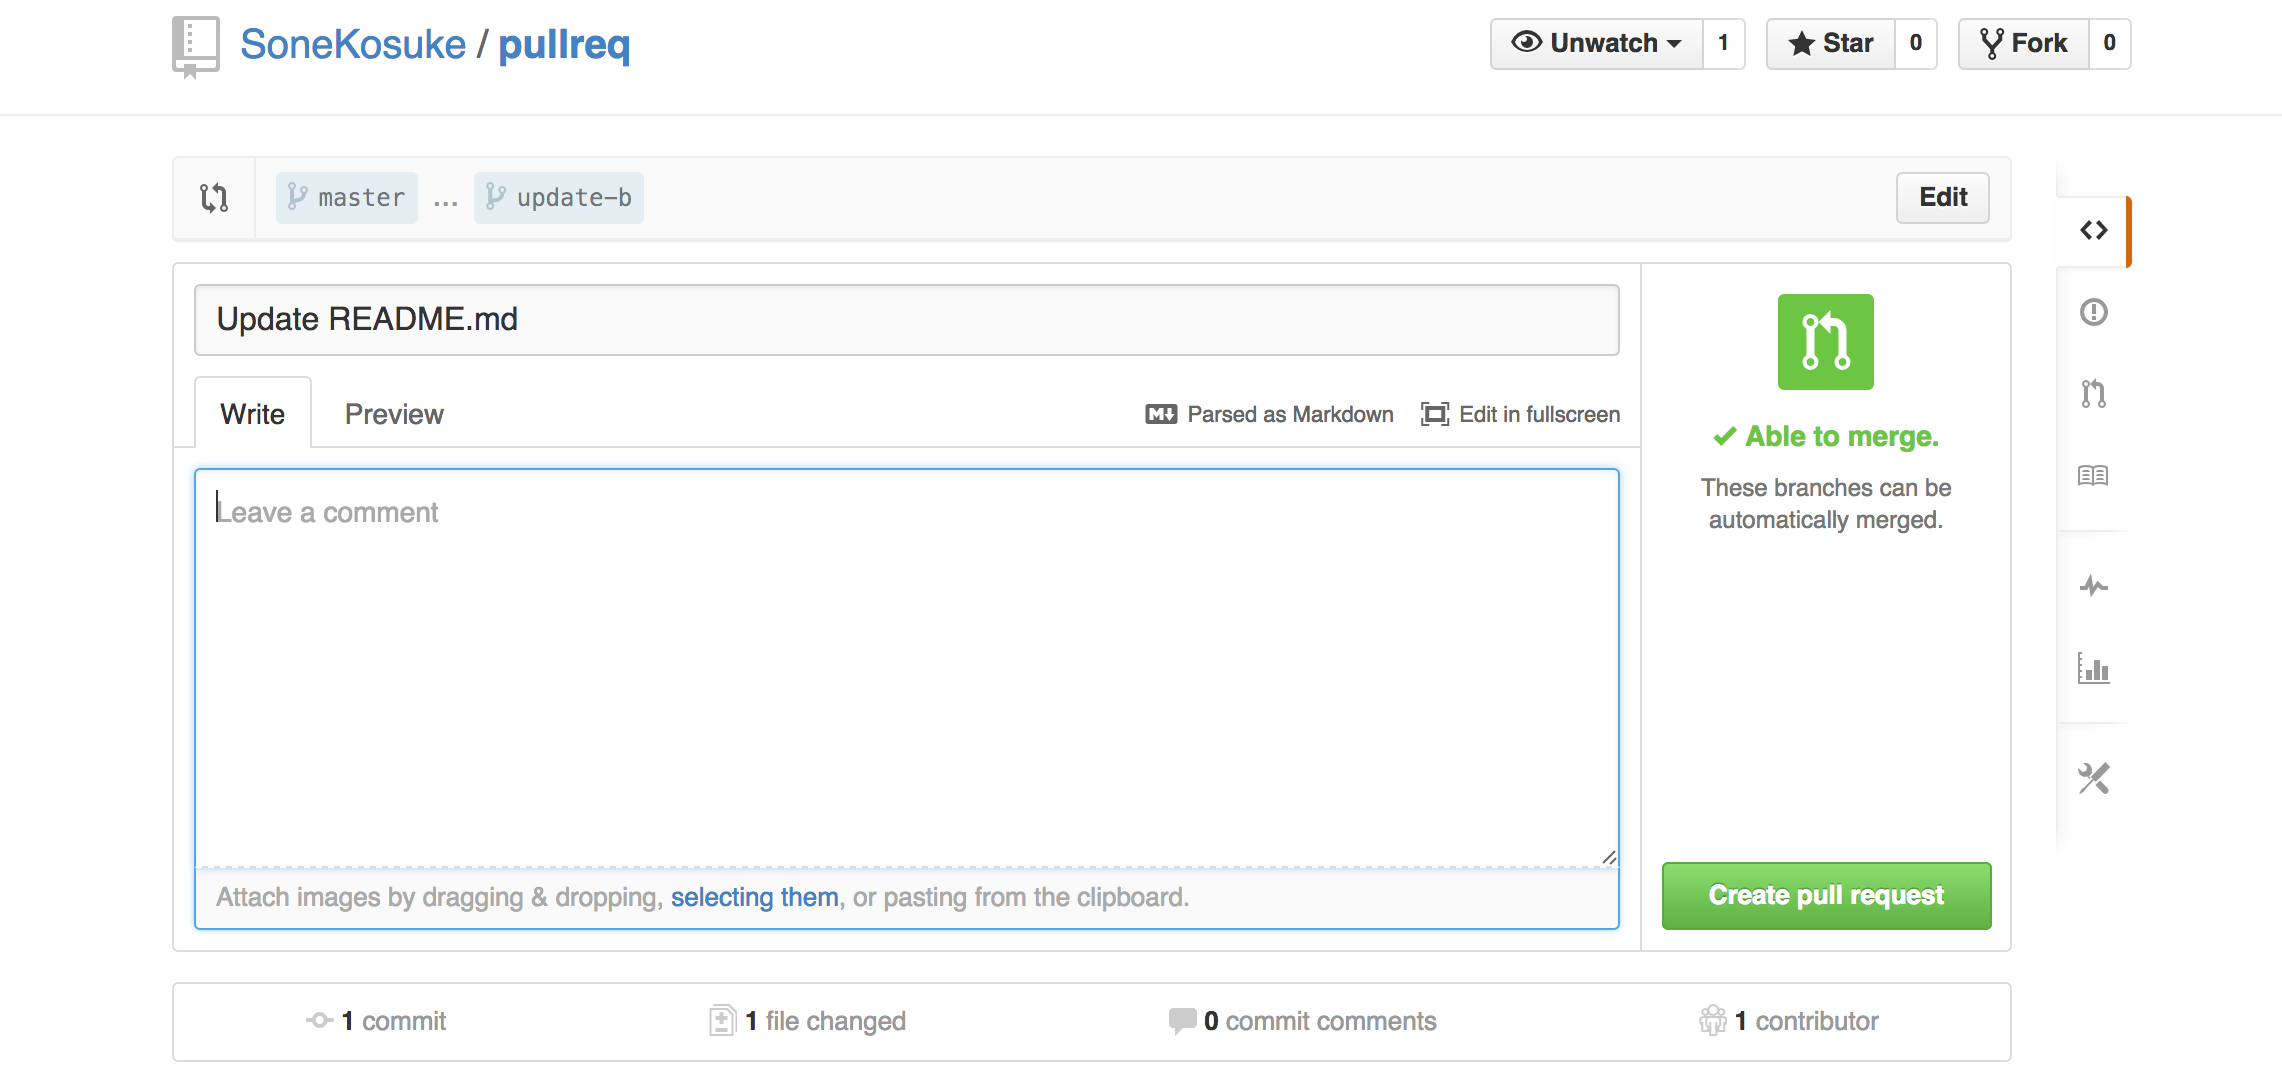
Pull Request作成ページでは、リクエストを送信する相手(通常はリポジトリの管理者)に、どういった変更を加えたのかを説明する内容を記入します。
説明文を記入できたら、画面下部に表示されている実際のコミット内容もチェックして、誤りがないかをチェックします。大丈夫そうなら「Create pull request」ボタンを押して、Pull Requestを送信します。
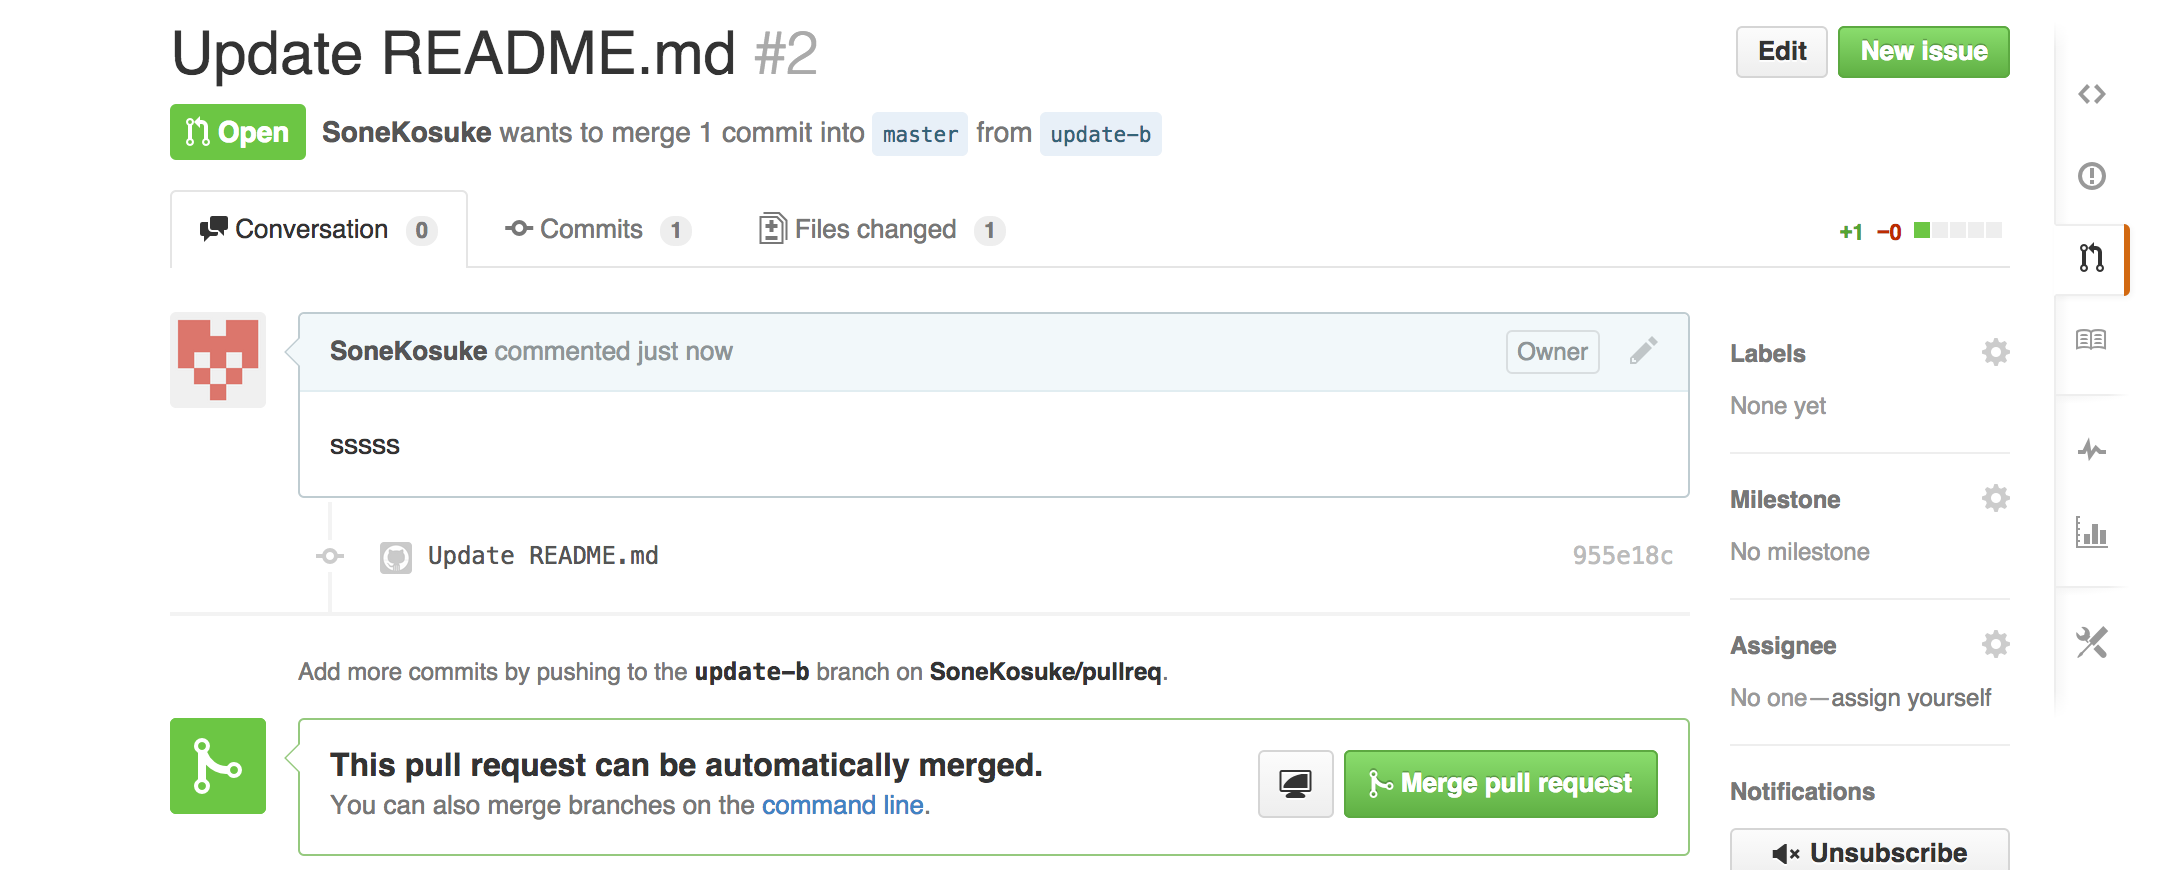
これでPull Requestが送信されました。送信後のページでは、今作成したPull RequestがOpen状態になって表示されていると思います。
4. GitHub上で、Pull Requestをマージする
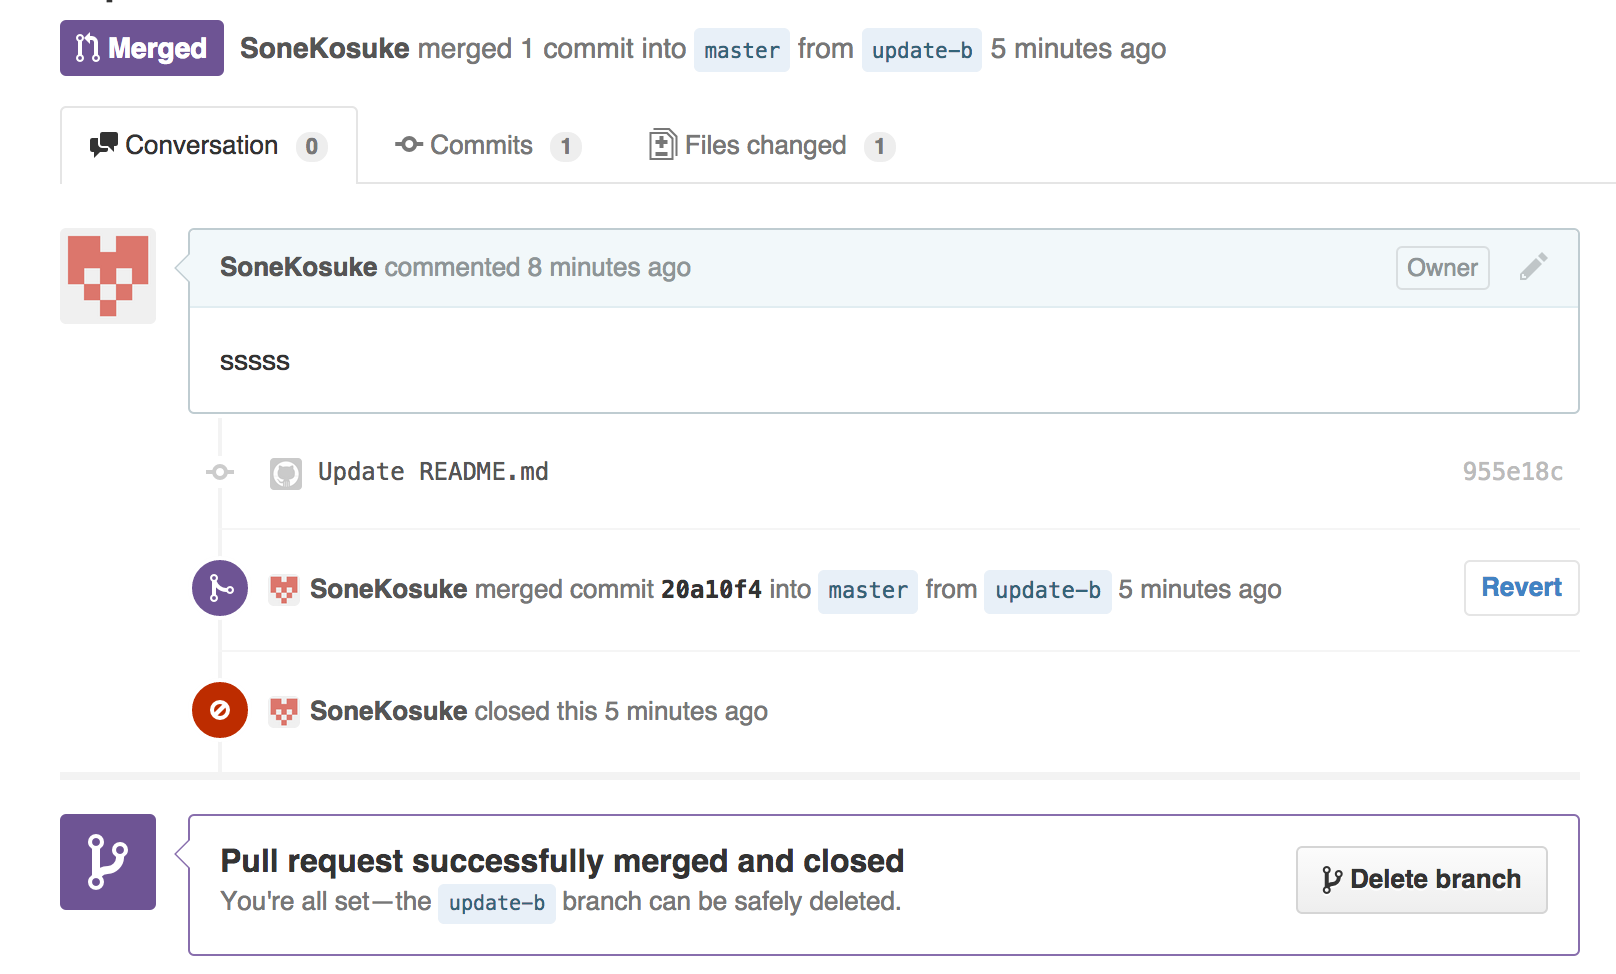
Pull Requestの変更点が問題なければ、マージします。
github上でマージする場合は、「Merge pull request」→「Confirm Merge」ボタンを押すだけです。

以上でおしまい。


