■はじめに
今回は設定の保存/読み込みをやります。
キーワード:Settings, マルチユーザー設定, user.config, Local, Roaming, Style, 初期フォーカス, スタイル
[注意]
これまでの回で説明済みの操作方法等は、説明を省略したり簡略化している場合があります。
■開発環境
- Windows 10
- Visual Studio Community 2017
- .NET Framework 4.x
■作ってみる
◇Grid分割、StackPanel配置
新規プロジェクトを作成したらGridを横に区切りましょう。
やり方を忘れた場合は第5回に戻りましょう。
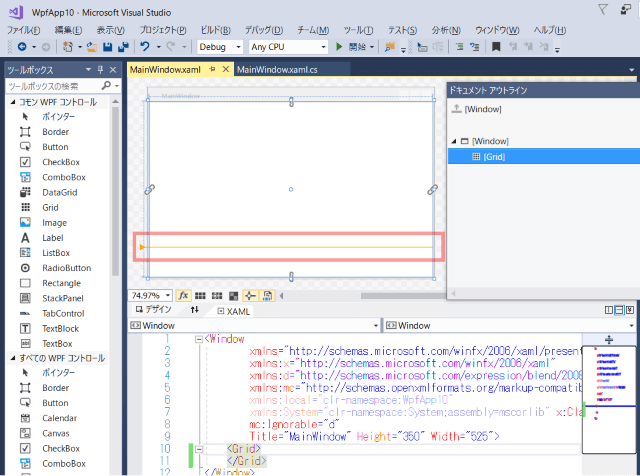
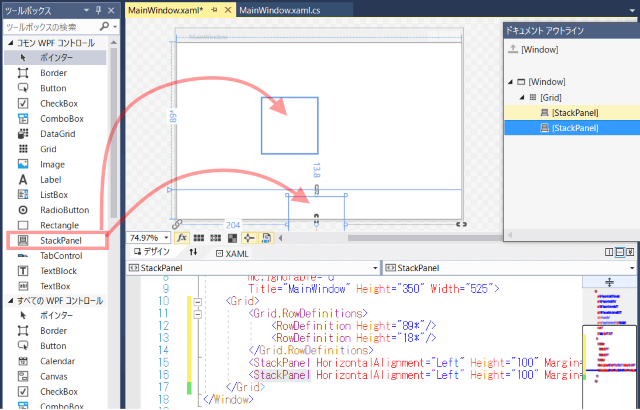
区切ったそれぞれの行にStackPanelをドラッグ&ドロップします。
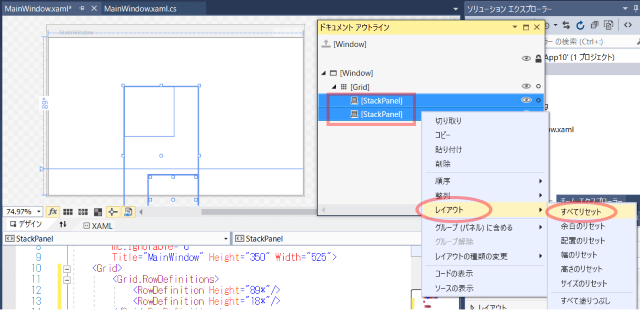
ドキュメントアウトラインでStackPanelをCtrl + クリックで2つとも選択状態にし、右クリック「レイアウト」 - 「すべてリセット」を選択します。
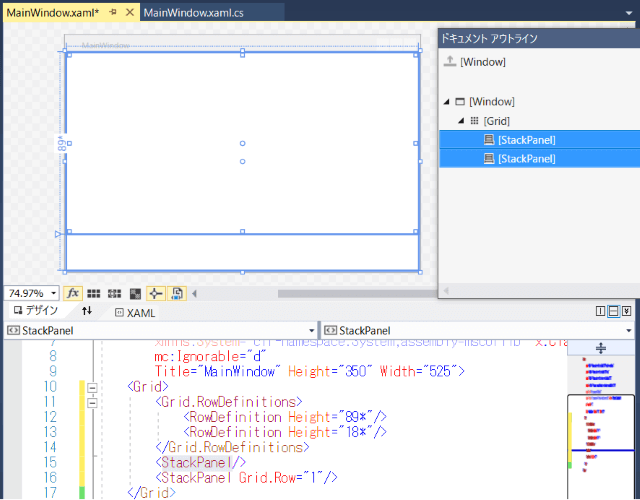
StackPanelが画面いっぱいに広がりました。
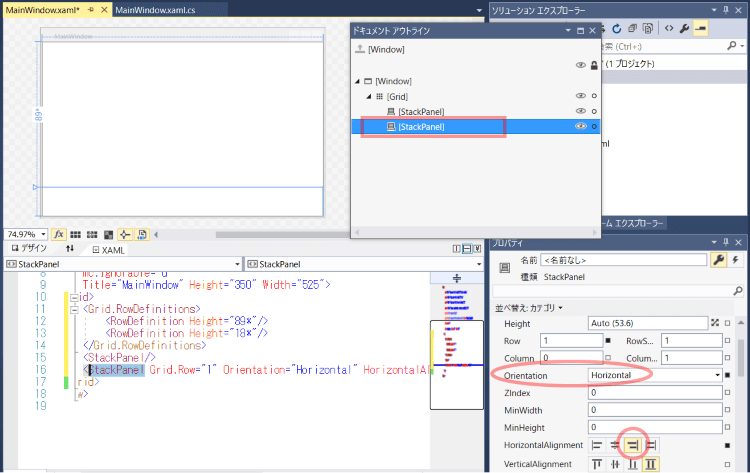
下側のStackPanelのOrientationをHorizontalに、HorizontalAlignmentをRightにします。
これで中に配置するコントロールが横並びかつ右寄せになります。
◇ボタン配置、スタイル設定
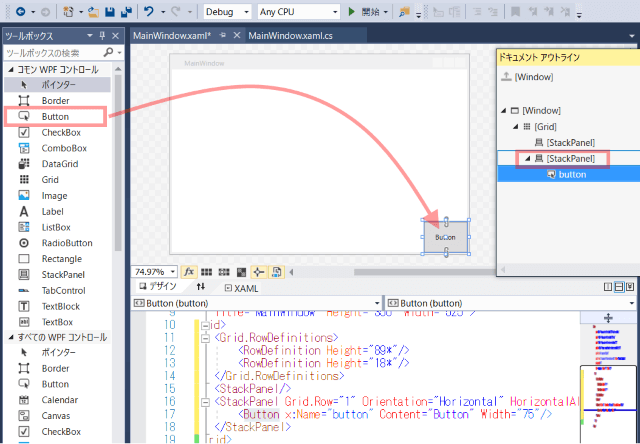
ドキュメントアウトラインで下側のStackPanelを選択状態にし、Buttonを配置します。
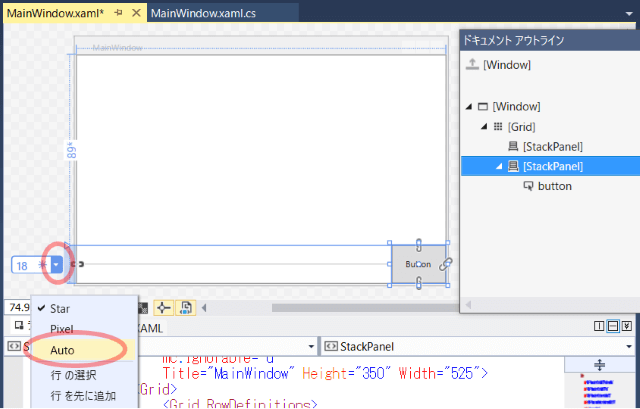
Gridの行高さの設定を変更します。
ドロップダウンからAutoを選択します。
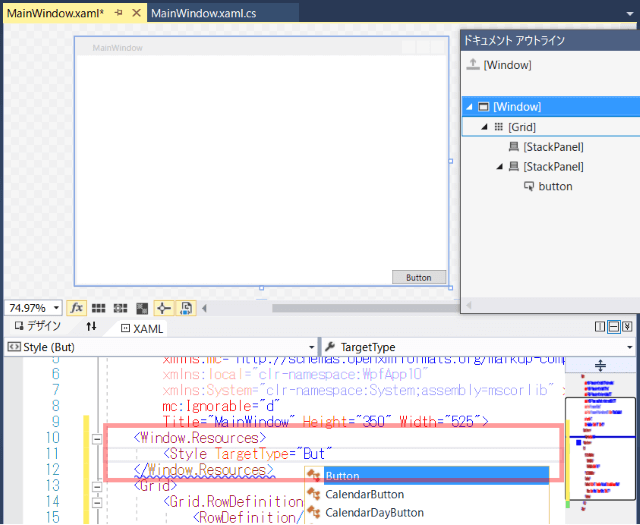
Windowタグのすぐ下にWindow.Resourcesタグを作り、Buttonのスタイルを定義します。
<Window.Resources>
    <Style TargetType="Button">
        <Setter Property="Margin" Value="0,10,10,10"/>
        <Setter Property="Width" Value="100"/>
        <Setter Property="Height" Value="30"/>
    </Style>
</Window.Resources>
Buttonを1つ追加し、各種設定をします。
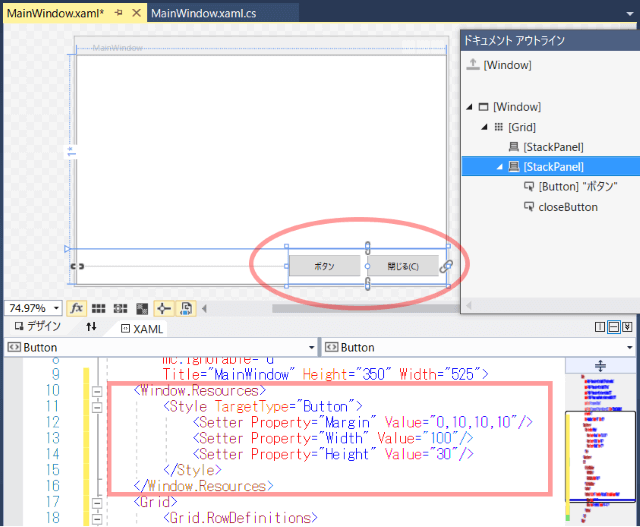
<StackPanel Grid.Row="1" Orientation="Horizontal" HorizontalAlignment="Right">
    <Button Content="ボタン"/>
    <Button x:Name="closeButton" Content="閉じる(_C)"/>
</StackPanel>
閉じるボタンの処理を書きます。
private void closeButton_Click(object sender, RoutedEventArgs e)
{
    this.Close();
}
◇入力項目配置、スタイル設定
ドキュメントアウトラインで上側のStackPanelを選択し、Label, TextBox, Label, TextBox, Label, ComboBoxの順に追加します。
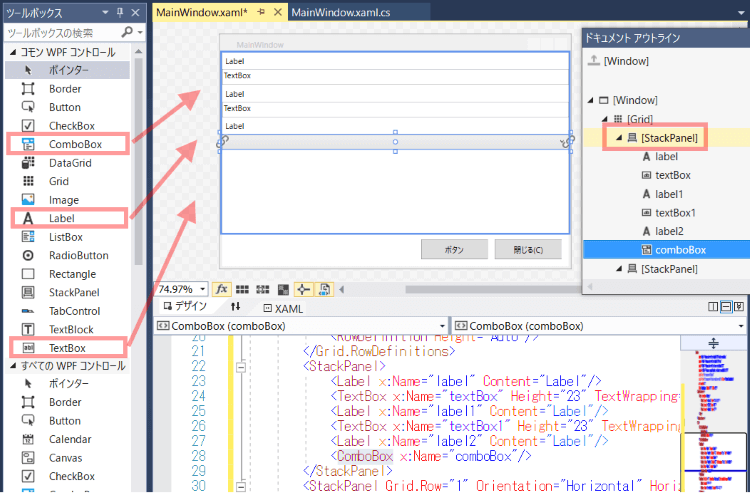
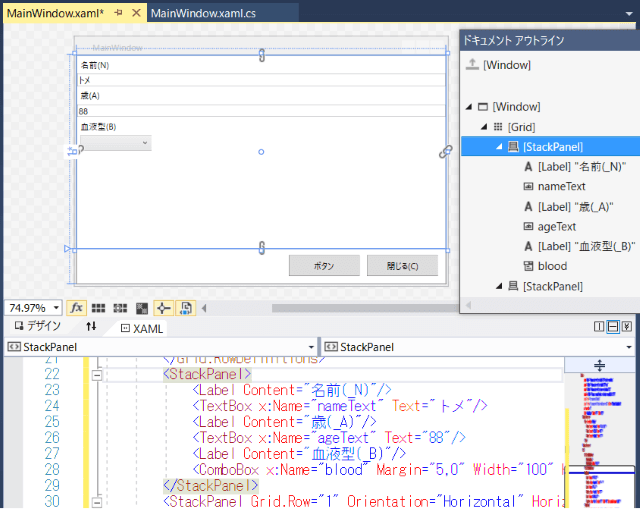
各種設定をします。
<StackPanel>
    <Label Content="名前(_N)"/>
    <TextBox x:Name="nameText" Text="トメ"/>
    <Label Content="歳(_A)"/>
    <TextBox x:Name="ageText" Text="88"/>
    <Label Content="血液型(_B)"/>
    <ComboBox x:Name="blood" Margin="5,0" Width="100" HorizontalAlignment="Left"/>
</StackPanel>
Window.ResourcesにLabelとTextBoxのスタイル定義を追加します。
今度はx:Keyでスタイルの名前を付けます。
<Style x:Key="InputTitleStyle" TargetType="Label">
    <Setter Property="Margin" Value="5,15,5,0"/>
</Style>
<Style x:Key="InputTextStyle" TargetType="TextBox">
    <Setter Property="Margin" Value="5,0"/>
    <Setter Property="Width" Value="300"/>
    <Setter Property="HorizontalAlignment" Value="Left"/>
</Style>
利用する側はStyleプロパティで適用したいスタイルのKeyを指定します。
<Label Content="名前(_N)" Target="{Binding ElementName=nameText}" Style="{StaticResource InputTitleStyle}"/>
<TextBox x:Name="nameText" Text="トメ" Style="{StaticResource InputTextStyle}"/>
<Label Content="歳(_A)" Target="{Binding ElementName=ageText}" Style="{StaticResource InputTitleStyle}"/>
<TextBox x:Name="ageText" Text="88" Style="{StaticResource InputTextStyle}"/>
<Label Content="血液型(_B)" Target="{Binding ElementName=blood}" Style="{StaticResource InputTitleStyle}"/>
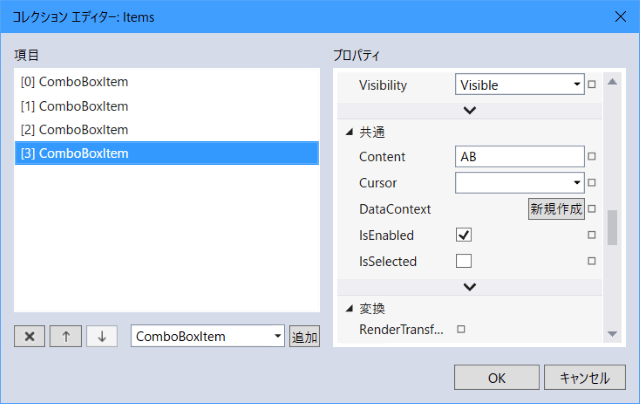
ComboBoxのItemsプロパティ横の「...」からコレクションエディターを開き、ComboBoxItemを追加します。
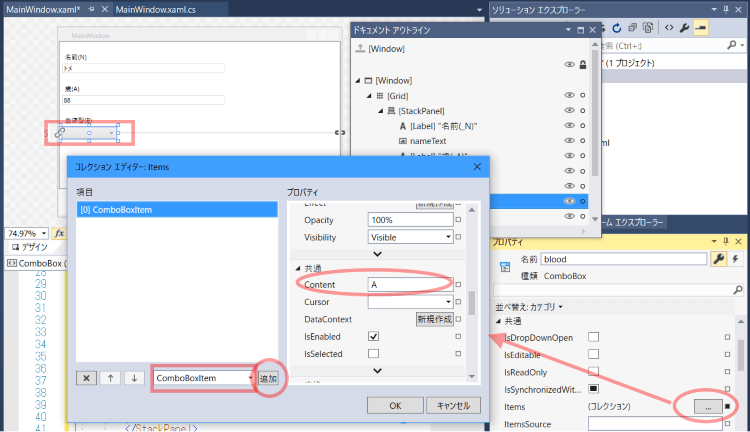
4つのComboBoxItemのContentにそれぞれA, B, O, ABを設定します。
<ComboBox x:Name="blood" Margin="5,0" Width="100" HorizontalAlignment="Left">
    <ComboBoxItem Content="A"/>
    <ComboBoxItem Content="B"/>
    <ComboBoxItem Content="O"/>
    <ComboBoxItem Content="AB"/>
</ComboBox>
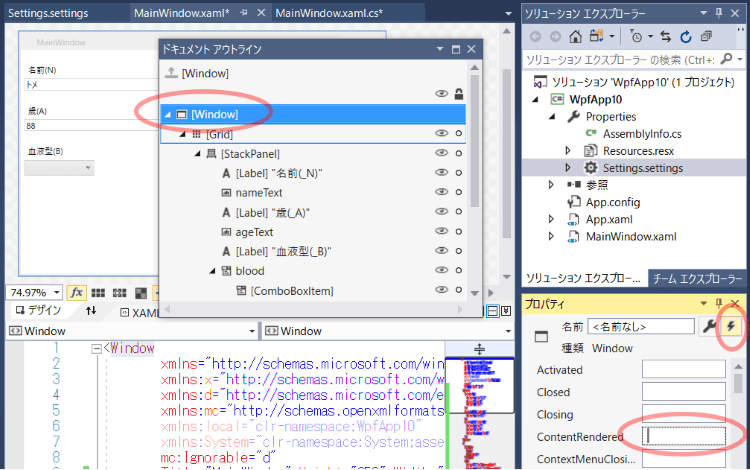
画面起動時の最初のフォーカス位置を設定します。
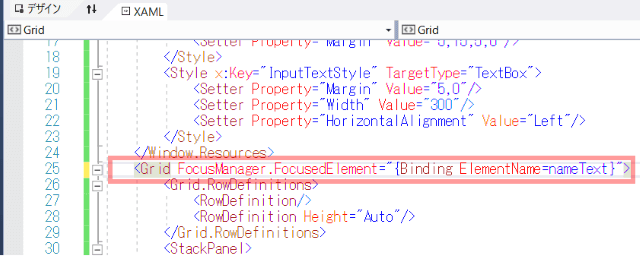
<Grid FocusManager.FocusedElement="{Binding ElementName=nameText}">
◇設定項目
ソリューションエクスプローラーでPropertiesの下のSettings.settingsをダブルクリックします。
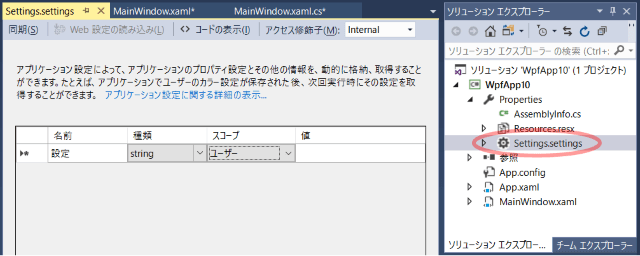
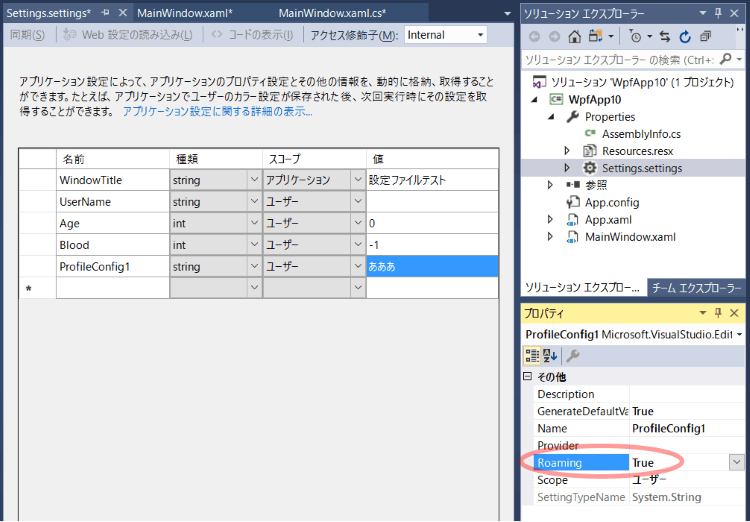
以下の表のように入力します。
| 名前 | 種類 | スコープ | 値 |
|---|---|---|---|
| WindowTitle | string | アプリケーション | 設定ファイルテスト |
| UserName | string | ユーザー | |
| Age | int | ユーザー | 0 |
| Blood | int | ユーザー | -1 |
| ProfileConfig1 | string | ユーザー | あああ |
ProfileConfig1のRoamingプロパティはTrueにします。
アプリケーションスコープは、全ユーザーで共通的な固定値に使用します。
ユーザースコープは、ログインユーザー毎に保持する設定で使用します。
ユーザースコープは端末依存/非依存で2種類あります。
既定値はRoaming=Falseの端末依存です。
まとめると以下のようになります。
- 全ユーザーで共通の固定値は、アプリケーションスコープにする。
- ユーザー固有で端末に依存する設定(画面解像度や色数、ドライブ・フォルダパス等)は、ユーザースコープで
RoamingをFalseにする。 - ユーザー固有で端末に依存しない設定は、ユーザースコープで
RoamingをTrueにする。
| スコープ | Roaming | 読取専用 | 端末依存 | ユーザー固有 | 保存先 |
|:--|:--|:--|:--|:--|:--|:--|
| アプリケーション | False | 〇 | | | 〇〇〇.exe.config |
| ユーザー | False | | 〇 | 〇 | Local\~\user.config |
| ユーザー | True | | | 〇 | Roaming\~\user.config |
設定読み込み/保存処理を書きます。
Windowのイベント、ContentRenderedに設定読み込み処理を、Closedに設定保存処理を書きます。
private void Window_ContentRendered(object sender, EventArgs e)
{
    // 設定読み込み
    this.Title = Properties.Settings.Default.WindowTitle;
    nameText.Text = Properties.Settings.Default.UserName;
    ageText.Text = Properties.Settings.Default.Age.ToString();
    blood.SelectedIndex = Properties.Settings.Default.Blood;
}

private void Window_Closed(object sender, EventArgs e)
{
    // 設定保存
    Properties.Settings.Default.UserName = nameText.Text;
    Properties.Settings.Default.Age = int.Parse(ageText.Text);
    Properties.Settings.Default.Blood = blood.SelectedIndex;
    Properties.Settings.Default.Save();
}
閉じるボタンの左に配置したボタンのクリック処理を書きます。
private void Button_Click(object sender, RoutedEventArgs e)
{
    // 設定読み込み
    string config1 = Properties.Settings.Default.ProfileConfig1;
    // 表示
    MessageBox.Show(config1);
    // 設定更新
    Properties.Settings.Default.ProfileConfig1 = config1 + "a";
}
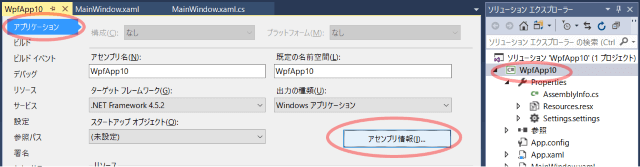
◇プロジェクトプロパティ設定
プロジェクトのプロパティで「アプリケーション」の「アセンブリ情報」ボタンを押します。
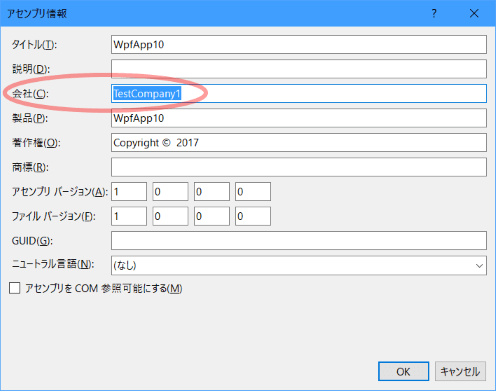
「会社」の欄を入力します。
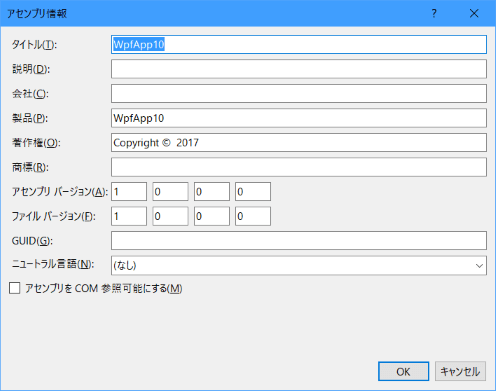
ここではTestCompany1と入力しました。
◇実行
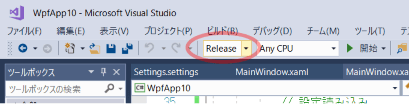
Releaseビルドします。
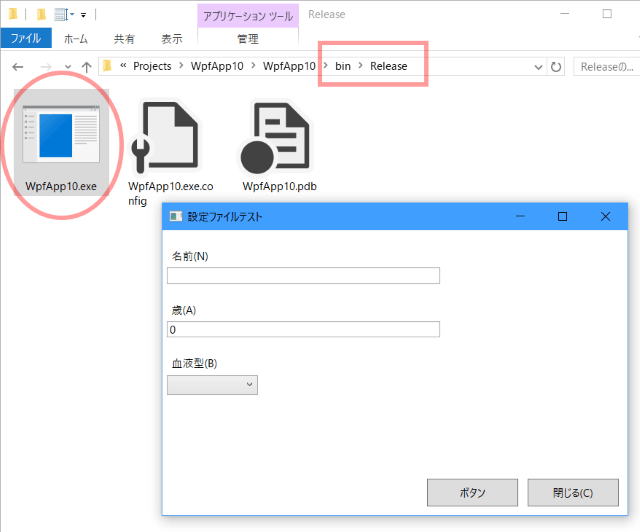
Releaseフォルダを開きます。
配布時は〇〇〇.exeと〇〇〇.exe.configを渡してください。
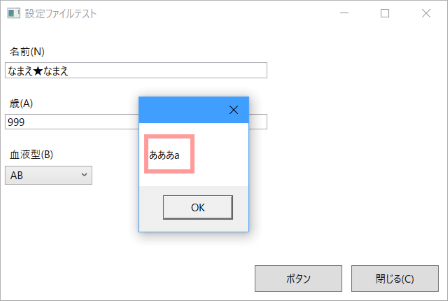
exeを起動してみます。
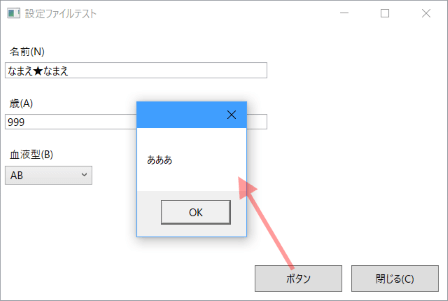
「ボタン」ボタンを押すとメッセージが表示されます。
テキストボックスを入力、コンボボックスを選択し、閉じるボタンで終了します。
ウィンドウが終了したのでconfigが更新されているはずです。
exeと同じ場所にある〇〇〇.exe.configファイルは初期値で、ユーザー設定があればそちらが優先されます。
実行時にここの値が書き換わることはありません。
<userSettings>
    <WpfApp10.Properties.Settings>
        <setting name="UserName" serializeAs="String">
            <value />
        </setting>
        <setting name="Age" serializeAs="String">
            <value>0</value>
        </setting>
        <setting name="Blood" serializeAs="String">
            <value>-1</value>
        </setting>
        <setting name="ProfileConfig1" serializeAs="String">
            <value>あああ</value>
        </setting>
    </WpfApp10.Properties.Settings>
</userSettings>
<applicationSettings>
    <WpfApp10.Properties.Settings>
        <setting name="WindowTitle" serializeAs="String">
            <value>設定ファイルテスト</value>
        </setting>
    </WpfApp10.Properties.Settings>
</applicationSettings>
◇Localフォルダ
エクスプローラーで隠しファイルを表示するようにしておいて、ユーザー\【ユーザー名】\AppData(Users\【ユーザー名】\AppData)フォルダを開きます。
Localフォルダ配下にはスコープ:ユーザー、Roaming:Falseの設定が、
Roamingフォルダ配下にはスコープ:ユーザー、Roaming:Trueの設定が格納されています。

Local\【会社名】\【アプリ名.exe_長い文字列】\バージョン番号
(アセンブリ情報で「会社」を未入力の場合はLocal\【アプリ名】\【アプリ名.exe_長い文字列】\バージョン番号)フォルダにあるuser.config(ローカルユーザープロファイル)を開きます。
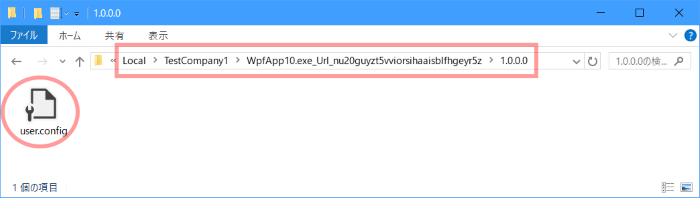
画面で入力された内容で更新されています。
<?xml version="1.0" encoding="utf-8"?>
<configuration>
    <userSettings>
        <WpfApp10.Properties.Settings>
            <setting name="UserName" serializeAs="String">
                <value>なまえ★なまえ</value>
            </setting>
            <setting name="Age" serializeAs="String">
                <value>999</value>
            </setting>
            <setting name="Blood" serializeAs="String">
                <value>3</value>
            </setting>
        </WpfApp10.Properties.Settings>
    </userSettings>
</configuration>
◇Roamingフォルダ
Roaming\【会社名】\【アプリ名.exe_長い文字列】\バージョン番号
(アセンブリ情報で「会社」を未入力の場合はRoaming\【アプリ名】\【アプリ名.exe_長い文字列】\バージョン番号)フォルダにあるuser.config(移動ユーザープロファイル)を開きます。
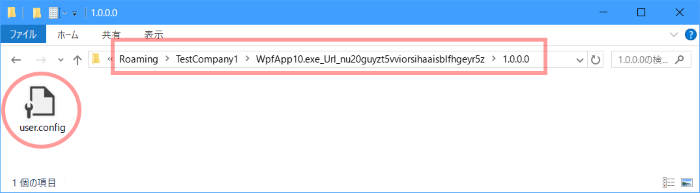
「ボタン」ボタンを押してメッセージを表示したので内容が更新されています。
<?xml version="1.0" encoding="utf-8"?>
<configuration>
    <userSettings>
        <WpfApp10.Properties.Settings>
            <setting name="ProfileConfig1" serializeAs="String">
                <value>あああa</value>
            </setting>
        </WpfApp10.Properties.Settings>
    </userSettings>
</configuration>
◇config読み込み
再度exeを起動してみます。
configの内容が復元されました。
おしまい