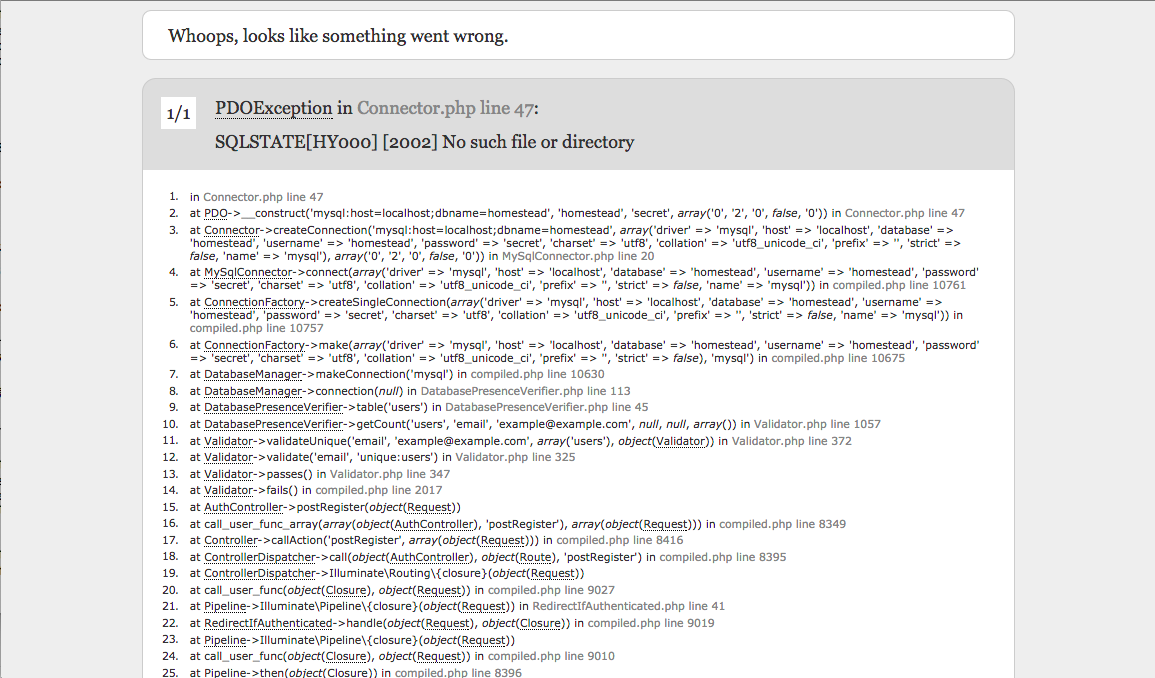
最小構成かな?
またまたvagrant上に構成しています。firewallの設定は割愛します。
vagrant環境は以下の通りです。
OS:CentOS6.5
PHP:5.6.7
MySQL:5.5.43
Vagrantfile
こんな感じ
Vagrant.configure(2) do |config|
  config.vm.box = "centos65"
  config.vm.network "private_network", ip: "192.168.33.10"
  config.vm.synced_folder "./data", "/var/www/html"
end
Laravelに必要なもの
PHP:5.4 以上
PHPモジュール:php-mcrypt(えむくりぷとと読むらしい…), php-mbstring, php-pdo, php-mysqlnd, php-tokenizer(これ使ってるのか?)
必要のないものはインストールしません。
これがいまのところベターな構成ではないでしょうか。
PHPをインストール
PHP5.4以上ということですが、せっかくなので5.6をインストールします。
-
PHP5.6に必要なremiレポジトリを追加します。
console$ sudo rpm -Uvh http://rpms.famillecollet.com/enterprise/remi-release-6.rpm -
PHPと関連モジュールたちをインストール
console$ sudo yum install -y --enablerepo=remi --enablerepo=remi-php56 php php-mcrypt php-mbstring php-pdo php-mysqlnd php-tokenizer -
確認
console$ php -v PHP 5.6.7 (cli) (built: Mar 19 2015 15:09:09) Copyright (c) 1997-2015 The PHP Group Zend Engine v2.6.0, Copyright (c) 1998-2015 Zend Technologies
Composerを手に入れる
Laravelは基本的にComposerでインストールします。Composerをゲットしましょう。
-
Composerをローカルインストール
console$ curl -sS https://getcomposer.org/installer | php -
今回はグローバルインストールしたいので、すでにPATHが通っているディレクトリに移動させます。
console$ sudo mv composer.phar /usr/local/bin/composer -
確認
console$ composer ______ / ____/___ ____ ___ ____ ____ ________ _____ / / / __ \/ __ `__ \/ __ \/ __ \/ ___/ _ \/ ___/ / /___/ /_/ / / / / / / /_/ / /_/ (__ ) __/ / \____/\____/_/ /_/ /_/ .___/\____/____/\___/_/ /_/ Composer version 1.0-dev (921b3a0eba139820716f7aeefb553197c14656d8) 2015-04-15 18:27:04
Laravelインストーラーを手に入れる
-
公式のインストーラーがあるので、ゲットする。
console$ composer global require "laravel/installer=~1.1" -
PATHを通す
console$ echo 'export PATH=~/.composer/vendor/laravel/installer:$PATH' >> ~/.bash_profile -
設定を反映
console$ source .bash_profile -
確認
console$ laravel Laravel Installer version 1.2.0
Laravelプロジェクトを作成する
-
さきほどPATHを通したlaravelコマンドを使う
console$ laravel new test Crafting application... Generating optimized class loader Compiling common classes Application key [hogehogehogehogehoge] set successfully. Application ready! Build something amazing.今回はtestというプロジェクトを作成しますが、各自変えてください。
rails ne.. うっ頭が…
動かしてみる
-
Laravelにはアーチさんという職人がいるそうです。この方がビルトインサーバーもやってくれます。
console$ cd test $ php artisan serve --host 0.0.0.0 Laravel development server started on http://0.0.0.0:8000/artisan【名詞】
熟練工, (腕のいい)職人
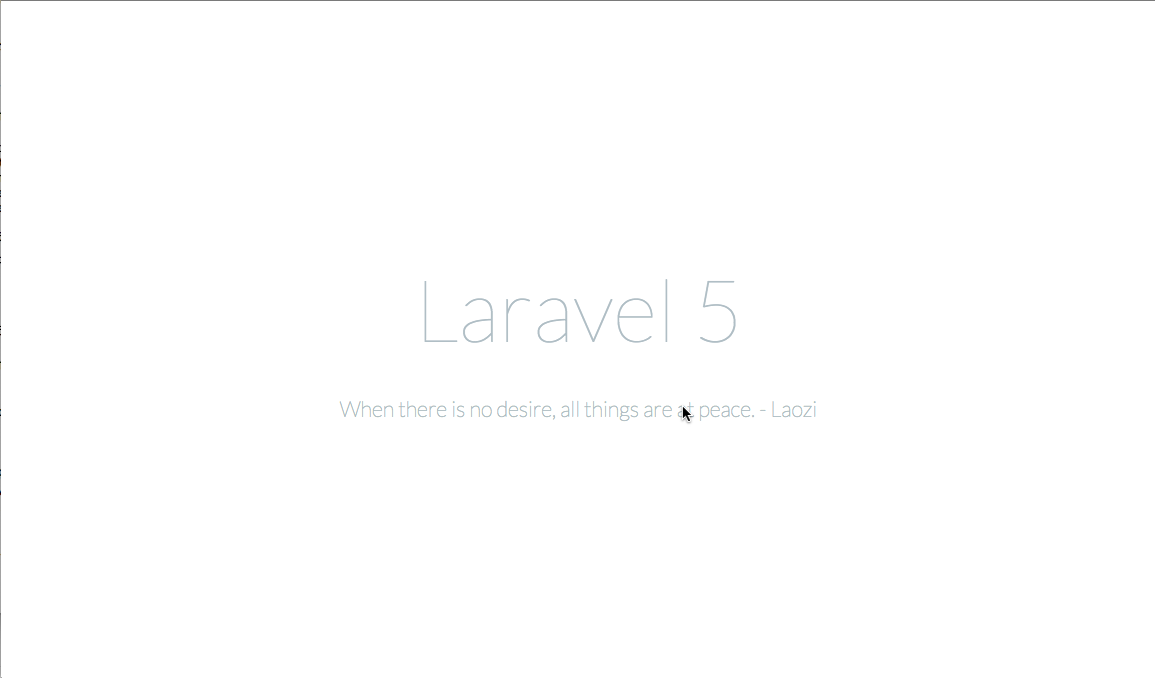
多分読みはアーチさんではなくアルチザン…この状態でhttp://192.168.33.10:8000 にアクセス
Apacheで動かす
-
関連モジュールとしてインストールされる記憶があったけど、インストールされていないならインストールする。
console$ sudo yum install httpdconsole$ sudo service httpd start Starting httpd: httpd: apr_sockaddr_info_get() failed for vagrant-centos65.vagrantup.com httpd: Could not reliably determine the servers fully qualified domain name, using 127.0.0.1 for ServerName [ OK ]起動した
ServerName変えろよって怒られる。いつものこと。 -
自動起動の設定もしちゃう
console$ sudo chkconfig httpd on -
確認
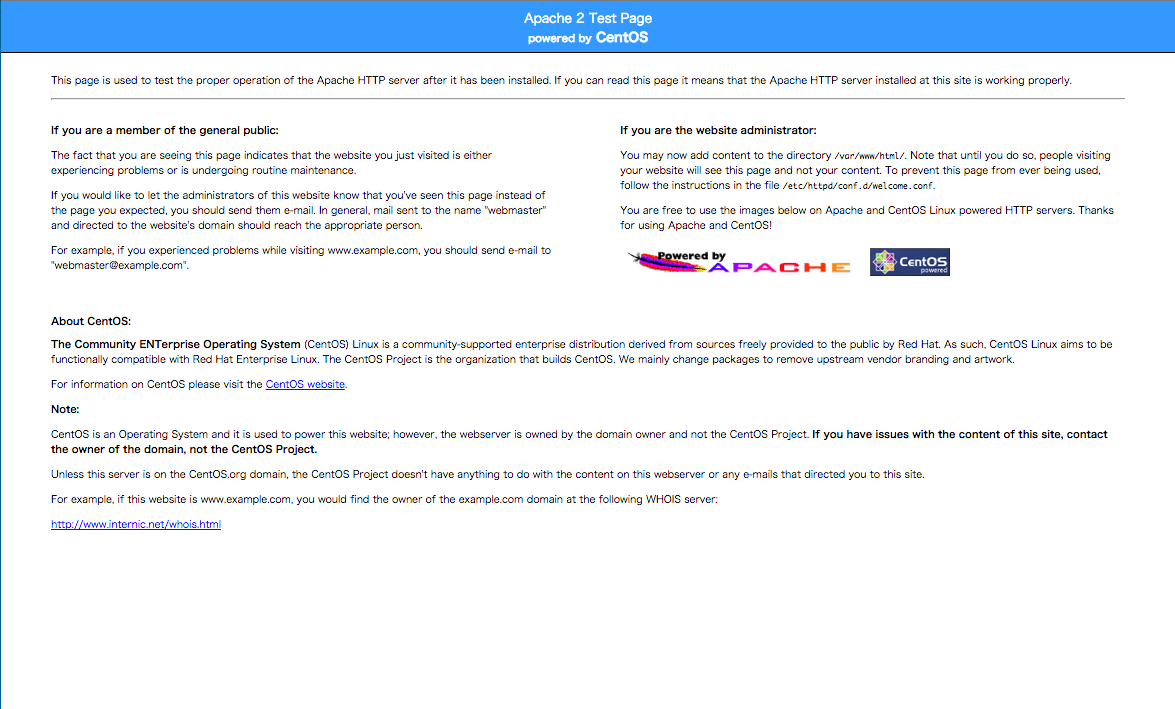
http://192.168.33.10 アクセスここまではOK
ここでさっきのLaravelホーム画面みたいなの出したい
とりあえずvagrantのsync設定書き換える
vagrant使ってない人は飛ばしてください。
Vagrant.configure(2) do |config|
  config.vm.box = "centos65"
  config.vm.network "private_network", ip: "192.168.33.10"
  config.vm.synced_folder "./data", "/var/www/html", owner: "apache", group: "apache", :mount_options => ["dmode=775"]
end
ディレクトリの所有者とグループをApacheに変更しつつ、apacheユーザーとapacheグループのみにread & write権限を付与
$ vagrant reload
リロードします。
プロジェクトをドキュメントルートに移動
-
普通にmv
console$ sudo mv test/ /var/www/html/ -
vagrant使ってない人はここで権限の設定しとく
console$ sudo chown -R apache:apache /var/www/html/test/ $ sudo chmod -R 775 /var/www/html/test/
Apacheの設定からドキュメントルートとか設定
-
ドキュメントルートを書き換える
console$ sudo sed -i 's_DocumentRoot \"/var/www/html\"_DocumentRoot \"/var/www/html/test/public\"_' /etc/httpd/conf/httpd.confプロジェクト名testの部分は各自書き換えてください
-
Apache起動するたびに怒られるのでServerNameも書き換える
consolesudo sed -i 's/#ServerName www.example.com:80/ServerName 127.0.0.1/' /etc/httpd/conf/httpd.conf -
.htaccessも許可しとく
console$ sudo sed -i '/<Directory \"\/var\/www\/html\">/,/<\/Directory>/ s/AllowOverride None/AllowOverride All/' /etc/httpd/conf/httpd.confこいつを変えておかないとルーティングがうまくいかない。
-
Apache再起動する
console$ sudo service httpd restart Stopping httpd: [ OK ] Starting httpd: [ OK ]もう怒られない。
-
確認
http://192.168.33.10 アクセスおぉ
Laravel触ってみる
-
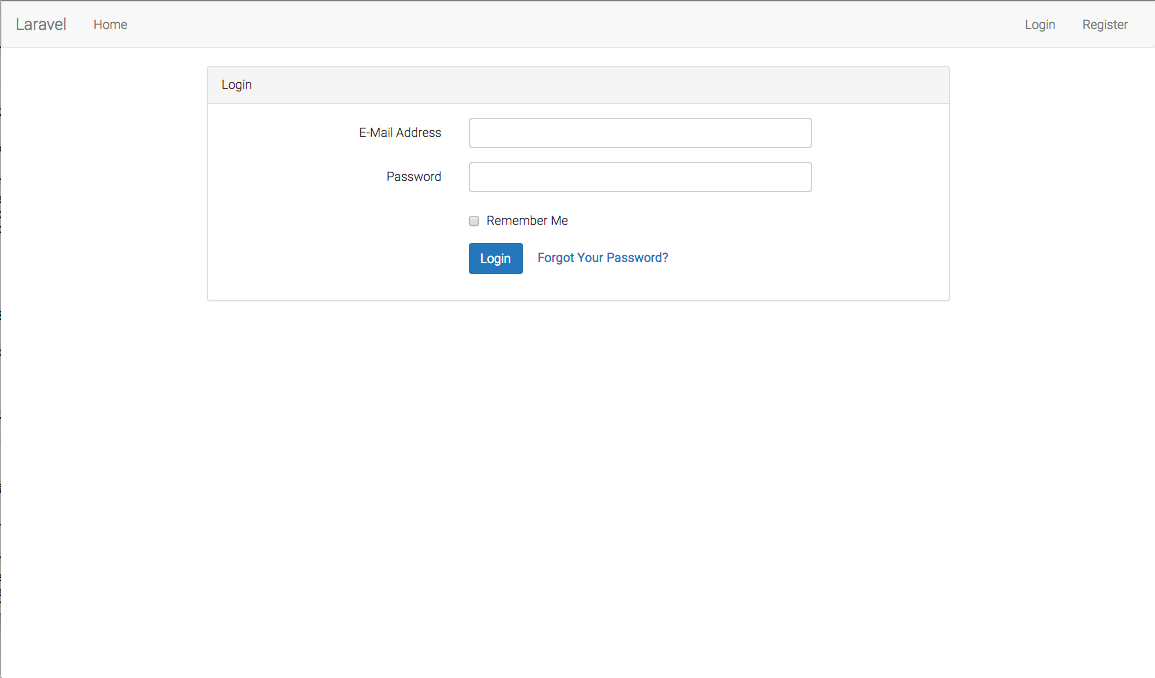
http://192.168.33.10/home アクセス
どうやらScaffoldでユーザー周りは作成されている模様
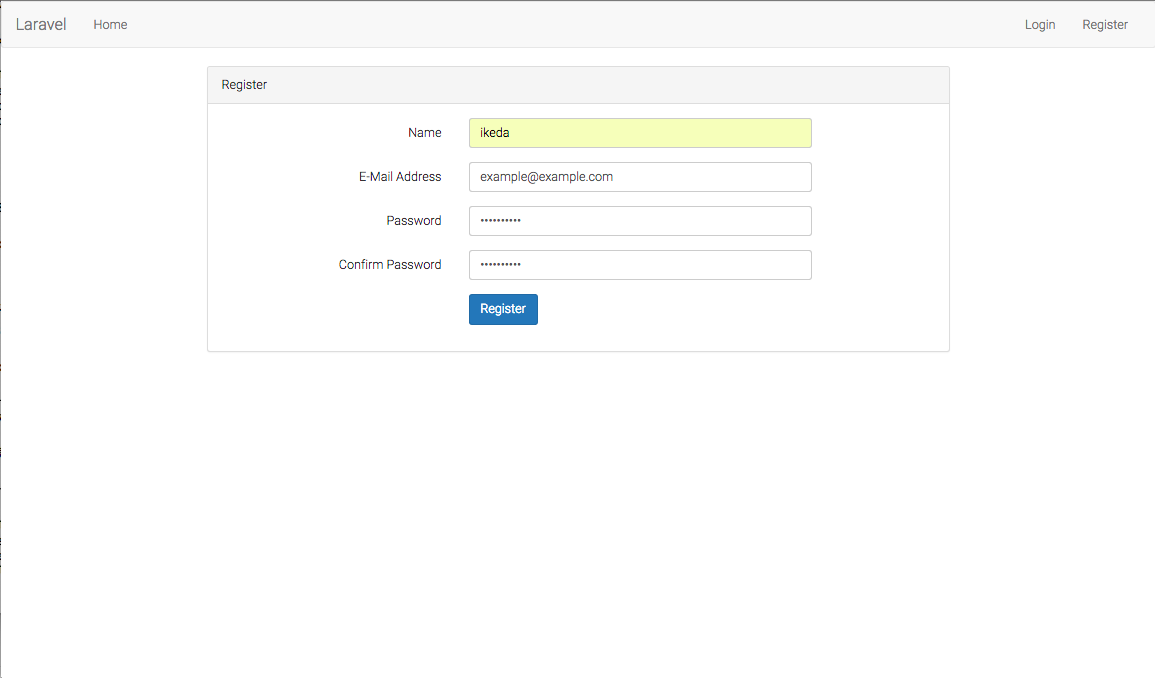
右上のRegisterから新規ユーザー作ってみる
register
…せやな
データベースに接続する
-
MySQLをインストールする。
console$ sudo yum install -y --enablerepo=remi mysql-server $ sudo service mysqld start Starting mysqld: [ OK ]自動起動しとく
console$ sudo chkconfig mysqld on -
データベースを作成する
console$ mysql -uroot mysql> create database laravel; mysql> \q Byeデータベース名laravelにしましたが、好きな名前で構いません。
-
設定ファイルを作成する
console$ cd /var/www/html/test/ $ sudo vi .env.envDB_HOST=localhost DB_DATABASE=laravel DB_USERNAME=root DB_PASSWORD=nullDB_DATABASEはさきほどのデータベース名
それ以外は上記のような形に書き換える -
Migrateする
console$ sudo php artisan migrate Migration table created successfully. Migrated: 2014_10_12_000000_create_users_table Migrated: 2014_10_12_100000_create_password_resets_tableこれでデータベースにテーブルとかカラムとか作ってくれる
ほんとrailsっぽい
Laravel触ってみる(2回目)
もっかいRegister
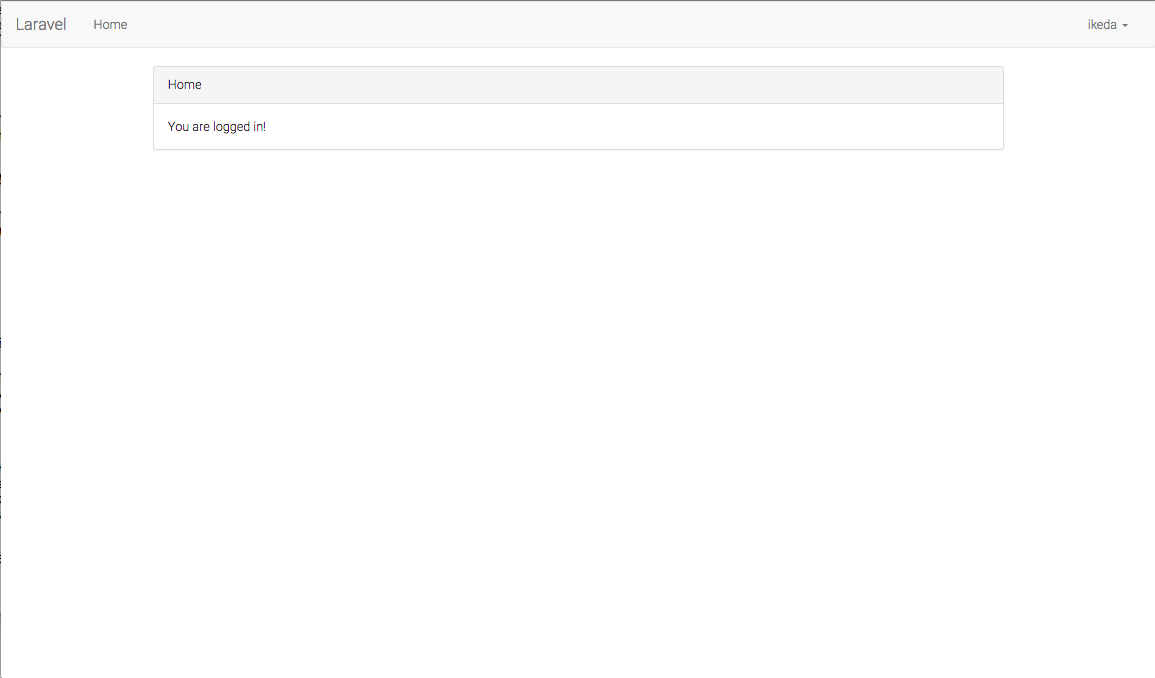
はい、ドーン!
サインアップできました。
なんかもうお腹いっぱい。
終わりに
これから新卒とか、入学とかでPHP始めようと考えてる人の役に立てばと思う。Laravelのコードはまだ書いてないけど、多分これからLaravel使っていくと思うし、またエラーで悩んだりしたらTips残したい。
