はじめに
TensorFlowにはresizeするための関数がいくつもある。
調べてみるとTensorFlowでresize用の関数は以下の6つのようだ。
- tf.image.resize_images
- tf.image.resize_area
- tf.image.resize_bicubic
- tf.image.resize_bilinear
- tf.image.resize_nearest_neighbor
- tf.image.resize_image_with_crop_or_pad
ドキュメントを読むと説明は書いてあるのだが、いまいちピンとこない。
なので実際に試して視覚的に動作を理解したいと思う。
結論から言うと、tf.image.resize_imagesが以下の4つの機能を含んでいた。
- tf.image.resize_area
- tf.image.resize_bicubic
- tf.image.resize_bilinear
- tf.image.resize_nearest_neighbor
なので、試すのは以下の2つだけにする。
- tf.image.resize_images
- tf.image.resize_image_with_crop_or_pad
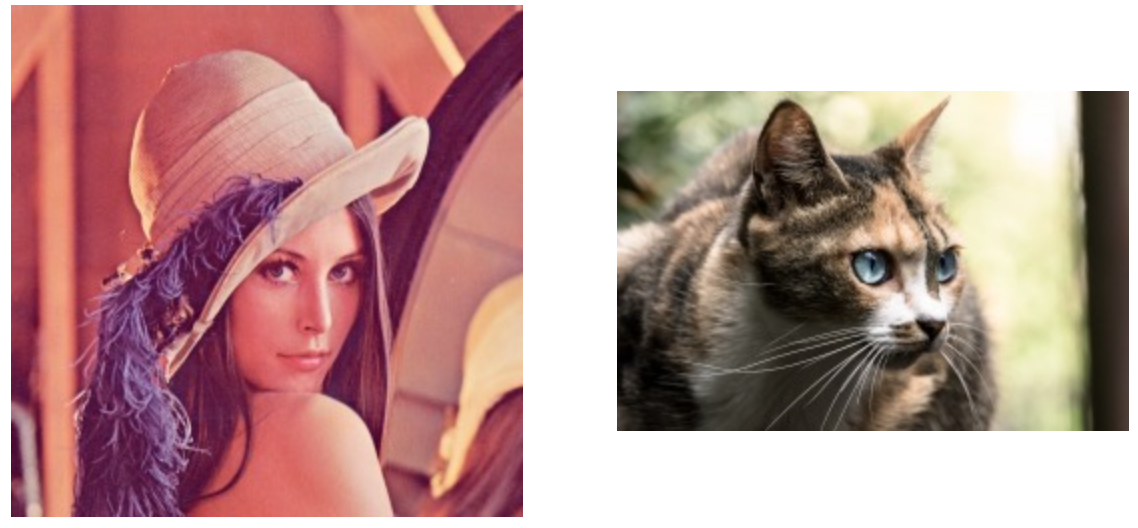
使う画像はサイズが256x256のレナさんとサイズが256x170のねこを使うことにする。
では一つずつ試してみよう。
tf.image.resize_images(images, new_height, new_width, method=0, align_corners=False)
resize_imagesは画像を指定したmethodでnew_height x new_widthにリサイズしてくれる関数。
入力画像としては4Dのテンソル[batch, height, width, channels]か3Dのテンソル[height, width, channels]を与えることができる。4Dで与えれば画像の一括変換が可能。
返り値には、4Dのテンソル[batch, new_height, new_width, channels]か3Dのテンソル[new_height, new_width, channels]が返却される。こちらは入力のテンソルに対応して変化する。
まずは縮小してみる
以下の設定をして画像を128x128に縮小してみる。
tf.image.resize_images(image, 128, 128)
レナは問題なく縮小できているが、ねこの方は歪んでしまっている。
このように、**元のアスペクト比がnew_width、new_heightと同じでない場合はリサイズ画像が歪む。**これを避けるためには、resize_image_with_crop_or_padを使う。こちらについては後ほど試してみる。
methodを変えてみる
resize_images関数は以下の4つのmethodをとることができる:
- ResizeMethod.BILINEAR: Bilinear補間(デフォルト)
- ResizeMethod.NEAREST_NEIGHBOR: Nearest neighbor補間
- ResizeMethod.BICUBIC: Bicubic補間
- ResizeMethod.AREA: Area補間
拡大するとぼやけ具合が元画像と比べて微妙に違うことがわかる。それぞれ使いどころがあるようだ。
align_corners
以下はalign_cornersがFalseの場合とTrueの場合の画像:
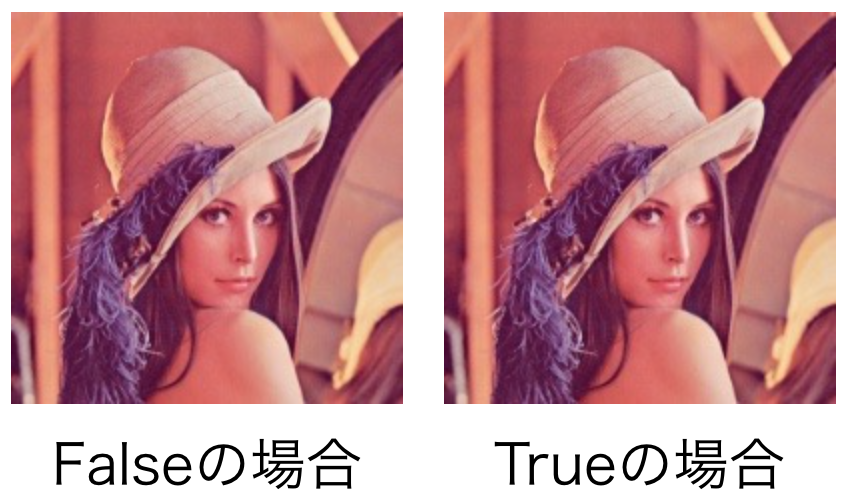
正直違いはよくわからないのだが、Trueだと入力を(new_height - 1) / (height - 1)に再スケールし、Falseだとnew_height / heightにスケールするようだ。Trueにすることで正確に入力と出力のすべての4隅の位置を正確に合わせるらしい。何のためにするのかはよくわからない。
tf.image.resize_image_with_crop_or_pad(image, target_height, target_width)
resize_image_with_crop_or_pad関数は、画像を指定したサイズ(target_height x target_width)になるようにトリミングand/orパディングしてくれる関数。
画像の中央をトリミングまたは黒画像をパディングすることによって、target_widthとtarget_heightに画像のサイズを変更します。
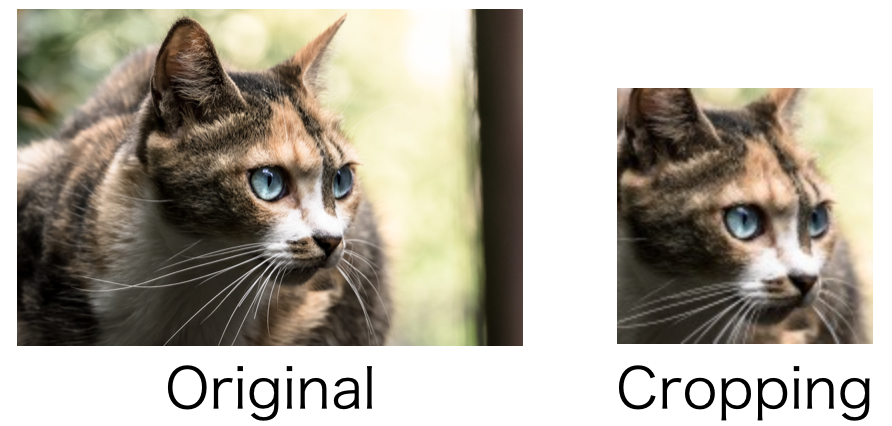
幅または高さがそれぞれ指定されたtarget_widthまたはtarget_heightよりも大きい場合、画像の中央をトリミングします。以下は256x170の猫画像をtarget_heightとtarget_widthに128x128を指定してリサイズした場合です。画像中央がトリミングされていることがわかります。
幅または高さがtarget_widthまたはtarget_heightよりも小さい場合、黒画像を埋め込みます。
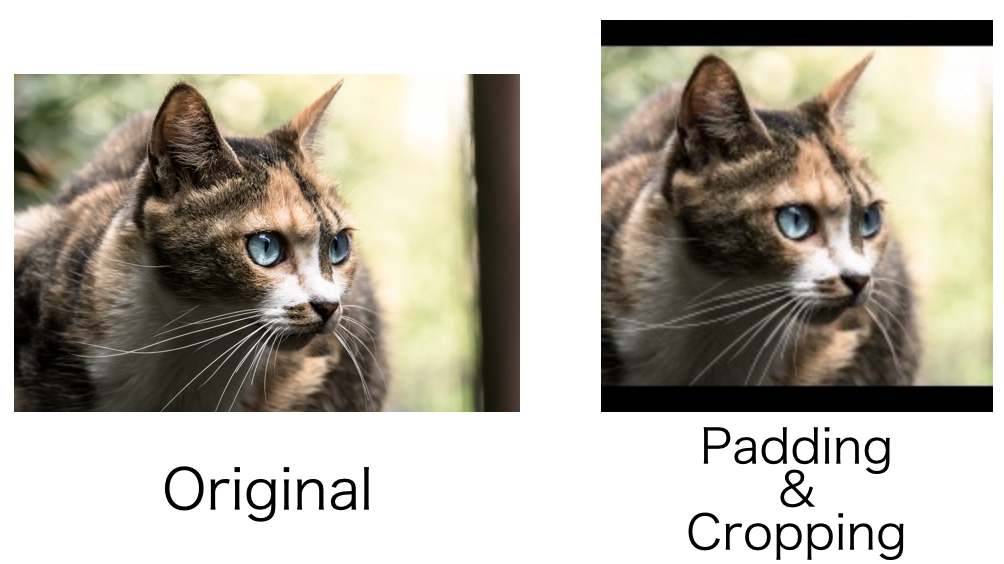
以下は256x170の猫画像をtarget_heightとtarget_widthに196x196を指定してリサイズした場合です。上下にパディングされつつ画像中央がトリミングされています。
おまけ
resize_image_with_crop_or_padとresize_imagesを組み合わせることで、CroppingせずにPaddingだけ施した画像の縮小ができる。

やり方
- 画像のサイズを取得
- resize_image_with_crop_or_pad関数のtarget_heightとtarget_widthに長辺のサイズを指定
- パディングされた画像をresize_imagesで縮小
