UnityのShaderLabの勉強のため、セピア調シェーダ作ってみました。
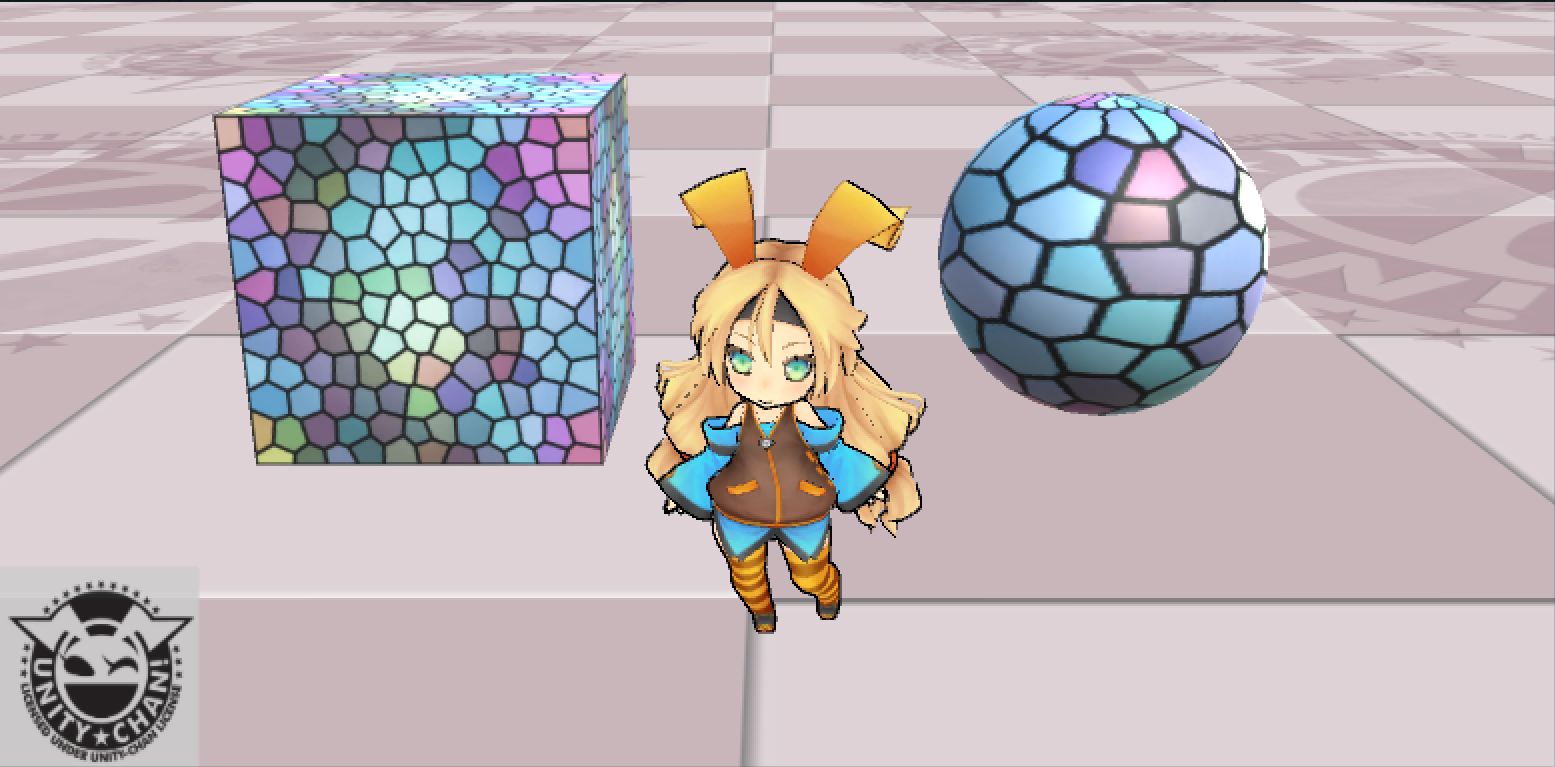
シェーダを適用すると
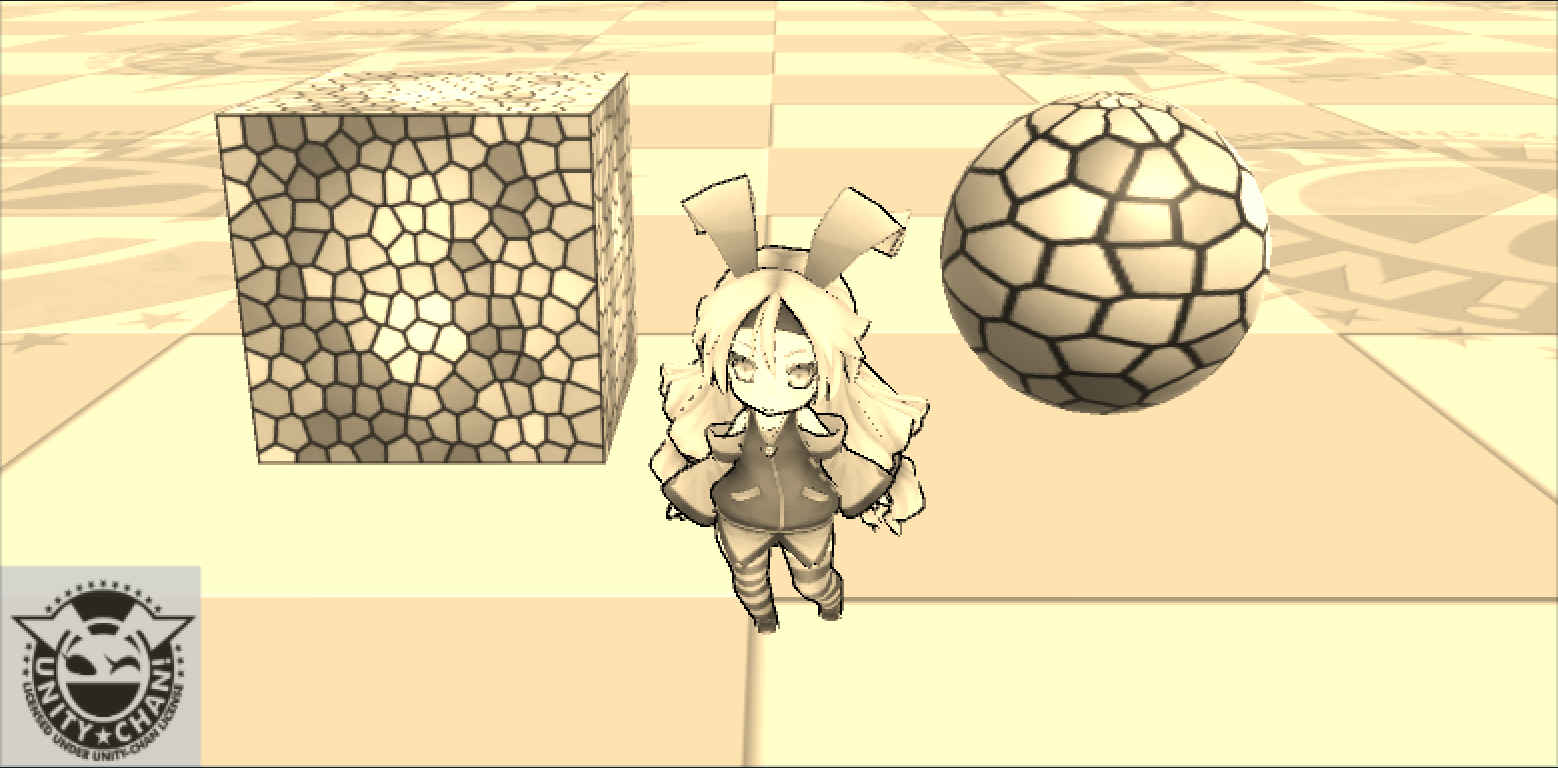
こんな感じに。以下シェーダです。
SepiaVF.shader
Shader "Custom/SepiaVF"{
	Properties{
		_MainTex("Main", 2D) = "black"{}
	}

	SubShader{
		Lighting Off

		Pass{
			CGPROGRAM
			#pragma vertex vert_img
			#pragma fragment frag
			#include "UnityCG.cginc"

			sampler2D _MainTex;

			float4 frag(v2f_img i) :COLOR{
				float4 tex = tex2D(_MainTex, i.uv);
				float4 c;
				c.r = tex.r*0.393 + tex.g*0.769 + tex.b*0.189;
				c.g = tex.r*0.349 + tex.g*0.686 + tex.b*0.168;
				c.b = tex.r*0.272 + tex.g*0.534 + tex.b*0.131;
				c.a = tex.a;
				return c;
			}
			ENDCG
		}
	}
}
頂点シェーダはUnityCG.cgincで定義済みのvert_imgを流用しています。vert_imgでは(おそらく)特殊な処理はなく、各頂点の座標変換を行い、v2f_img構造体で定義されている各変数に適切な値をセットするような処理を行っています。
フラグメントシェーダは自前で実装しています。フラグメントシェーダ内で取得したピクセル色を加工し、その色情報を返すだけのシンプルなものです。