RailsをAPIサーバーとしてアプリを開発する上で認証処理を実装する方法をメモしておきます。
doorkeeper + devise というgemを使う
deviseというのはRailsでユーザー認証を実装するときによく使われるGemで、doorkeeperはOAuth2認証を実装するGemです。
この2つを組み合わせて、APIでのOAuth2認証を実装します。
必要なGemのインストール
必要なgemをGemfileに追加します。
# 認証機能を使うためのgem
gem 'devise'
gem 'omniauth'
gem 'doorkeeper'
gem 'oauth2'
その後にbundle installします。
$ bundle install
deviseのセットアップ
以下のコマンドを実行します。
コマンドを実行するとdeviseに必要な設定ファイルが作成されます。
$ bundle exec rails g devise:install
そのあと、deviseでユーザー認証に対応したUserモデルを作成します。
$ bundle exec rails g devise user
$ bundle exec rake db:migrate
これでユーザー認証を行うためのUserモデルが作成されました。
doorkeeperのセットアップ
次にOAtuh2認証に対応するためのdoorkeeperをセットアップします。
$ bundle exec rails g doorkeeper:install
$ bundle exec rails g doorkeeper:migration
$ bundle exec rake db:migrate
これでDoorkeeperに必要な設定ファイル・DBの作成は完了です。
次にDeviseでのユーザー認証に対応するためにinitializers/doorkeeper.rbのresource_owner_authenticatorブロックを以下のように変更します。
resource_owner_authenticator do
  current_user || warden.authenticate!(:scope => :user)
end
次にUserのemailとpasswordでのアクセストークン取得のために以下の設定を追記します。
resource_owner_from_credentials do |routes|
    request.params[:user] = {:email => request.params[:username], :password => request.params[:password]}
    request.env["devise.allow_params_authentication"] = true
    request.env["warden"].authenticate!(:scope => :user)
  end
これで設定は以上になります。
doorkeeperでのOAuth2認証の使い方
アプリケーションの登録
doorkeeperではFacebookやTwitterのAPIのようにアプリケーションを登録でき、そのアプリケーションに対してApplication_id, Secret_id, Callback_urlが設定できます。
そしてのApplication_idとSecret_id、そして、ユーザーのemail,passwordを使ってaccess_tokenを取得します。
bundle exec rails s でRailsサーバーを立ち上げて、/oauth/applicationsにアクセスすると今登録されているアプリケーションの一覧が表示されます。
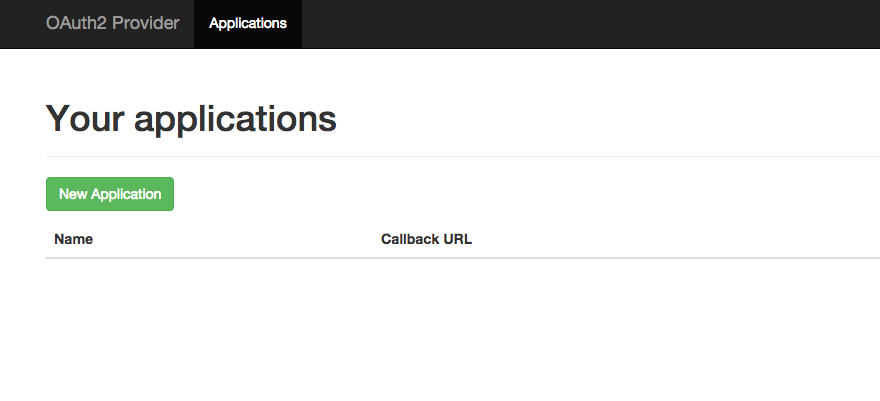
New Applicationボタンを押すとアプリケーション作成フォームが表示されますので、そこでアプリケーション名とリダイレクトURLを入力すると、以下のようにアプリケーションが作成され、Application_idとSecret_keyが取得できます。

access_tokenをもっていないクライアントからのアクセスを制限するのはControllerに対して設定を入れることで実現します。
class Api::V1::ProductsController < Api::V1::ApiController
  before_action :doorkeeper_authorize! # Require access token for all actions

  # your actions
end
APIでemail, passwordでのOAuth2認証のテスト
rubyの標準パッケージのirbで以下のスクリプトを実行していくとOAtuh2認証の確認が行えます。
require 'oauth2'

client_id     = '...' # your client's id generated with rake db:setup
client_secret = '...' # your client's secret
site          = "http://localhost:3000" # your provider server, mine is running on localhost
user_email    = '...'
user_password = '...'


client = OAuth2::Client.new(client_id, client_secret, :site => site)
token  = client.password.get_token(user_email, user_password)

token.get('/api/v1/controller/action')
参考URL
https://github.com/doorkeeper-gem/doorkeeper
https://github.com/doorkeeper-gem/doorkeeper/wiki/Using-Resource-Owner-Password-Credentials-flow
https://github.com/doorkeeper-gem/doorkeeper/wiki/Testing-your-provider-with-OAuth2-gem
https://github.com/plataformatec/devise#getting-started