【環境】
windows8.1
Excel 2013
ruby 2.3.0
gem 2.5.1
【概要】
佐々木希の写真から色の情報を取得して、Excelのセルに塗りつぶします。
【フォルダ構成】
|---sasaki_excel
|---sasaki_excel.rb
|---sasaki.jpg(佐々木希の画像)
こちらの画像を使用しました。

【プログラム】
デフォルトの画像サイズではプログラムの実行時間がとんでもなく長かったため、
画像のサイズをコード内で変更しました。
RubyもPythonと比べてコードが短く理解しやすいのがgood!!
sasaki_excel.rb
require 'rubyXL'
require 'chunky_png'

image = ChunkyPNG::Image.from_file('sasaki.png')
# ピクセル値変更
image = image.resample_bilinear!(100, 100)

# Excel作成 & シート選択
wb = RubyXL::Workbook.new
ws = wb[0]

pul_wh = 0

for w in 0..99 do
  for h in 0..99 do
    # RGBカラーを16進数へ変換
    hex_color = ChunkyPNG::Color.to_hex(image.pixels[pul_wh])[1,6]
    ws.add_cell(w, h, '')
    # 塗りつぶし
    ws.sheet_data[w][h].change_fill(hex_color)
    # 行、列の幅変更
    ws.change_column_width(w, 0.01)
    ws.change_row_height(h, 5)
    pul_wh += 1
  end
end

wb.write("sasaki_nozomi.xlsx")
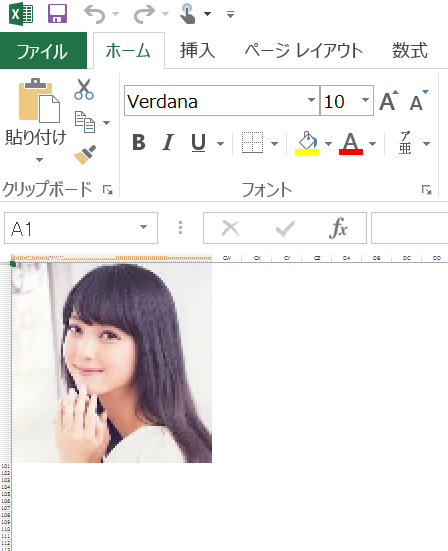
【結果】
デフォルトではこんな感じ
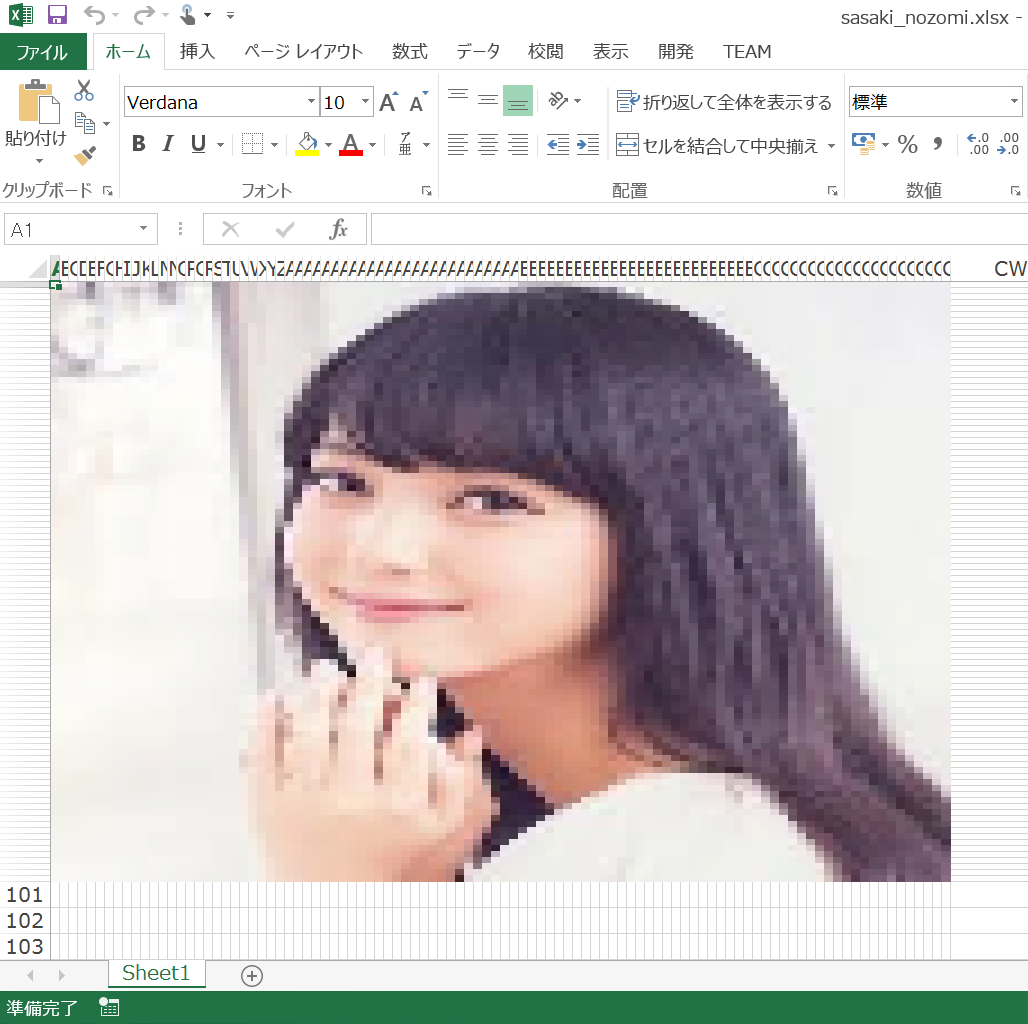
手で表示倍率を変更するとこんな感じ